How to set up Google Home

We show you how to get the personal assistant up and running quickly and easily
You’ve just bought a Google Home (or Google Home Mini) and you want to get it set up as quickly as possible so you can start asking questions, streaming music and casting video to your TV (providing you have a Chromecast). But where do you start? How do you train it to recognise your voice, and where do you add your favourite music services such as Spotify and Deezer?
We answer all these questions and more in this simple guide, which is designed to help you get your new personal assistant up and running quickly and with a minimum of fuss.
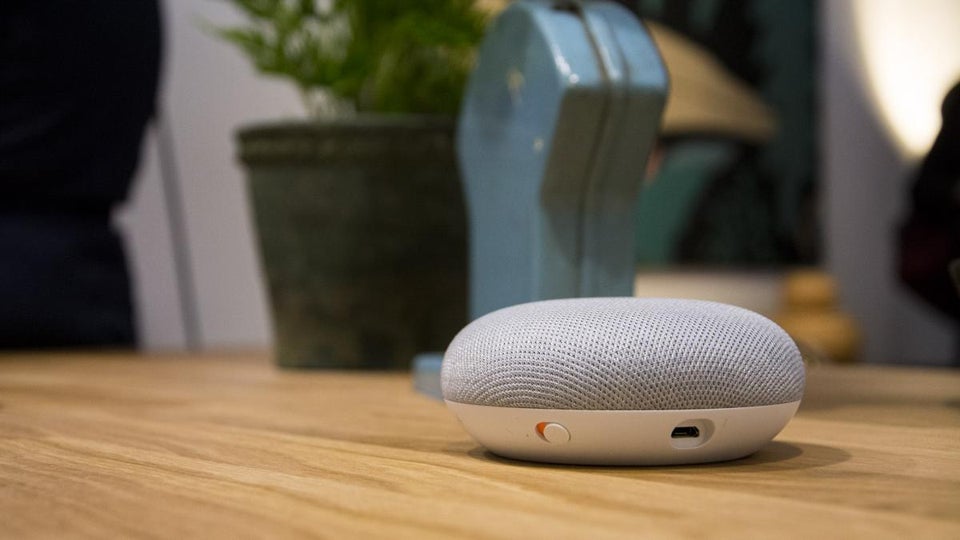
1. Plug in your Google Home and install the app
First, you need to plug in your Google Home device. Next, install the Google Home app on your Android device, assuming you haven’t already. Make sure the device is connected to the Wi-Fi network that you intend to connect your Google Home to, and then open the Google Home app.
2. Connect your phone to Google Home
Tap Get Started in the app, select the Google account you want to use with your Google Home and select OK. You’ll be asked to give the app location access so that it can find nearby devices that need to be activated. Do this and then tap OK.
The app starts scanning for devices. Once it’s found the Google Home you want to set up, tap Next and it will connect to it. You’ll hear a tone on your Google Home that helps you confirm you’re setting up the right device. When you hear the sound, tap Yes.
3. Set your Home’s language, region and Wi-Fi network
Choose your region from the list and tap Continue, then pick a language and tap Continue again. Next, pick the room your Google Home is located in from the list – this helps you to cast media to it if you have multiple devices. After this, pick the Wi-Fi network you want the Google Home to connect to. You can select Get Password to automatically fetch the network’s password from your phone or tablet, or tap “Enter manually” to enter it yourself.
4. Set up voice recognition
Tap Next and “Yes I’m in” to approve the required permissions, and you’ll then be asked to teach the assistant your voice. Doing this enables your Google Home to give personalised answers to your questions and other users can do the same by later setting up voice recognition from their own Android device.
5. Add your address
Next, give the app location access so it can fill in your address automatically, or tap the appropriate button to type it manually. You can skip this step, but the assistant will be unable to give you info about local weather, traffic and businesses.
6. Link your music and video services
Tap Subscribe if you want to receive emails containing the latest tips about Google Home, and you’ll then be invited to link music services. Tap + and follow the account linking steps before tapping Next. If you add more than one music service, choose which one you want to set as default when prompted and then tap Next again. Finally, do the same for your video services.
7. Add your Chromecasts
Chromecast devices on your networks are automatically linked with Google Home, so you can cast music and video to them using only your voice. Tap Next and you’ll be given a chance to rename any of your linked devices so that they’re easier for you to say and for Google Home to recognise.
Read next: Chromecast audio review
8. See a summary of everything you’ve set up
A summary screen appears showing you everything you’ve set up. You can choose to set up further functionality at this point or tap Continue and “Finish setup”. All the configurations you’ve implemented can be easily changed at a later date via the sidebar in the Google Home app.