Desktop PCs

HP's Eliteboard G1a is a desktop PC that harks back to the 1980s
Forget all those swanky 2-in-1 laptops and gaming machines - the most interesting release in HP’s lineup is a computer built into a keyboard
-
best buy
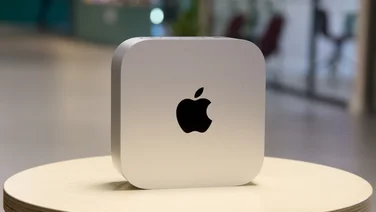 Apple Mac mini (2024): The best value Mac gets better Smaller and more powerful than ever, the 2024 Mac mini is by far the best value Mac you can buy£599
 -
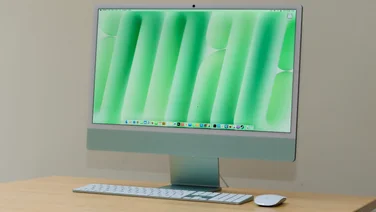 Apple iMac (M4, 2024): A minimal upgrade Not much to see here: the latest Apple iMac adds M4 silicon and a better webcam but not much else£1299
 -
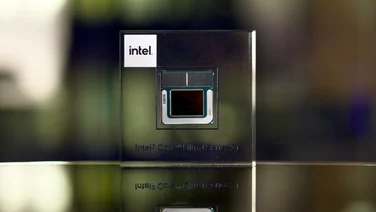 Intel's Core Ultra 200V laptops will have 30hr battery life Intel’s Core Ultra 200V series Lunar Lake chips are here and laptop manufacturers are claiming up to 30-hour battery life
 -
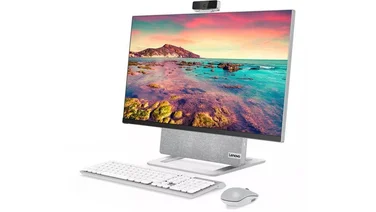 The best all-in-one PCs to buy Upgrade your computer setup with our roundup of the best all-in-one PCs
 -
recommended
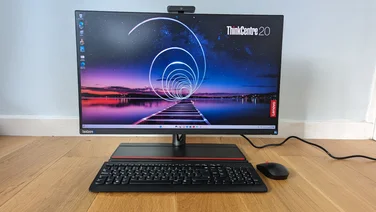 Lenovo ThinkCentre M90a Pro Gen 4 review A superb all-in-one aimed squarely at businesses, with a good screen, great peripherals and strong all-round performance£1320
 -
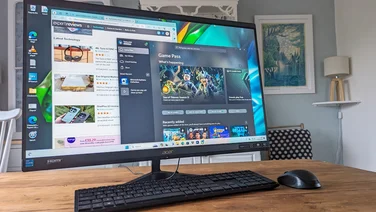 Acer Aspire C27-1800 review Much as we would like to see higher specs or a brighter QHD screen, this is a solid all-in-one that’s great value for money£749
 -
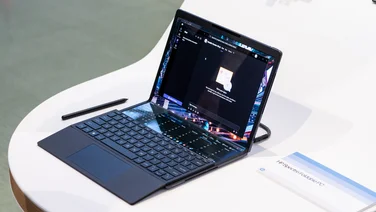 HP Spectre Fold 17 review: The ultimate “many-in-one”? A handful of daft flaws and silly pricing mean that what could have been the ultimate laptop is no more than an expensive curiosity£4999
 -
best buy
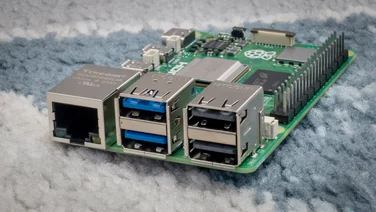 Raspberry Pi 5: The first real desktop Pi The Raspberry Pi 5 is a huge step forward for the tiny, low-cost computing platform, although it’s excessive for some roles£59
 -
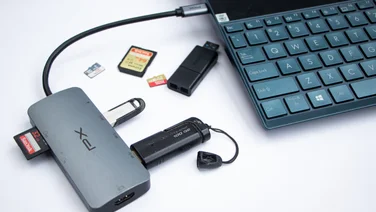
 The best USB hubs you can buy Tired of switching plugs in and out of sockets or looking for an easier way to connect? Splash out on one of the best USB hubs to buy
 -
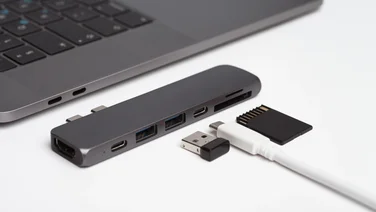
 Expand your device’s connectivity with these top USB-C hubs Short of ports and crucial connections on your laptop, tablet or PC? Splash out on a USB-C hub and enjoy all the connectivity you need
 -
recommended
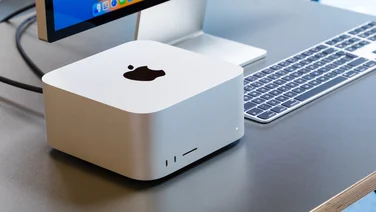 Apple Mac Studio (2023): The ultimate compact desktop No change in design but the Apple M2 Mac Studio delivers a big leap in performance£6999
 -
 The best PC fans to buy in 2023 Ensure your PC’s components deliver to their maximum potential with the best PC case fans