To help us provide you with free impartial advice, we may earn a commission if you buy through links on our site. Learn more
Microsoft has told us that all existing XP updates will still be available to download after support has officially ended. This means that you could perform a fresh installation of XP, using your original installation disc, then use Windows Update to install all of the updates and patches, up to the date that support ended. There’s still a worry, though, that at some point in the future Microsoft will remove this ability, dropping all of the updates. Fortunately, there’s a simple way to get round this, by using a few tools to create a brand-new installation disc that has all of the updates and patches pre-loaded. The process is called slipstreaming, which is officially supported by Microsoft. You’ll need to have your original Windows XP installation disc to hand before you start. Finally, only use Windows XP to follow these steps; using a different version of Windows will break the install disk so that the installation won’t recognise your CD key.
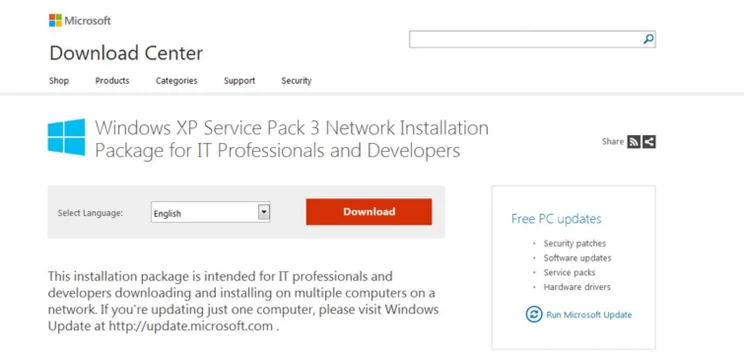
STEP 1 – DOWNLOAD XP SP3
First, you’ll need to download the Windows XP SP3 Network Installation Package, which is the standalone install for XP. Click the Download button and, when prompted, select Proceed with this download and click Next. Click No thanks and then Continue and the file will be downloaded to your hard disk. If you’re using Internet Explorer, you may have to click the security warning to allow the download; make sure you click Save, so that you keep the file.

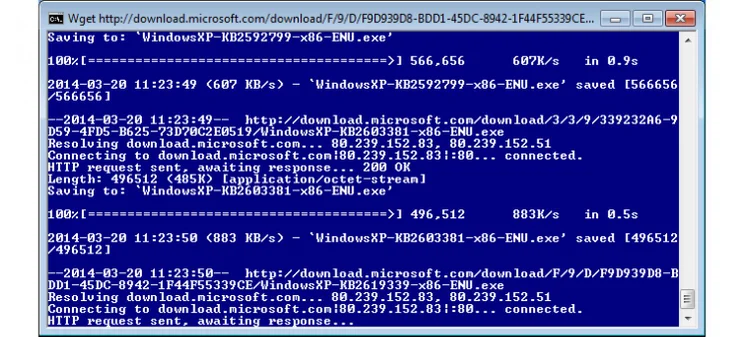
STEP 2 – DOWNLOAD ALL OF THE XP UPDATES
Next, you need to download all of the Windows XP updates post SP3. It makes sense to do this after XP support has ended on the 8th April 2014, so that you get absolutely everything.
Fortunately, there’s a rather clever tool to do the job for you. Download the Updates Downloaded, Check and Add-on Creator (UDC) script. This has now been updated to include all of the Windows XP updates that will ever be released. Using this script will download everything that you need.
Extract the Zip file, go into the UDC folder and run the latest UDC batch file. Follow the on-screen instructions, ignoring the warning about Nlite (we’ll come to that next) and the file will download all of the updates to the current folder. It will take a while, so leave it to do its job. When completed, the window will go green. Delete the files that start WindowsXP-WindowsMedia-KBxxxxxx-x86-ENU.cab (Windows Media updates), otherwise you may find that XP gets stuck in an installation loop. We’ll show you how to download and copy the right files to your new install disc later.

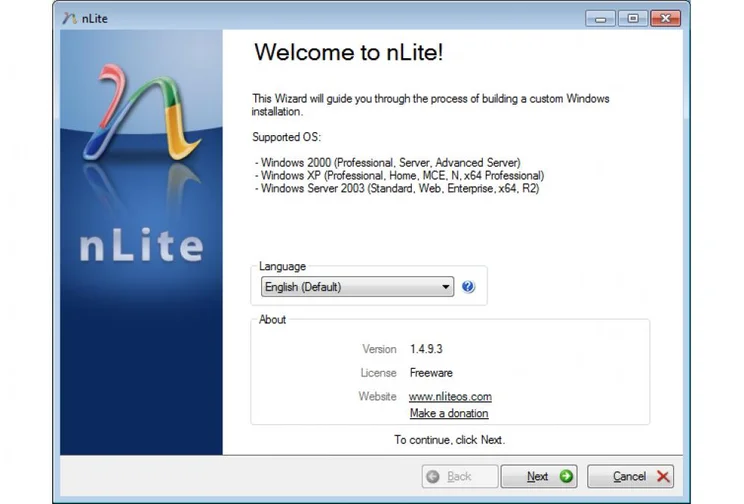
STEP 3 – DOWNLOAD AND INSTALL NLITE
Now you need to download and install nLite. This clever bit of software is used to take your XP installation disc, SP3 and updates you’ve already downloaded, and create a brand-new XP installation disc with everything already applied.
When it’s installed run the software from the Start menu to start the wizard, which will take you through creating your new installation disc.

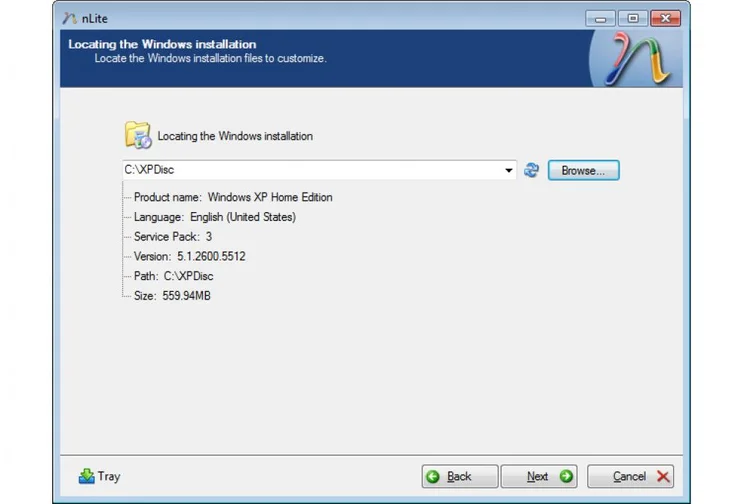
STEP 4 – PICK XP INSTALLATION
Click Next and you’ll be asked to provide the location of your Windows disc. This can either be an ISO file or you can just put your XP installation disc into your PC and browse to the drive.
Click OK and you’ll be prompted to select a folder to store the temporary files in. We created a folder called XP in the C: drive. Click OK, and the XP files will be copied to the temporary folder and Nlite will show you which version of XP you have and the Servicer Pack version (if any) included. Browse to the folder you created and, inside it, create a new folder called Media Updates. Download the following files into this folder, so that you can run these Media updates manually later:
WindowsXP-WindowsMedia-KB2803821-v2-x86-ENU.exe
WindowsXP-WindowsMedia-KB2378111-x86-ENU.exe
WindowsXP-WindowsMedia-KB978695-x86-ENU.exe
WindowsXP-WindowsMedia-KB975558-x86-ENU-fix.exe
WindowsXP-WindowsMedia-KB973540-x86-ENU.exe
WindowsXP-WindowsMedia-KB954155-x86-ENU.exe
WindowsXP-WindowsMedia-KB952069-v2-x86-ENU.exe

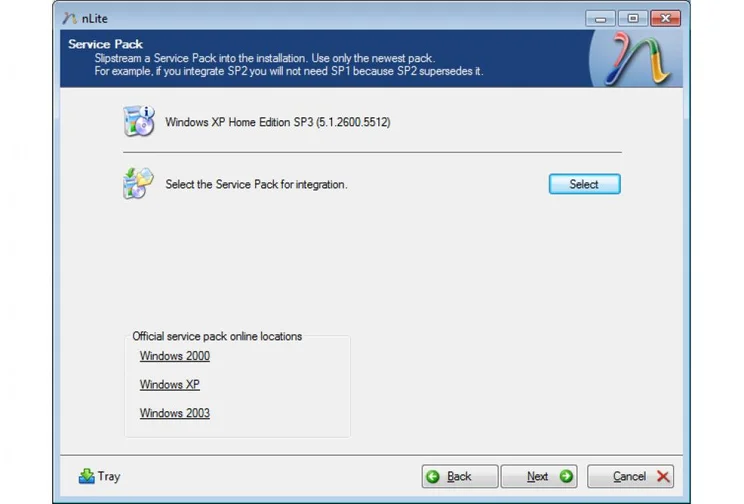
STEP 5 – ADD SP3 AND UPDATES
Click Next and you can load any previous nLite presets, if you have any. Click Next to select the additional files you want to create, so click Service Pack and Hotfixes, Add-ons and Update Packs. With nLite, you can also integrate additional drivers, select an unattended installation, which inputs your CD key automatically, and more, but we’re not going to cover that here. Instead, click Bootable ISO to tell nLite that you want to create an install disc. Click Next to go to the Service Pack selection screen.
Click Select and use Explorer to select the XP SP3 file you downloaded earlier and click Open. NLite will automatically slipstream the files into the installation. Click Next to go to the add-on screen. Click Insert and browse to the files you downloaded in Step 2. Press CTRL-A to select all (don’t worry about the files that aren’t updates, as nLite will deal with them automatically) and click Open. Click OK on any warning messages and click Next, then Yes to get nLite integrating the updates.

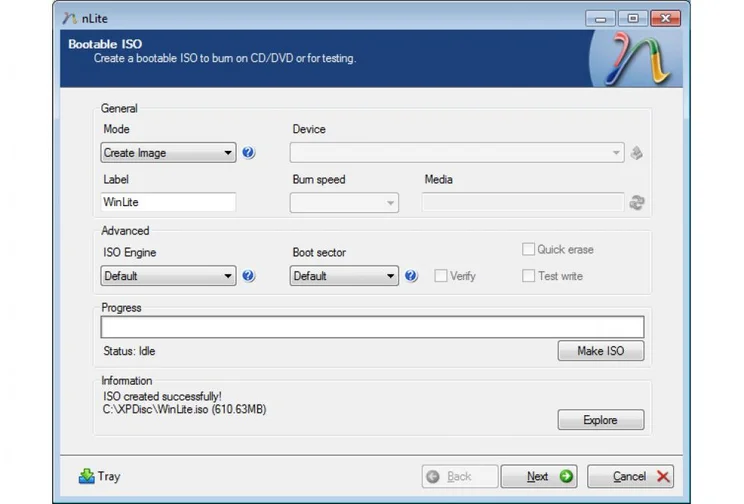
STEP 6 – CREATE ISO FILE
Once the process has completed, you’ll be told how big the new installation file is. In our case, it was 604.16MB, which should still fit on a blank CD; if yours is bigger than 640MB, you’ll need a blank DVD instead. Click Next to go to the Bootable ISO screen. NLite can write straight to disc, but we think it’s better to save the ISO file, so you can use it again and again. Leave the Mode as Create Image and click Make ISO. Select where you want to save the file and click Save. It will only take a short time to make the disc, which will be called WinLite.iso, although you can type any filename that you like.

STEP 7 – MAKE AN XP INSTALL DISC
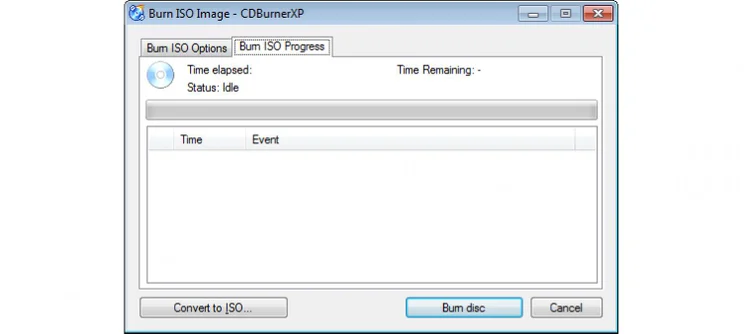
You can now use the same dialog box to burn your installation CD, by selecting Direct Burn and clicking Next. Alternatively, if you’d rather do the job yourself, you can use any bit of disc burning software to burn your ISO to disc. We like CDBurnerXP, which you can download and install using the excellent Ninite software.
Browse to your ISO file, right-click it and select Open With, CDBurnerXP. In the next dialog box, select your CD/DVD writer in the Target device drop-down menu, make sure you’ve inserted a blank disc and click Burn disc. You can now use this to install an up-to-date version of XP. Make sure you backup your new ISO, so you can create a new disc whenever you need it. You can now install Windows XP from your new disc, and manually apply the Media patches, too.


