To help us provide you with free impartial advice, we may earn a commission if you buy through links on our site. Learn more
Many people who upgraded from Windows 8 to Windows 10 have suffered from massively lengthened boot times. The symptoms for this particularly curious bug include a black screen after seeing the Windows loading animation and your PC manufacturer’s logo, and the ability to move your cursor around the black screen but an inability to do anything else. For some, this process can take in excess of a minute.
In our testing, we found two laptops that suffered from this problem. A Dell Inspiron 17 from 2013 and an Acer Aspire V5, also from 2013. The Acer added more than a minute to its initial boot time, while the Dell laptop’s boot time shot up by 25 seconds, time that was mostly spent staring at a black screen.
There are various fixes we’ve seen working on our own laptops, and we’ll start with the simplest first and escalate to more involved methods. Credit to the users on the Microsoft Community.
Find out everything you need to know about Windows 10
Enabling/disabling fast start-up
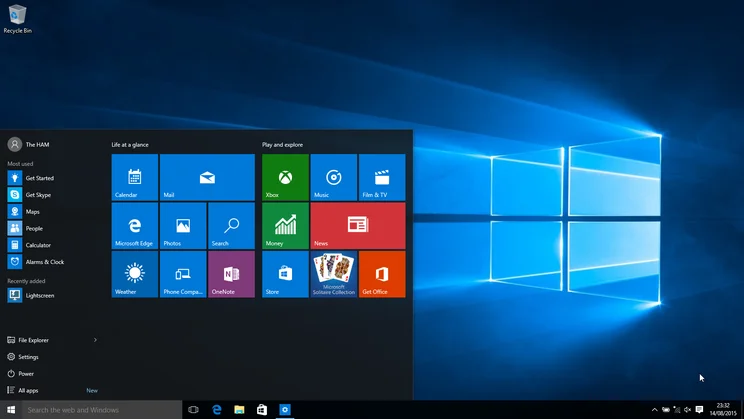
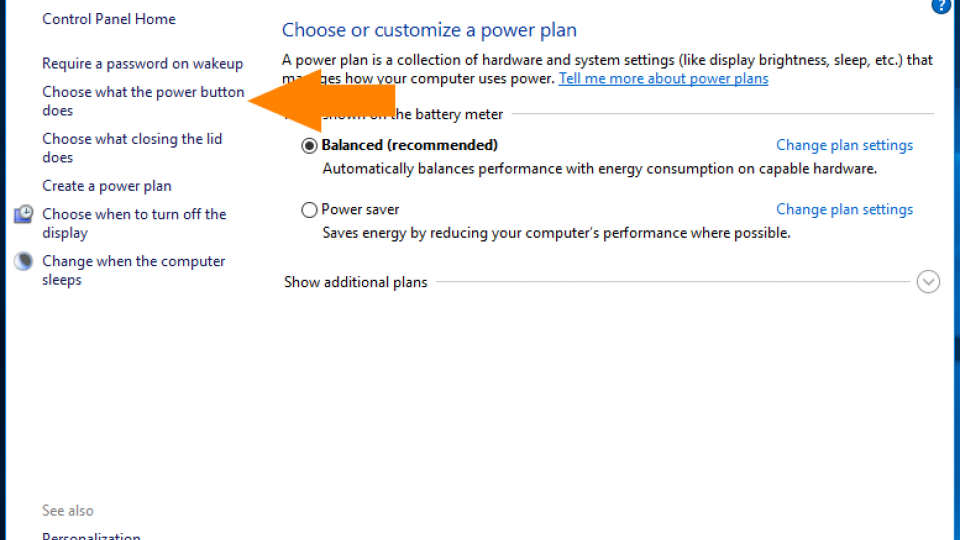
We were largely able to fix the sluggish boot speeds of our Acer Aspire V5 by disabling Windows 10’s fast start-up feature. To do this, open the Start Menu and type “power options” and select Power Options when it appears. When the Power Options window opens, select “Choose what the power button does” from the list on the left of the window.
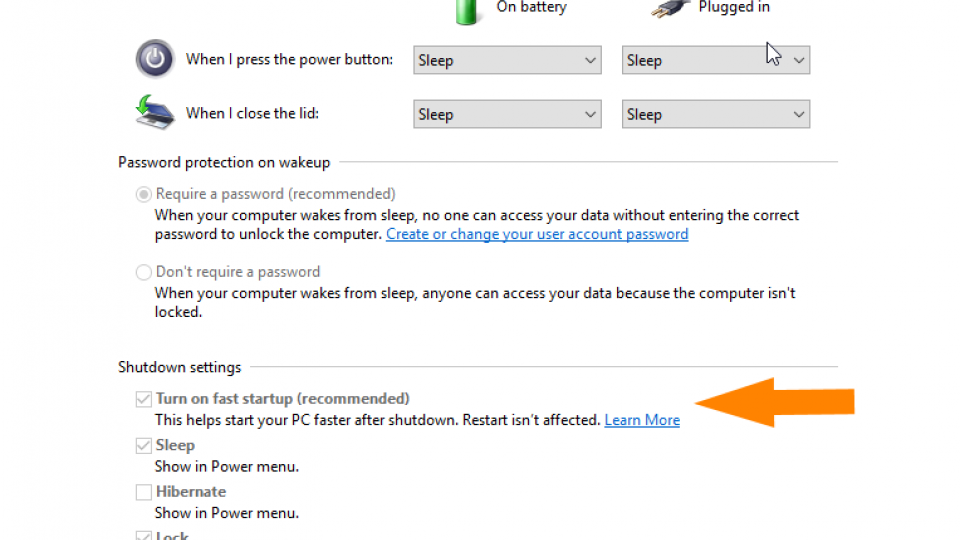
If you see a small blue and yellow shield icon and the text “Change settings that are currently unavailable”, click the text. You may need to enter your password or your PC administrator’s password to do this. Now scroll down to the Shut-down settings list. Untick “Turn on fast start-up” and click Save changes. When you next switch on your PC you should immediately see a significant boot time cut. With our Acer laptop, the boot time dropped by 80 seconds. Most interestingly, switching Fast startup back on made no difference; it would appear that the simple action of turning fast start-up off and on again is enough to get Windows 10 out of its slow booting state, in this case at least.
Graphics drivers
The Dell Inspiron 17 proved to be much more troublesome, and while the methods below have apparently worked for many people online, it didn’t fix out issue.
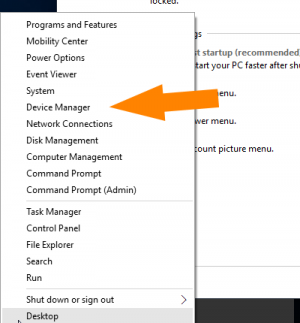
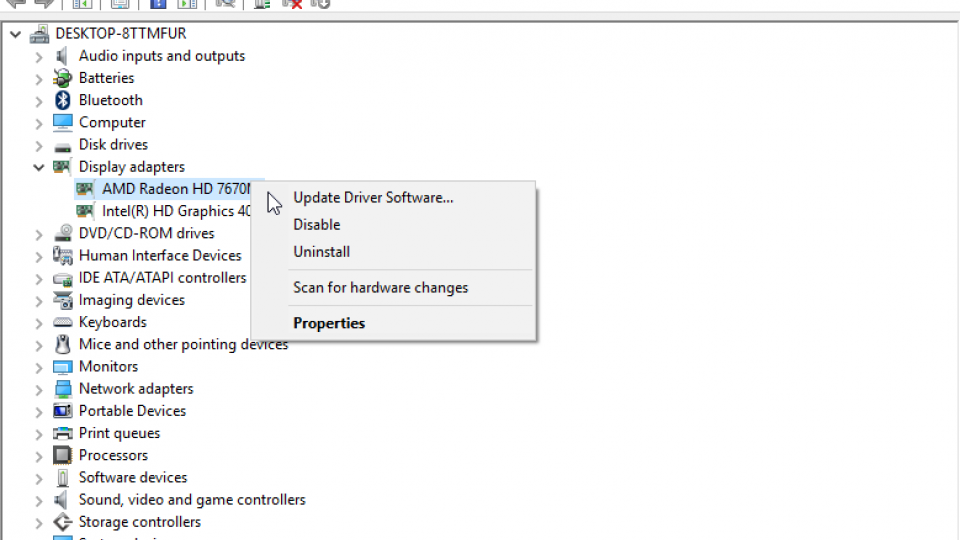
Some have theorised that the black screen before boot is a graphics driver problem that has been particularly bad for those on laptops that switch between Intel HD Graphics and a dedicated card from Nvidia or AMD. An easy way to verify this is to disable your AMD or Nvidia graphics driver and restart your computer. To do this, right-click on the Start Menu icon and click on Device Manager.
Click on Display Adapters and identify your dedicated graphics card. It’ll be labelled Nvidia, AMD Radeon or ATi Radeon. Right-click on the graphics card and click “disable”. This may cause your screen to go blank for a moment. Shut down your PC (not restart) and turn it on again to see if this has fixed the problem.
If you only have Intel HD Graphics, you do not need to do this. If it is your graphics card that’s causing the problem, re-enable your graphics card using the steps above and then download the latest version of your card’s drivers from the manufacturers’ websites – amd.com/drivers or nvidia.com/drivers. If you’re not sure which driver to download, just select the option that automatically finds which card you’re using. Once these drivers are downloaded and installed, shut down and restart your PC to see if the problem has been solved.
If you’re still experiencing a slow boot, it’s worth re-checking whether toggling fast start-up off and on is more effective with your new drivers.
AMD power saver
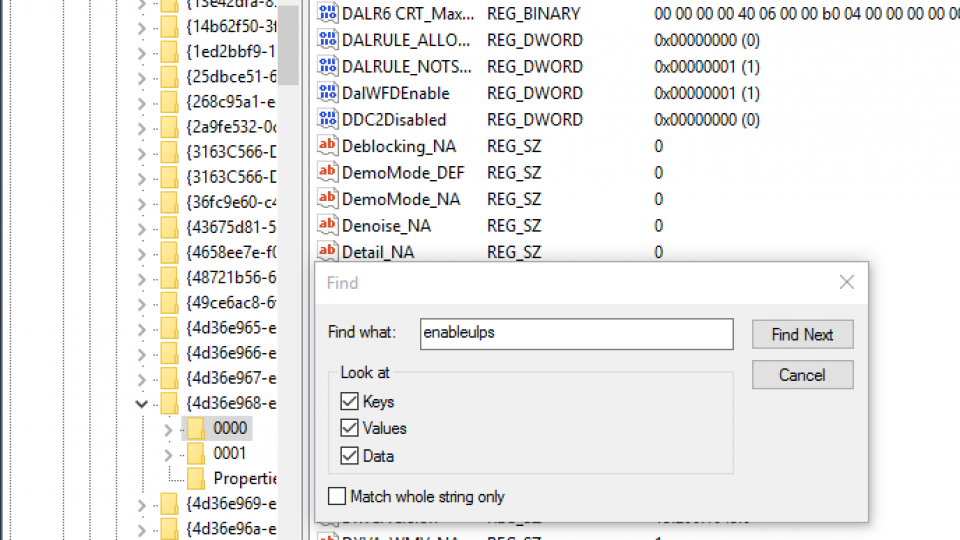
If you have an AMD graphics card, there is one more step you can try. Go to the Start Menu and type “regedit”. Open regedit and click the Edit button at the top of the screen, then click on Find. Type “EnableULPS” and click “Find Next”. EnableULPS will be highlighted in the list of registry options.
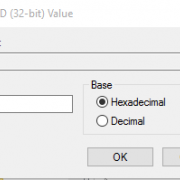
Double click it, and change the value from 1 to 0. This will disable a power saving feature that switches off your dedicated graphics card when it’s not needed and this will mean your laptop consumes more battery power, so only do this if your laptop spends most of its time plugged in.
If all else fails…
If none of the above solutions work for you, you have a choice. You can either downgrade back to Windows 8.1 or Windows 7 (if you installed Windows 10 less than a month ago) or restore Windows 10 to its default settings, removing all your files and programs. To do this, search for “reset” in the Start Menu and click on Reset this PC, then Get Started if you want to reset Windows 10 or the other Get started option if you want to downgrade to Windows 8 or 7. You can also do a clean install of Windows 10.
If you’re going to do a complete Windows 10 reset, make sure all your files are backed up as they will all be lost in the reset process. In addition, if you choose to reset Windows 10, you will lose the option of going back to Windows 7 or 8 forever, so you may end up being stuck with Windows 10 unless you have a Windows 7 or 8 system image or restore partition.
For us, resetting Windows 10 completely was the only way to solve our boot issues on our Dell laptop. The boot issues still remain when you restart the PC, but as long as fast start-up is enabled, each time we boot up the PC, we no longer see the black screen. In addition, you can skip all of this entirely by choosing to put your computer to Sleep instead of shutting it down every time you’re done using it.


