To help us provide you with free impartial advice, we may earn a commission if you buy through links on our site. Learn more

Things are so easy these days, you get a new bit of gaming or home cinema kit and 99% of the time you simply plug any old HDMI cable between them and hey presto you have a clean video signal and audio. However, if you’re looking to hook up a vintage games console it’s not quite so simple, especially to a brand-spanking new HDTV.
Be it some clunky old Mega Drive, or a worst-for-wear SNES, obsolete or discontinued retro consoles means retro connectivity options, and so those have just bought a new TV might need some guidance on how exactly to connect the two as easy as possible. Here’s our guide to do exactly that.
Start off by having a look at the cables you have already. It’s great to buy a better cable and get a higher-quality image but most people just want to get playing straight away. Depending on the cable you have we’ll guide you through getting it working. We’ve ordered these roughly by the quality of video you’ll get from them, so head down to get a better connection.
RF
If your retro console came with an Radio Frequency (RF) cable, you can actually still use this in your brand new TV, albeit with some fine tuning, quite literally. The analogue TV signal may have been retired in the UK but the vast majority of European TV models still have hybrid tuners that can pick up both digital and analogue signals.
Those consoles that used RF cable as standard, such as the Sega Master System and Mega Drive for instance would have been bundled with an RF Switch cable. Originally, this attached to the RF output port in the back of the console and then into the TV’s aerial socket, with an antenna port for your aerial.

To get it up and running, you just need wire up the cables as normal, and then have the switch set to RF, which will temporarily disable your digital signal. From your TV remote, scroll through your TV settings and find the channel scan for analogue channels, choosing ‘automatically’ where possible so your TV performs a search across the channels on its own.
Once the search is finished, it should find the channel your console is using. Save the found channel and you’re good to go. Next time you want to play, simply flick the switch to RF and then select the analogue tuner using your remote, there should be a button that flicks between analogue and digital, or it might be a seperate AV input.
Coax
For those of you that have a Coax aerial connector for their antenna (an RF cable with a screwy bit on the end) instead, and your retro console doesn’t support it, you can buy a nifty RF/Coax converter tool: an F Type Screw Connector Socket to RF Coax Aerial Male Adapter, to be precise. You can find one of these on Amazon for little more than a quid. We’d say that’s probably the easiest way around it.

Composite
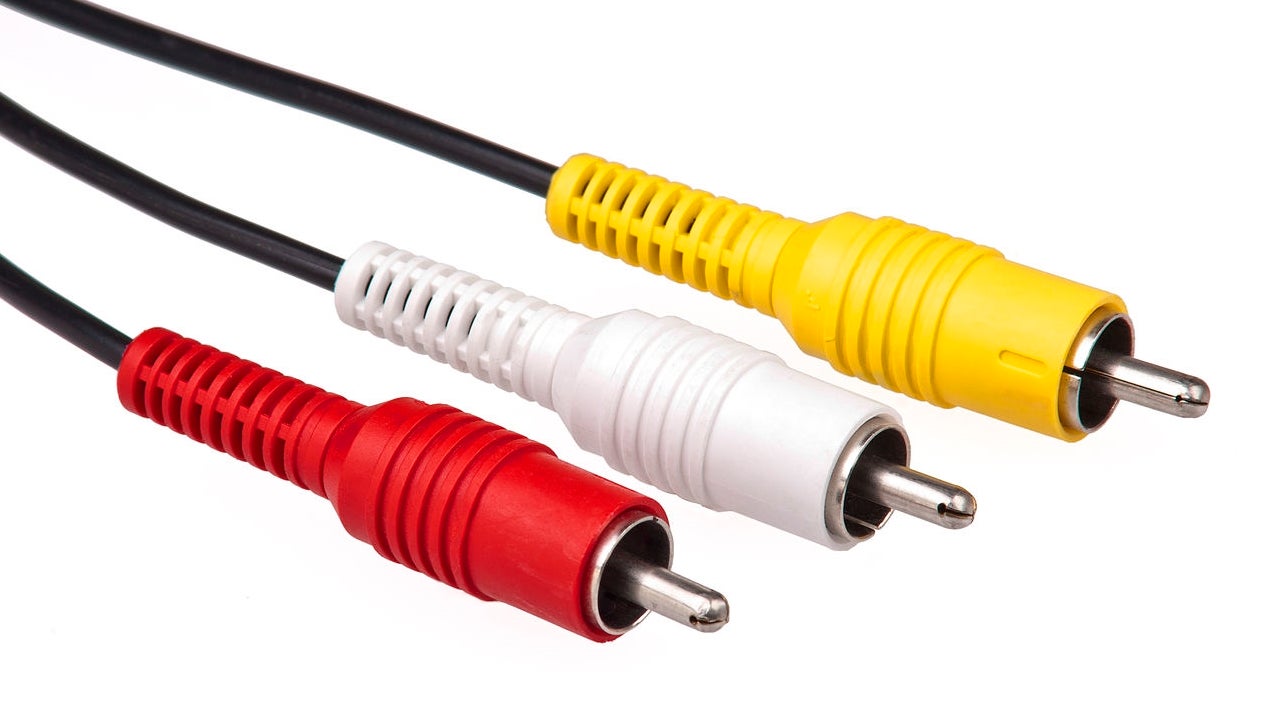
Mnay devices, such as the early Nintendo consoles and later Sega devices (Saturn, Dreamcast) were bundled with Composite RCA AV cables, comprising of a cable with three different coloured phono connectors: a yellow plug, which transfers a low-quality composite video signal, alongside red and white connectors, which handle the left and right audio channels. These simply need to plug into the corresponding ports in the back of your TV, it is has them (we will tell you what to do later if it doesn’t).
Some consoles, such as the original NES and several others from around the same time period, only shipped with two composite connectors on their RCA cables (yellow/white and red). However, you might still be able to get your vintage console working by connecting these cables to the red and yellow composite video ports on the back of your TV. If your console cable only has two connectors on its RCA cable, connect red to red (for mono audio) and try the white/yellow one in the yellow one (for video).
If your TV doesn’t have composite inputs then you can always use a SCART socket instead. All recent or new TVs should feature a SCART socket, a big rectangular plug with lots of little holes, or at least have a SCART adaptor of their own provided, which will plug into a much smaller port on the back to give you a full-sized SCART socket.
Then you simply need to grab a Composite SCART adapter for just under £1.50 on Amazon. This will convert your console’s composite output to SCART so you can hook it up with your TV.
Custom cables
If fiddling around with the original cables is too much fuss for you, you can often buy third-party cables that plug into proprietary ports on the back of your console. These can provide a variety of outputs depending on the console, though really you’re looking for an RGB SCART on older consoles (see below), or possibly component cables on some newer ones. Component connections use RCA plugs just like composite cables do, but you’ll need Red, Blue and Green inputs on the back of your TV to accept such a signal.
We’d recommend these types of cables over using older original composite or RF connections because the picture quality is far better. The difference between playing a Megadrive on RF and on RGB SCART is huge
These cables can usually be found on eBay, where you’ll come across a good selection for different consoles’ proprietary connectivity outputs. be careful to buy the cable that matches your exact console model, for example the cable is different for an original Sega Megadrive as opposed to a Sega Megadrive 2.

Upscale
If you’re super serious about your old console collection and want to make the best out of the display without buying lots of additional new cables, you could invest in an XRGB-mini Framemeister Compact Up Scaler Unit. It’s not cheap (just shy of £240 with delivery), but it will see that display signals are correctly upscaled and outputs the image in HD over HDMI with virtually no lag.