To help us provide you with free impartial advice, we may earn a commission if you buy through links on our site. Learn more


Photography requires a combination of creative flair and technical skill, but when it comes to taking portraits, it also calls on your social skills. We’ve all been in a situation where someone has asked us to pose for a photo, and left us waiting while he or she grapples with the camera. The inevitable result is awkward-looking poses and weary half smiles.
It’s important to be fully attentive to your subject, so it’s worth knowing in advance what you want to shoot, and the best way to capture it quickly. Familiarity with the camera settings that work well for portraits will let you get on with capturing a natural smile before fatigue and boredom set in.
Over these two pages we’ve compiled 10 tips, tricks and common practices used by portrait photographers. All rules are there to be broken, but as with any art form, it’s worth getting to grips with the conventions so you can break them with confidence.
TIDY UP
Unless you have a photo studio to hand, you’ll probably be shooting portraits in homes and gardens, parks or some other public place. This often makes for a more interesting portrait than the sterile environment of a studio, but there’s a big difference between an interesting backdrop that sets a mood and one that’s crowded with distractions.
If your home is anything like ours, you’ll find it hard to point the camera without getting an assortment of household clutter in the background. It’s easily overlooked when your attention is on your subject while shooting, but when you come to inspect the shots they can be really distracting. So start each portrait shoot with an evacuation of as much clutter as possible. That’s not so easy when you’re in public places, so you’ll need to find a location and shooting angle that removes unwanted distractions from the scene.
STEP BACK AND ZOOM IN
A camera’s zoom control isn’t just for making faraway things bigger in the frame. Zooming in also gives a flatter, more natural-looking geometry. Wide-angle photos look skewed towards the edges of the frame, and because you’ll need to get much closer to your subject, nearer parts of the subject – namely the nose – can look disproportionately large.
Stepping back and zooming in eliminates these problems, and it also makes the subject feel more relaxed because you’re not invading his or her space so much. It also narrows the depth of field, making the background more blurred and guiding the eye towards the subject. This effect won’t be particularly noticeable on a compact camera, but it’s more distinct on big-sensor cameras such as SLRs and CSCs.
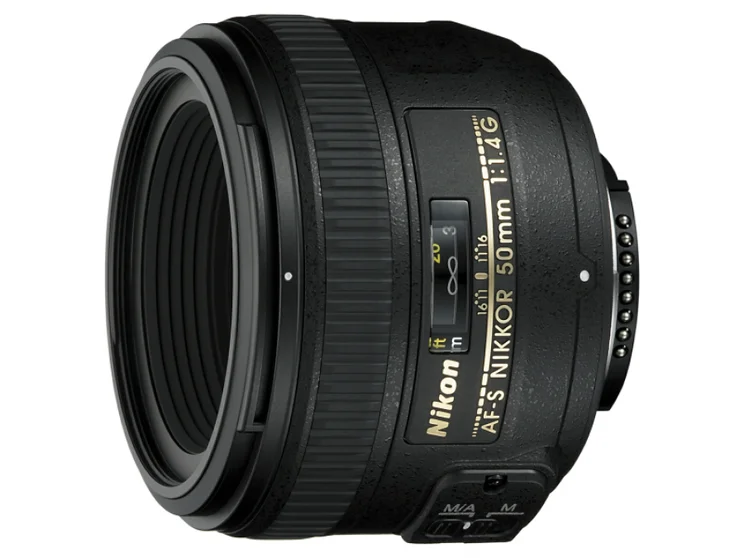
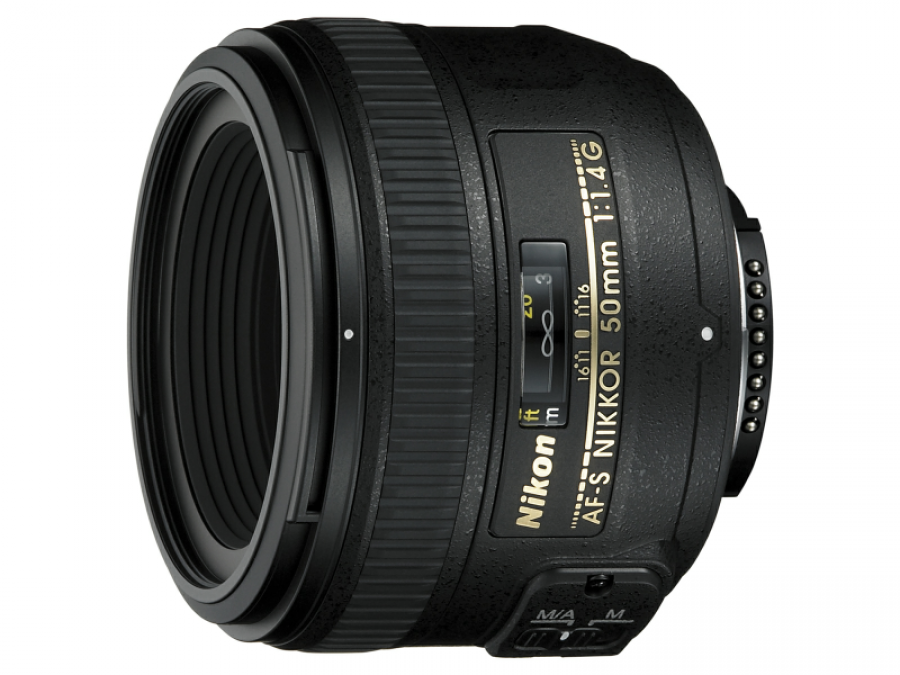
GET A PRIME LENS
A really narrow depth of field can boost the intimacy of a portrait, allowing you to focus on the features but throw the ears and hair out of focus, while the background dissolves into an abstract haze.
To achieve this, you’ll need to be fairly close to your subject, and use a big-sensor camera with a wide-aperture lens. Variously known as prime, fast or bright lenses, they typically have a maximum aperture of f/1.8 or f/1.4. Lower aperture values mean that more light is let into the camera, which gives a shallower depth of field. Switch to aperture-priority mode to gain control of the aperture setting.
Most wide-aperture lenses don’t have a zoom function, so you’ll need one with a focal length that’s well suited to portrait photography. Fortunately, the perfect lens also happens to be cheap: there are 50mm, f/1.8 lenses available for Canon, Nikon and Sony SLRs, with prices ranging from £80 to £140. On a consumer SLR with an APS-C sensor, this gives an equivalent focal length of around 75mm, which is perfect for head-and-shoulders portraits. Nikon SLR owners need to be careful, though, as the cheaper 50mm f/1.8 lens’s autofocus won’t work on some Nikon SLRs. If so, go for the newer F/1.8G model, which costs around £200.
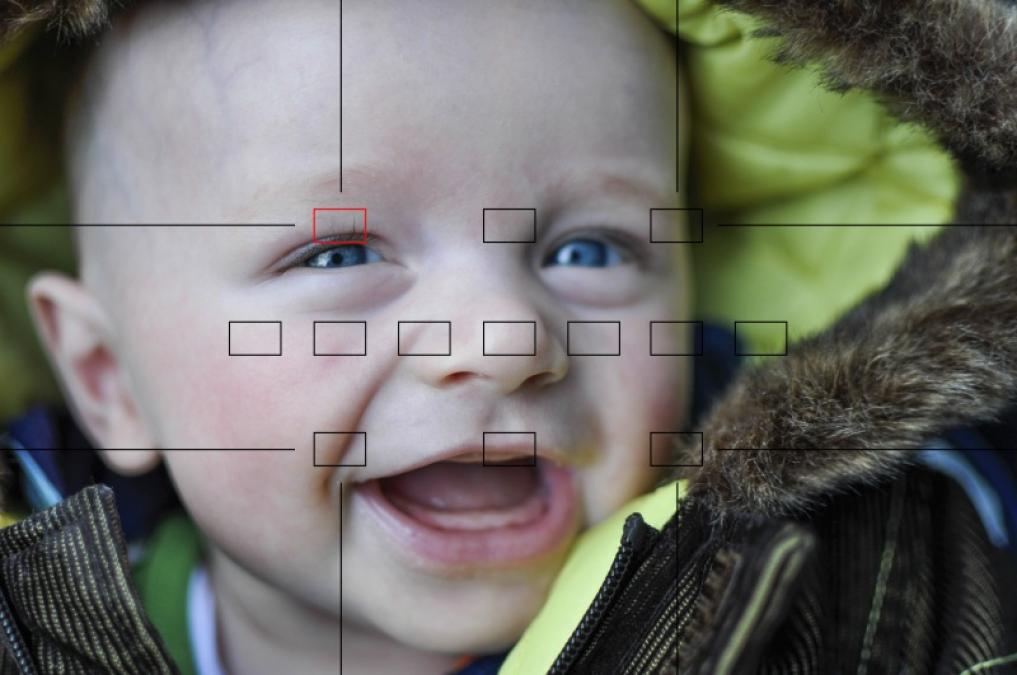
If you’re shooting at a distance of one metre with a 50mm lens set to f/1.8, the depth of field will be just 3cm (calculate other depths of field at using the online depth of field calculator). This means that anything more than 1.5cm in front of or behind the point you focus on will be out of focus. As such, you’ll need to choose your focus point extremely carefully. In almost every portrait shot, you’ll want to focus on the eyes. They’re the most expressive part of the face, and if they’re in focus, it doesn’t really matter if nothing else is.
On your camera, switch the autofocus (AF) mode so you can specify a single AF point, and move the selected point two thirds of the way up the frame. This will help you to follow the rule of thirds, whereby key parts of a composition fall on the intersections of a 3×3 grid. For the same reason, you might also want to position your subject to one side, so move the focus point accordingly. If your subject isn’t looking into the lens, place him or her to one side and looking towards the centre of the frame to give the composition some balance.
CONTROL THE MOTION
When shooting indoors, you’ll probably be able to avoid camera shake at shutter speeds of around 1/30s, but that won’t eliminate blur if your subject is moving. It’s not an issue for carefully posed portraits, but if you want to be able to shoot as your subject moves around, you’ll need to pick a faster shutter speed. Around 1/160s should be fast enough to keep things crisp.
Shutter priority mode lets you pick the shutter speed manually, but if you want to control the aperture too, you’ll need to switch to manual exposure mode. This disables the automatic ISO function, so you’ll need to adjust the ISO speed manually too to achieve a pleasing exposure. Shooting in raw mode will give you more leeway to fine-tune the exposure on the computer later.
GET THE WHITE BALANCE RIGHT
Nothing reveals colour problems more than skin tones, and cameras invariably need some help to achieve pure colours in artificial light. The best way to do this is with the custom or manual white balance function. This lets you calibrate the white balance simply by pointing the camera at a white or grey object. It’s worth keeping a sheet of paper or grey fabric in your camera bag especially for this purpose. You might end up adjusting the white balance further on the computer, but taking a measurement while shooting gets it pretty close.
MAKE THE MOST OF AVAILABLE LIGHT
When taking snaps, more light is generally better, but direct sunlight isn’t ideal for portraits. Harsh shadows aren’t flattering, and people tend to squint in bright light. A shady spot turns the sky into one big light source, giving softer shadows. Overcast weather can produce drab colours, but using the custom white balance can help warm up those skin tones.
When shooting indoors, avoid artificial light; a window is usually the best light source. Get close to it so it forms a bigger surface area relative to your subject, as this will give softer shadows. Try positioning yourself between the subject and the window but offset a little to the left or right to get some light and shade across the face. If there are two windows on different walls, try to use the second one to back-light your subject, adding definition to the edge of the shadier side of the face – this is known as a rim light.
CONTROL THE LIGHTFor complete control, invest in an off-camera flash system. That might sound complex and expensive, but it needn’t be. Back in Multimedia Expert, Shopper 269, we put together a system for less than £150, using a pair of Yongnuo YN460 flashguns and an iShoot PT-04C wireless trigger. It’s not the highest-quality kit, but two years on, our set still working well.
Bouncing flashlight off a wall or ceiling produces a diffused light source for soft shadows, while a second flash is useful for rim light. Having precise control over the position and strength of the flashes opens up all sorts of possibilities, and the instantaneous nature of flash light means you can eliminate motion blur and keep the ISO speed low for best image quality.
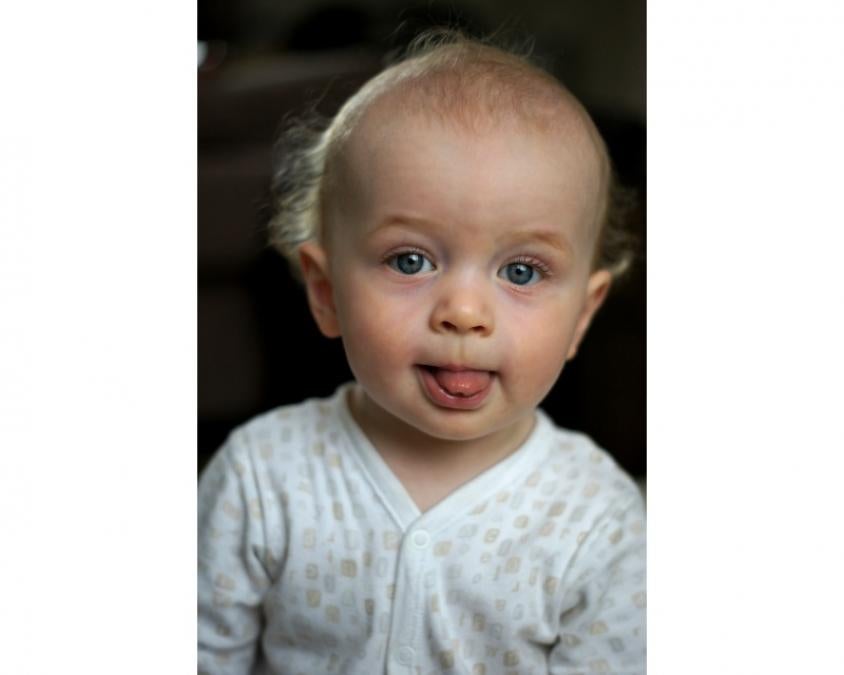
USE A PROP
Props have various practical benefits. They might be the only way to keep young children in one place long enough to get the shot you want. For others, a prop can be useful to give them something to do if they feel self-conscious in front of the camera. Just be sure to use something that relates to the individual and adds to the photo – car keys and mobile phones will keep babies engrossed but don’t make for the most enchanting portraits.
Props have lots of creative uses, too, but we won’t try to condense it all into a few sentences. Google is your friend for finding sources of wisdom and inspiration. The Reel Photo blog (http://reelfoto.blogspot.co.uk) is worth checking out too – click the Portraiture tab.
FINISHING TOUCHES
With the shoot complete and the photos uploaded to your PC, there’s still lots more than can be done to improve your shots. If you’re yet to discover the joys of Adobe Lightroom, give the trial version a whirl. The various controls in its Develop module are optimised for improving colours and details in photos, and are particularly effective if you’ve captured in raw mode.
A simple Contrast boost can bring flat colours to life, and the Highlights, Shadows, Whites and Blacks controls are extremely useful for keeping the brighter and darker parts of the image in check. Subtle adjustment with the white balance controls will let you get those skin tones just right.
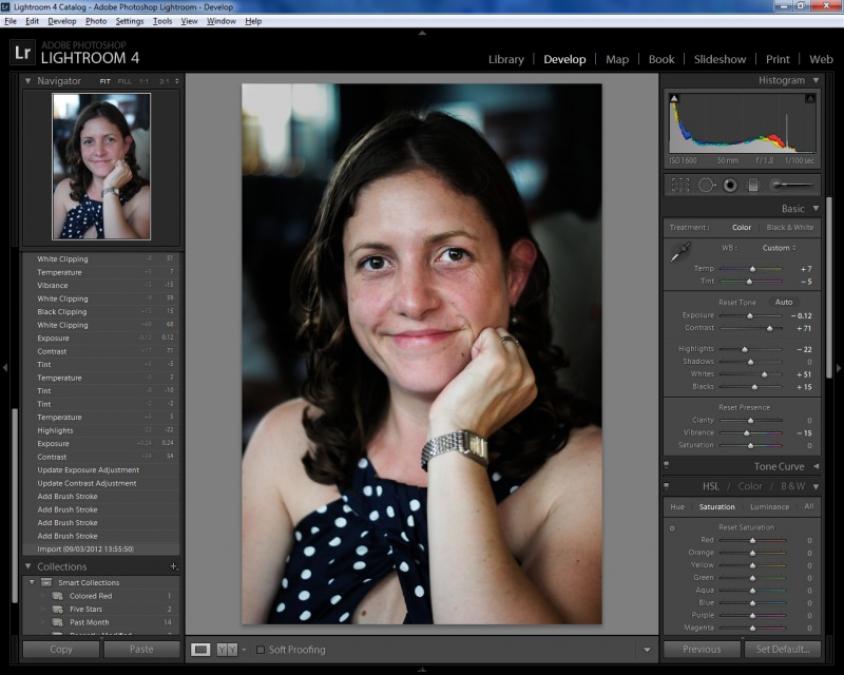
The Spot Removal tool is handy for removing blemishes, but we recommend against ironing all the character out of portraits. You might want to remove the odd pimple, but wrinkles and moles should be embraced as part of your subject’s features. You might even want to celebrate wrinkles and contours – the Clarity control can help with this, boosting the contrast of nearby pixels relative to each other to exaggerate details. If the background is a little distracting, try making it darker or reducing its saturation with the Adjustment Brush. You could also use this brush to adjust the brightness, contrast or clarity of parts of the subject to help him or her stand out.
Lightroom presents all sorts of creative opportunities too, but once again, it’s over to you to flex your artistic flair.