To help us provide you with free impartial advice, we may earn a commission if you buy through links on our site. Learn more

The chances are that between your phone and your computer, you’re signed up to loads of different internet-connected services, only none of them talk to each other. With If This Then That (IFTTT) all of that changes, as you create recipes that state when an action should be triggered. For example, you could send an email when you’re almost home, backup all Facebook photos you’re tagged in to Dropbox, save Starred Gmail messages in a Reminder list, or have the weather sent as a daily notification to your phone. We’ll show you how to get started with this clever system, which you can use for free by signing up for an account at www.ifttt.com. You can also download apps for Android and iOS, which you’ll need for certain tasks, such as those that use your current location.
GETTING STARTED
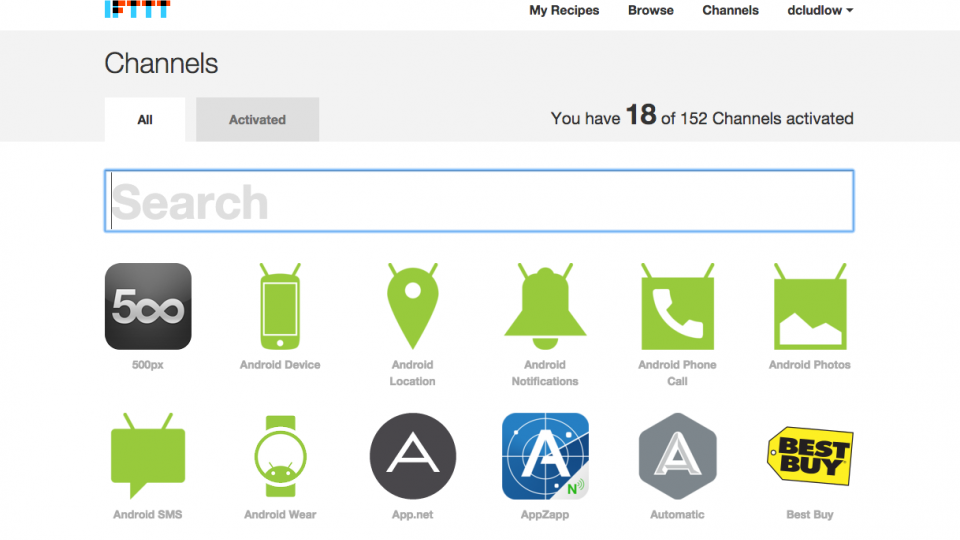
Actions in IFTTT are called recipes and consist of a trigger (the ‘if this’ part) and an action (the ‘then that’ part). Both triggers and actions are created by activating channels, where a channel can be a service, such as Gmail, weather or Facebook, or part of your phone, such as iOS Location, which tells IFTTT where you are. Each channel that you want to use has to be activated. You can activate a lot of them through the web interface (click Channels), but phone-specific ones, such as the iOS and Android channels, have to be activated using the app on your device.
Click any channel to get more information about it, to activate it and to view recipes that other people have created using this channel (more of this later).
ACTIVATE YOUR FIRST CHANNELS
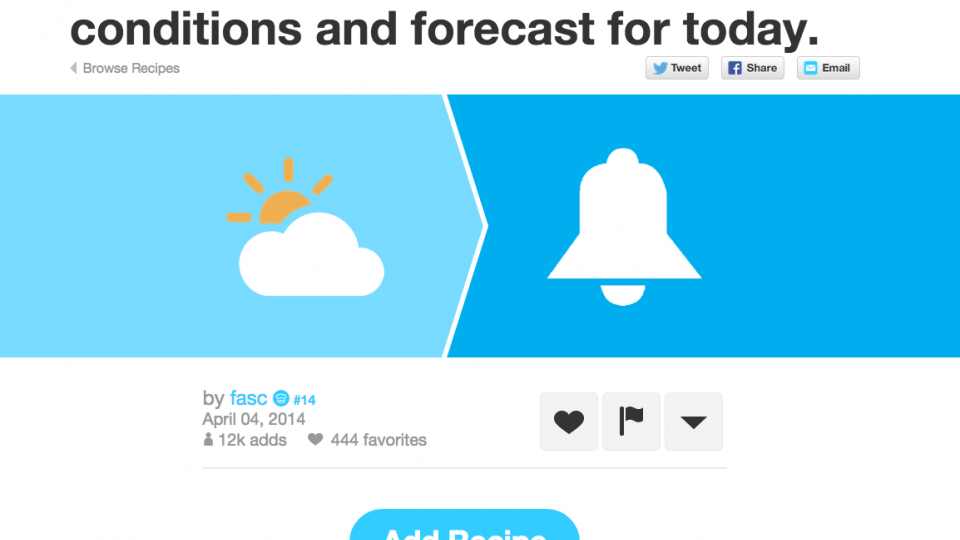
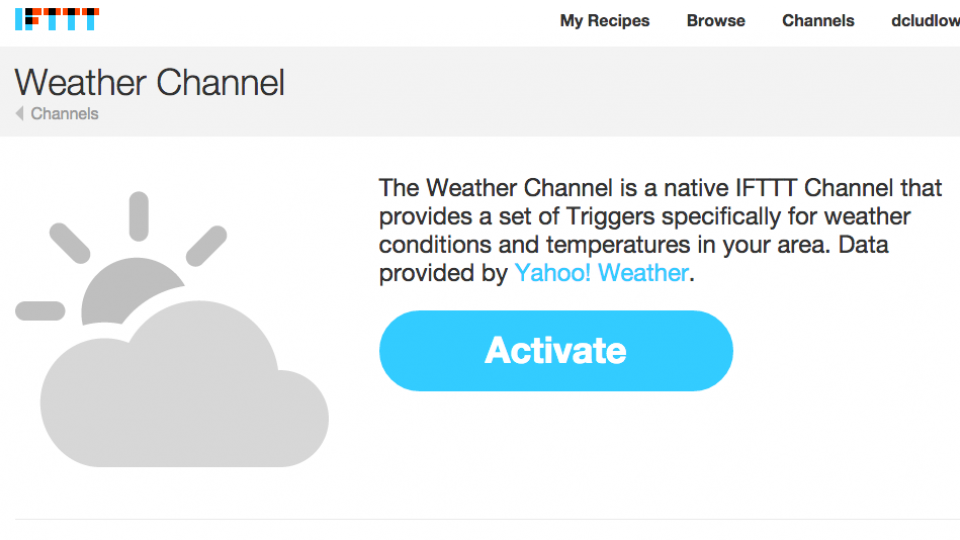
We’ll start with a simple recipe that doesn’t require a phone and automatically emails you if it’s going to rain tomorrow. First, you need to activate the Weather Channel, so click Channels, Weather and click Activate. Enter your address, postcode or city, click Search, select your location from the box and click Activate.
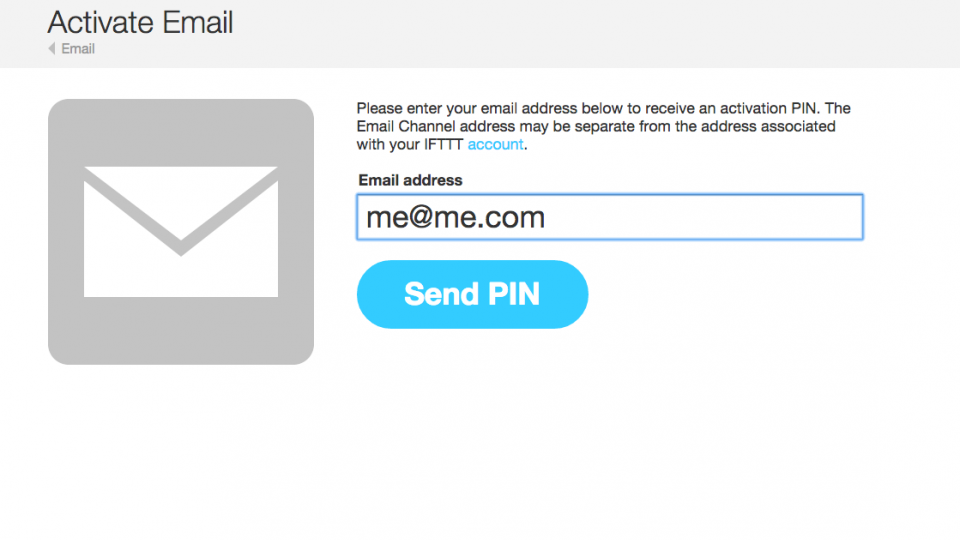
Next, click Channels and click Email. Click Activate and then enter your email address in the box. Click Send Pin and you’ll be sent a unique code via email. Enter this code in the box on the IFTTT website and click Activate. You’ve now got the two building blocks you need to create your first recipe.
BUILD YOUR FIRST RECIPE
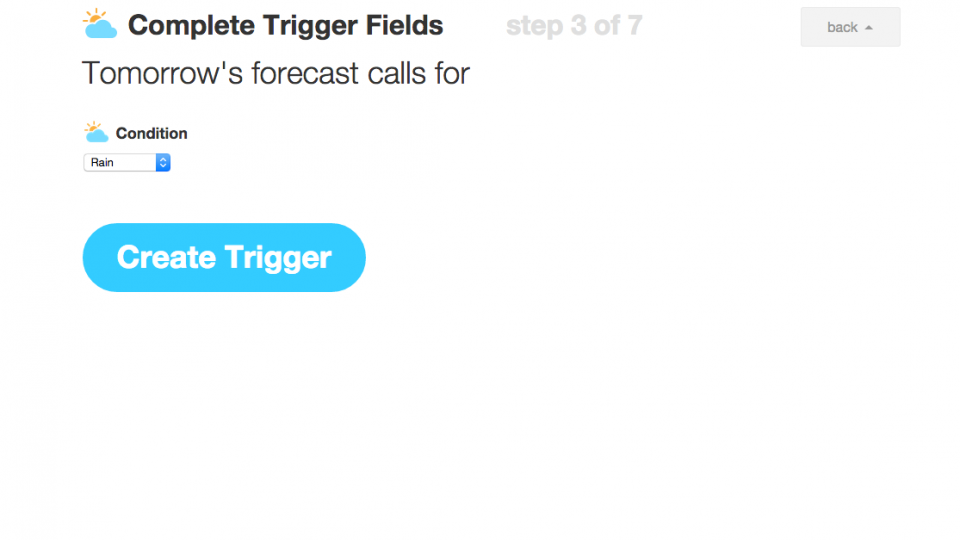
Click My Recipes and then click Create a recipe. You’ll see the phrase ‘ifthisthenthat’, with the ‘this’ highlighted in blue and underlined. Click ‘this’ and you’ll be asked to choose the Trigger channel. Click Weather (you can use the search box to find it faster). You’ll see a whole bunch of trigger options, including just sending you a weather report at a certain time, if the pollen count rises above a certain level and so on. Click ‘Tomorrow’s forecast calls for’ to load the next page. Select Rain from the Condition drop-down menu and click Create Trigger.
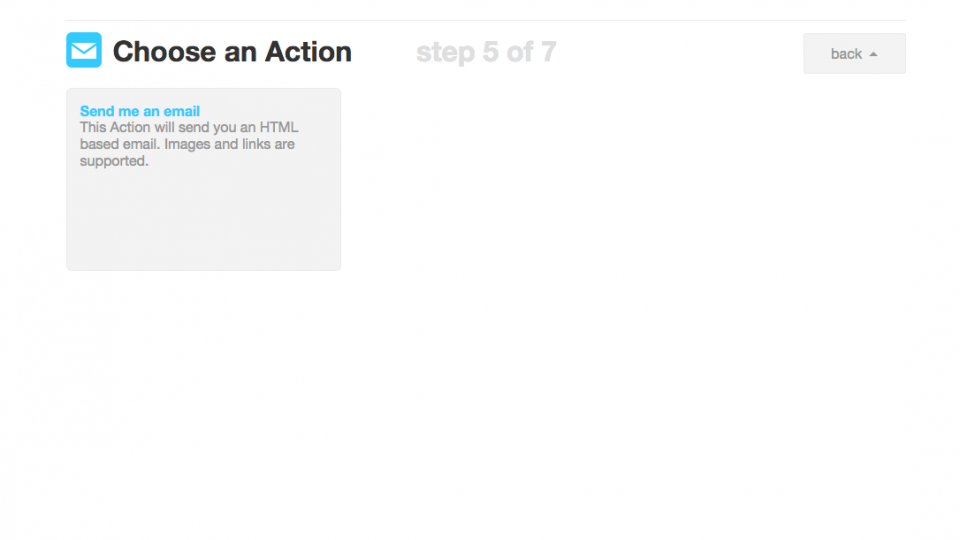
You’re now back at the ‘ifthisthanthat’ screen, so click ‘that’ to choose what to do when the weather channel triggers that there will be rain tomorrow. Click the Email channel and you’ll see that there’s just one option ‘Send me an email’, so click that.
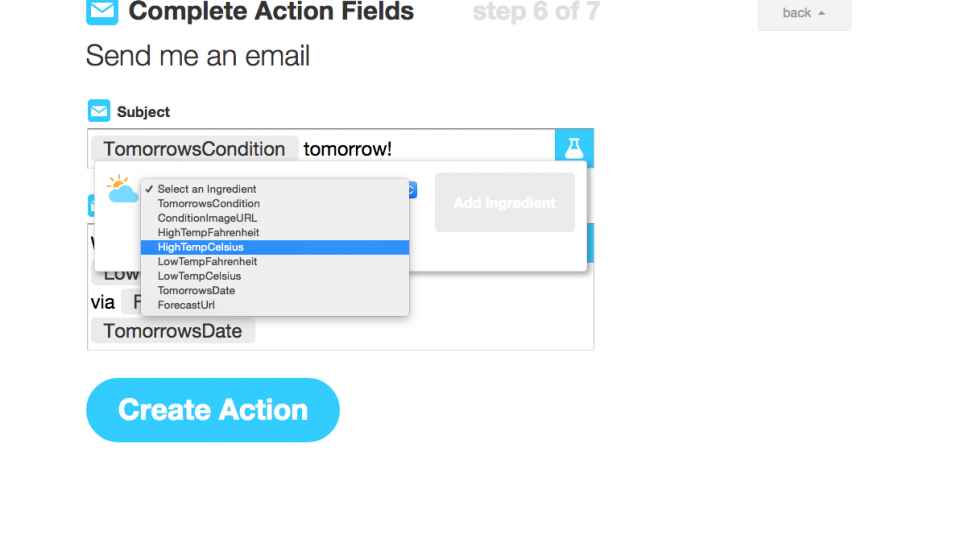
On the next screen you’ll see the email template, which has things, such as ‘TomrrowsCondition tomorrow!’ as the Subject. All of the words highlighted in grey are ingredients of the recipe and can be edited. Click on Subject and the flask icon to see a list of options, such as HighTempCelcius, click one to add it into the mix. So, if you wanted the subject to read ‘Rain tomorrow with a high of 10C’, you’d change the Subject to ‘TomrrowsCondition tomorrow with a high of HighTempCelsius’. You may want to edit the body of the email, as the default sends you temperature information in Fahrenheit, rather than Celsius.
Click Create Action when you’re ready and you’ll see a preview of your recipe, and then click Create Recipe once more to create it. Now, as soon as the weather forecast for tomorrow turns to rain, you’ll be sent an email warning you.
While you can experiment using the other online channels, the true power of IFTTT is when you combine it with your mobile phone (Android or iOS). Using these devices, you can do things, such as trigger a rule when you reach a certain location. Android devices have a lot more options and let you access more features on the phone, while iOS is a lot more limited in what it will do; however, both let you use location based services. With that in mind, we’ll show you how to send a message to a person when you reach a location. This could be to automatically tell them that you’re on the way.
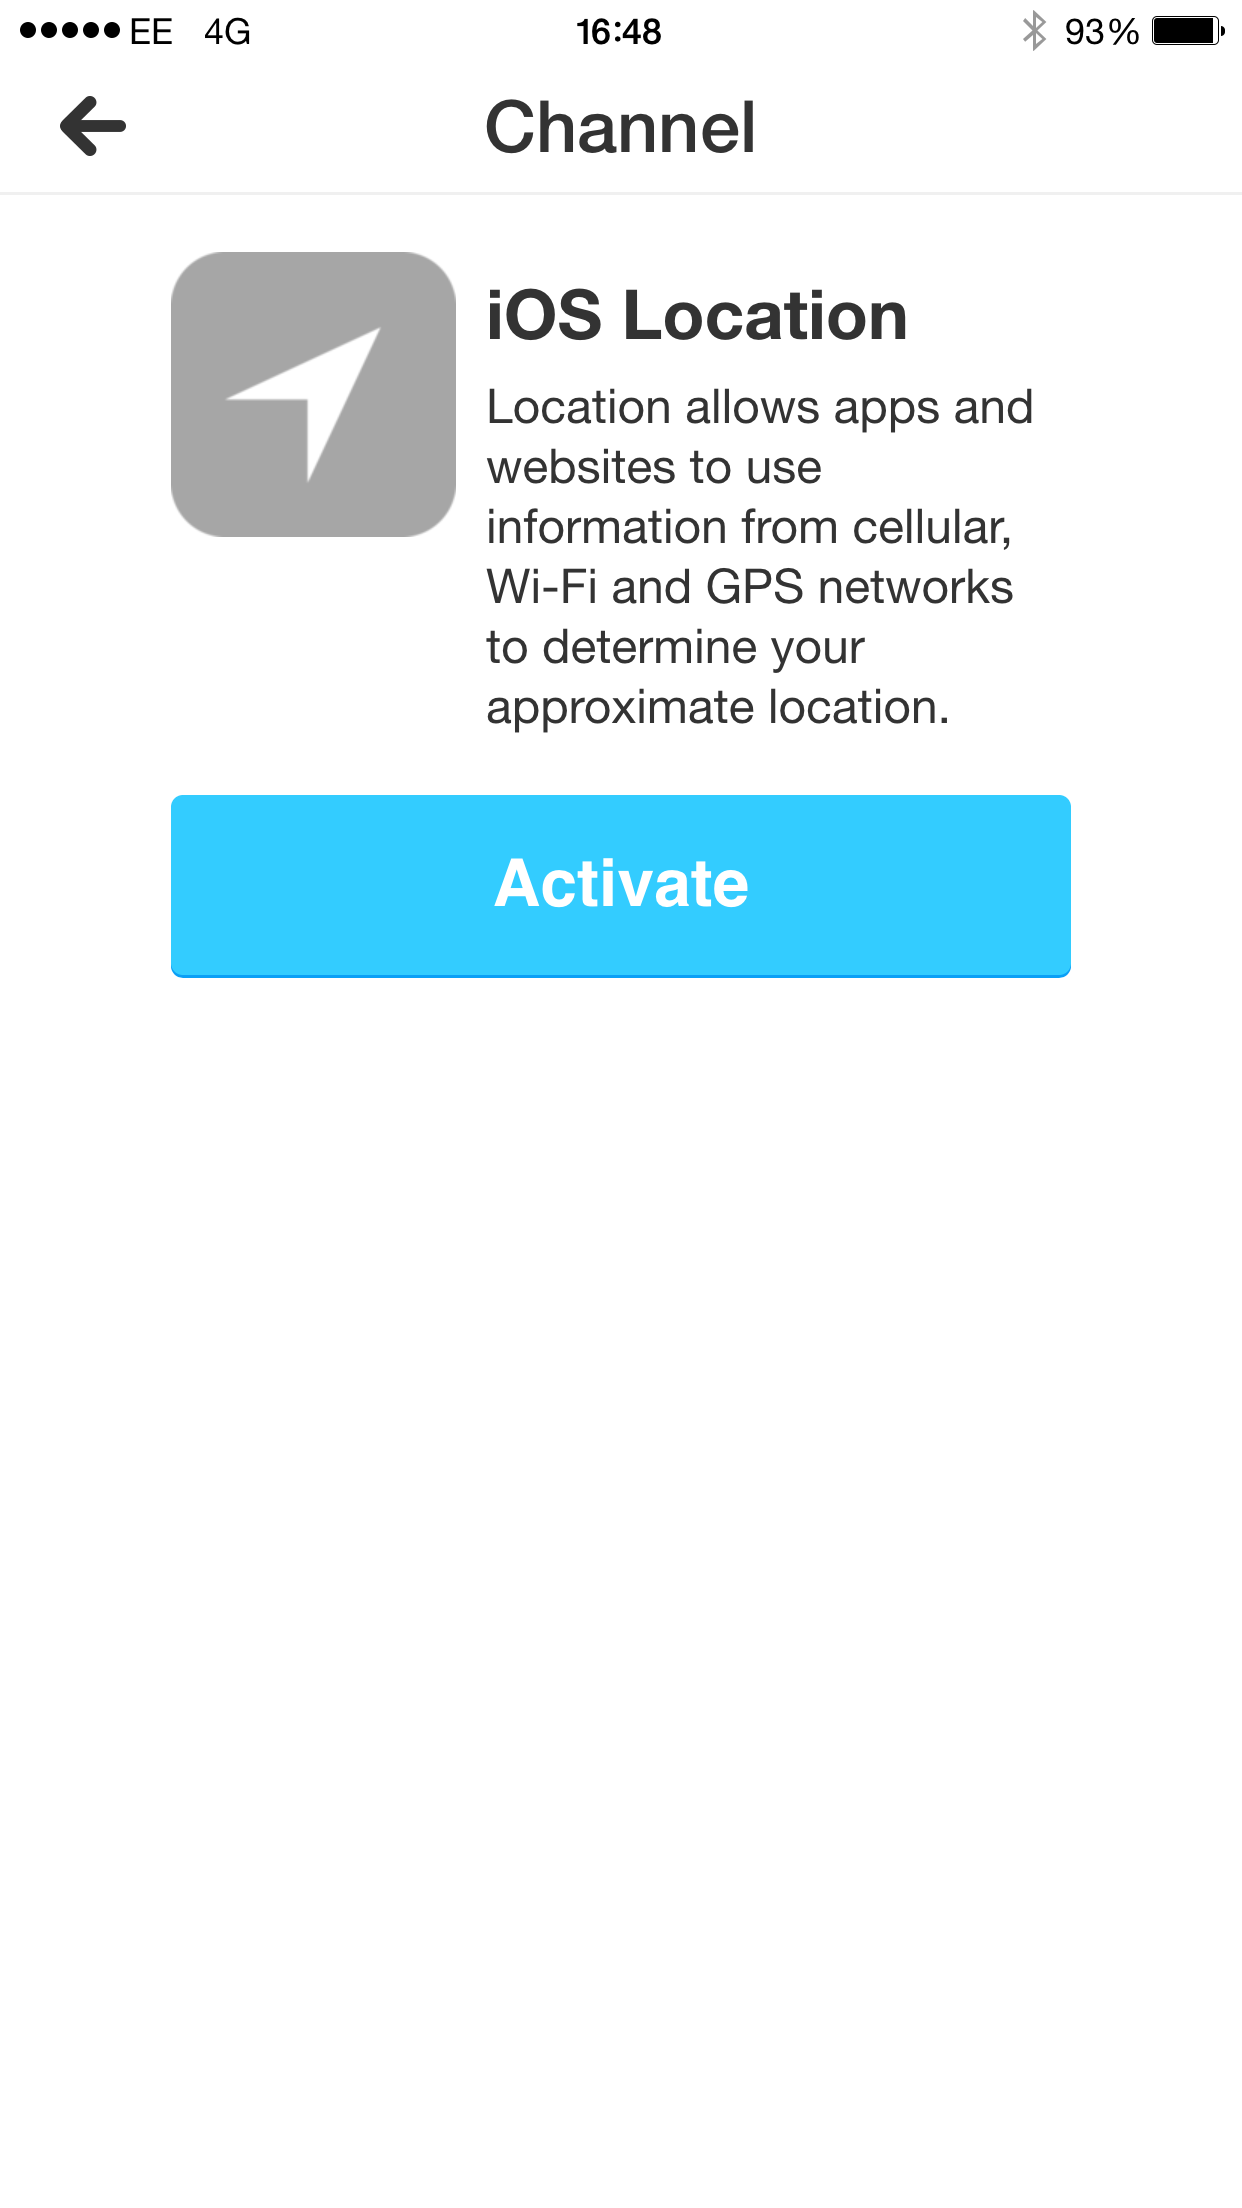
To use activate location features and create these rules, you need the IFTTT app for your phone. Once it’s installed log in to your account and tap the mortar and pestle icon at the top-right to access your recipes, then click the cog icon at the bottom right of the screen to access settings. Tap Channels to view the available ones. If you’ve got an Android device, tap Android Location and follow the steps through; if you’ve got an iPhone, tap iOS Location and follow the steps through to activate it.
Next you need to enable a channel that lets you send a message to someone. The default IFTTT email channel is just to send emails to your own account, so we need to use something else. Android uses can use the Android SMS channel, but there’s no iOS equivalent. Instead, we’re going to use Gmail, although Twitter and its Direct Message (DM) system is also an option.
Go back to the Channels screen on your phone and tap Gmail, then Activate. Enter your login details and then tap the button to give IFTT access to your Gmail.

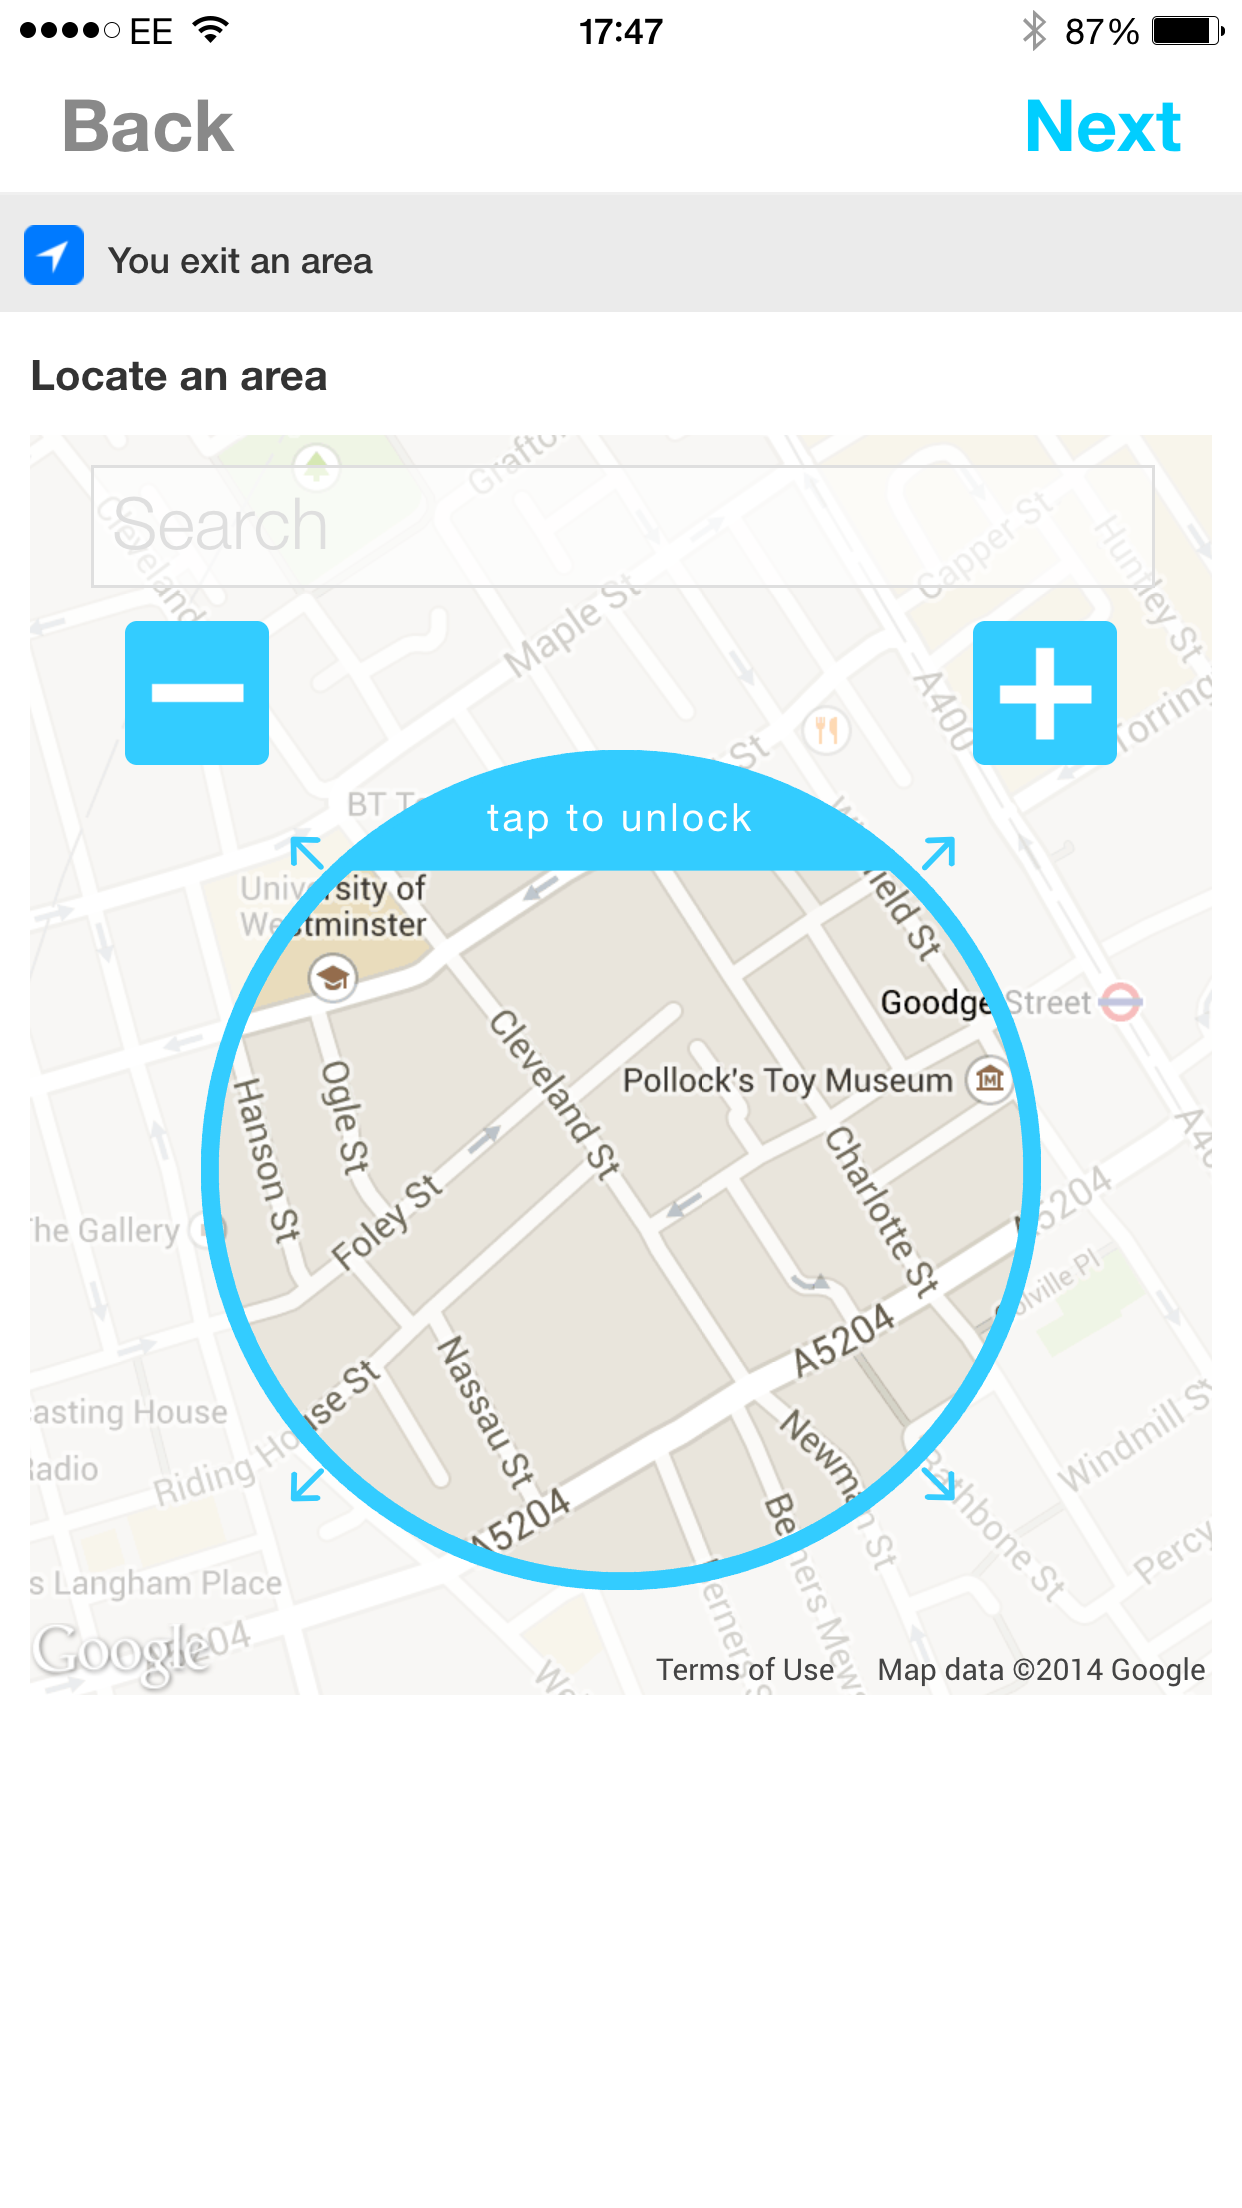
Now go back to the Recipe screen on your app (go to the home screen and tap the pestle and mortar icon). Tap the + button to start and new Recipe and tap the blue ‘+’ icon to select a Trigger. Now select Android Location or iOS Location, depending on the type of smartphone that you have. You’ll see that there are three options: when you enter an area, when you exit an area, or when you enter or exit an area. For our example, we’ll create a rule that sends an email message when we leave work to say that we’re on our way home, so select ‘You exit an area’.
On the map screen use the Search bar to find the location. You’ll see a blue circle surrounding this area. This is the boundary of the area and the rule is triggered when you leave this area: you can use the ‘-‘ button to zoom out and make the circle cover a wider area and the ‘+’ button to zoom in and cover a smaller area. Tap Next when you’re done.
Next, tap the red ‘+’ icon to select the action to perform, and select the Gmail Channel. Tap Send an email, then enter the address of the person that you want to email. Tap Next to complete the rule and choose if you want a notification every time this rule is triggered.
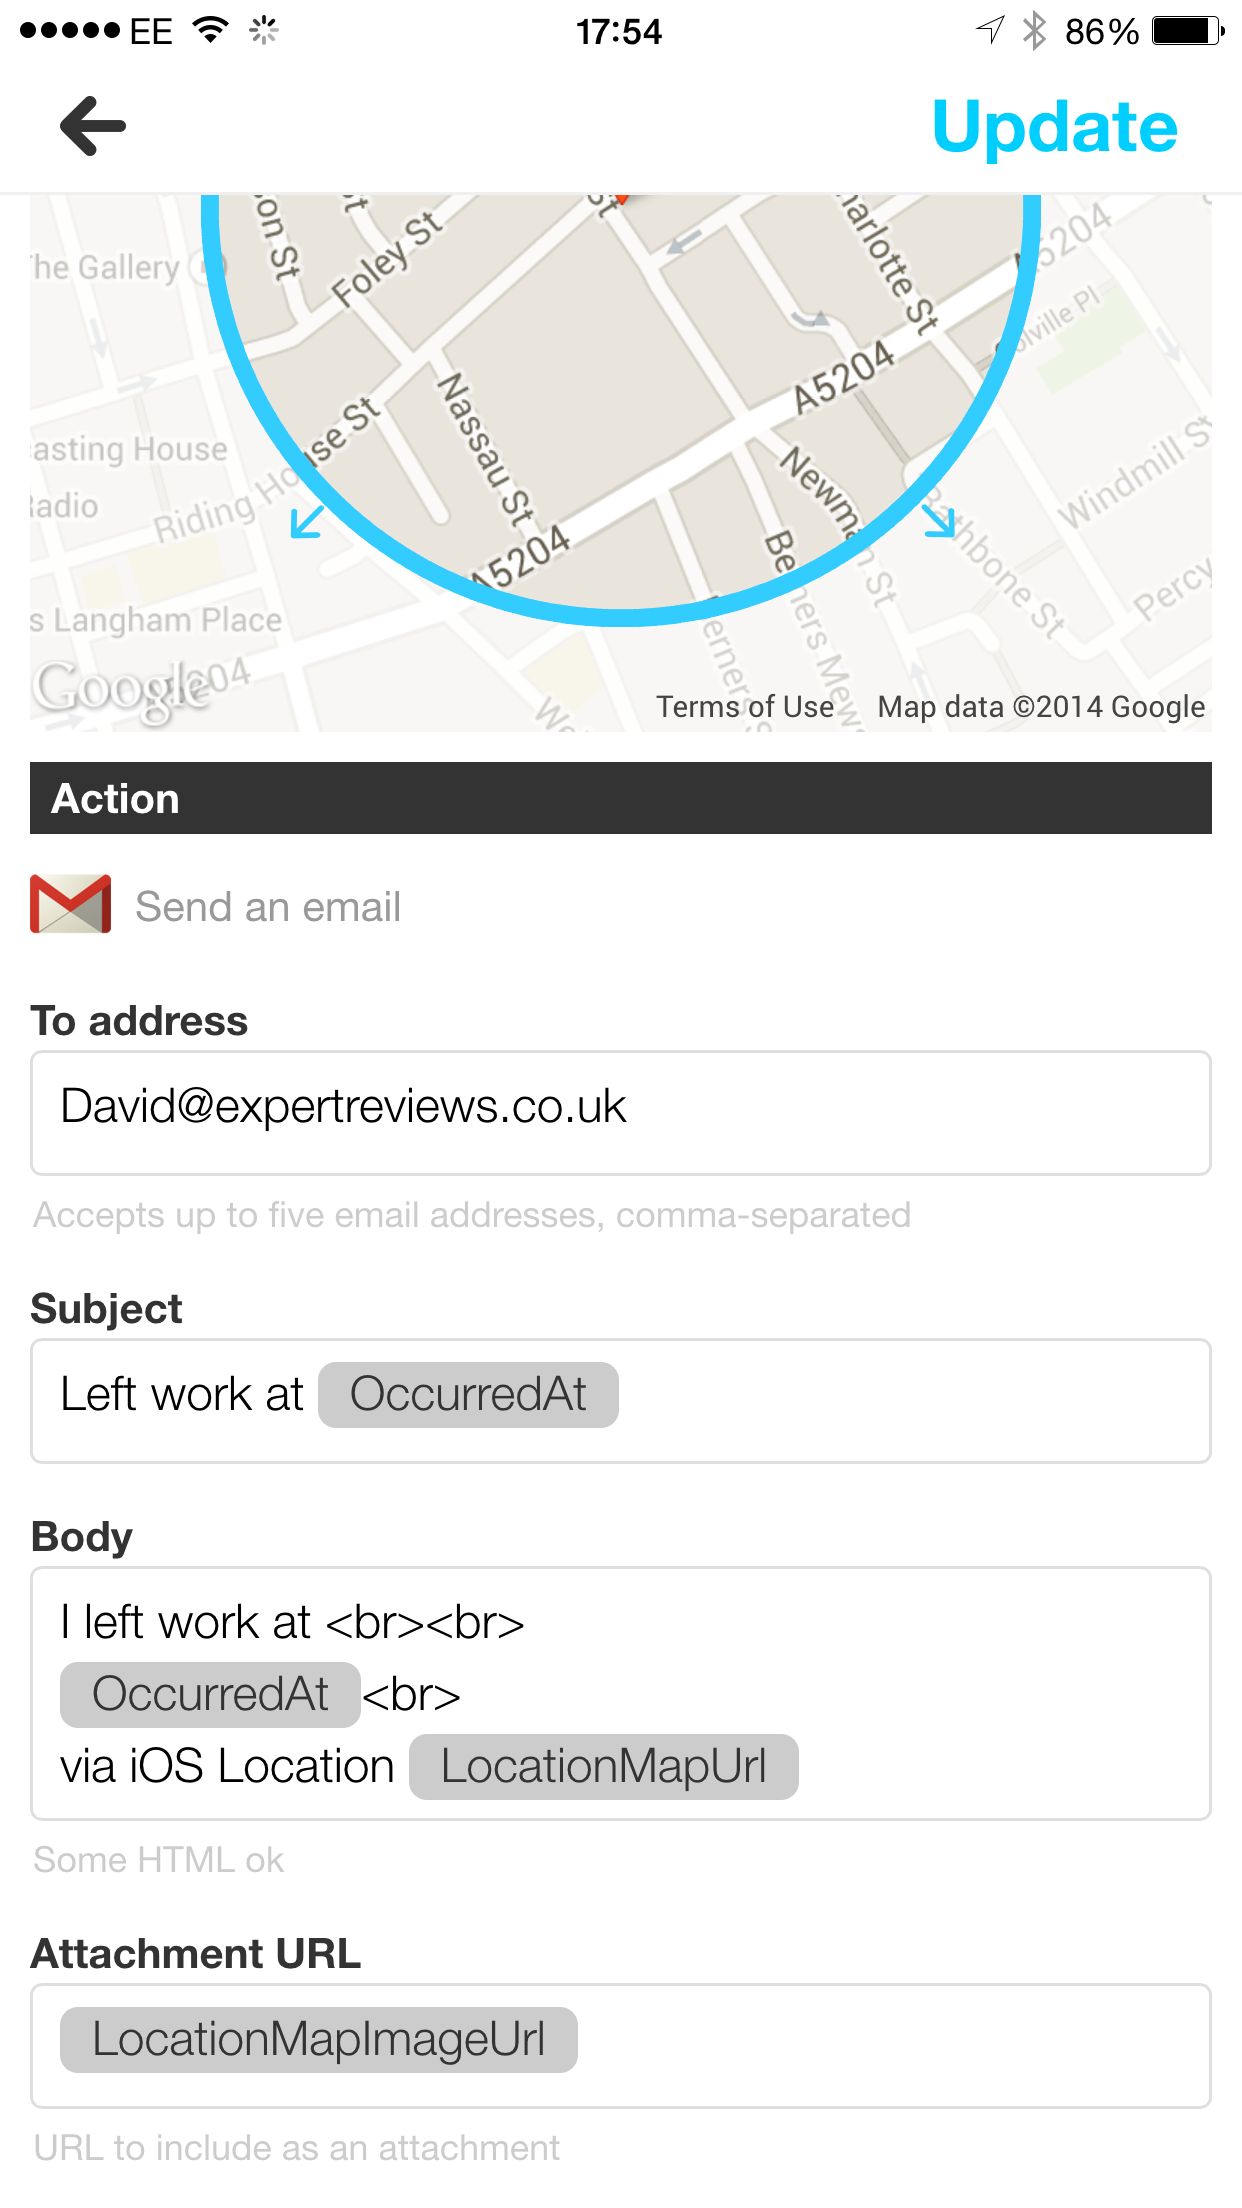
Back on the Recipe screen, you can tap your new rule to edit it, as the initial configuration process doesn’t let you edit the contents of the email. Tap Edit and scroll down and you’ll see that you’ve got a detailed message, but it’s a bit basic. Fortunately, you can completely edit this. Tap any box to start editing and the flask icon to insert dynamically created ingredients. For example, in the subject headline, ‘I exited an area OccurredAt’, will replace OccurredAt with the time the rule was triggered. You may want to change this to, ‘Just left work at OccurredAt’.
You can also edit the body copy, which contains a similar message, only with a link to the map (LocationMapUrl), while the attachment (LocationMapImageUrl, which is a graphic of the map you can see in rule), should be fine. Tap Update when you’re done.
MANAGING RECIPES
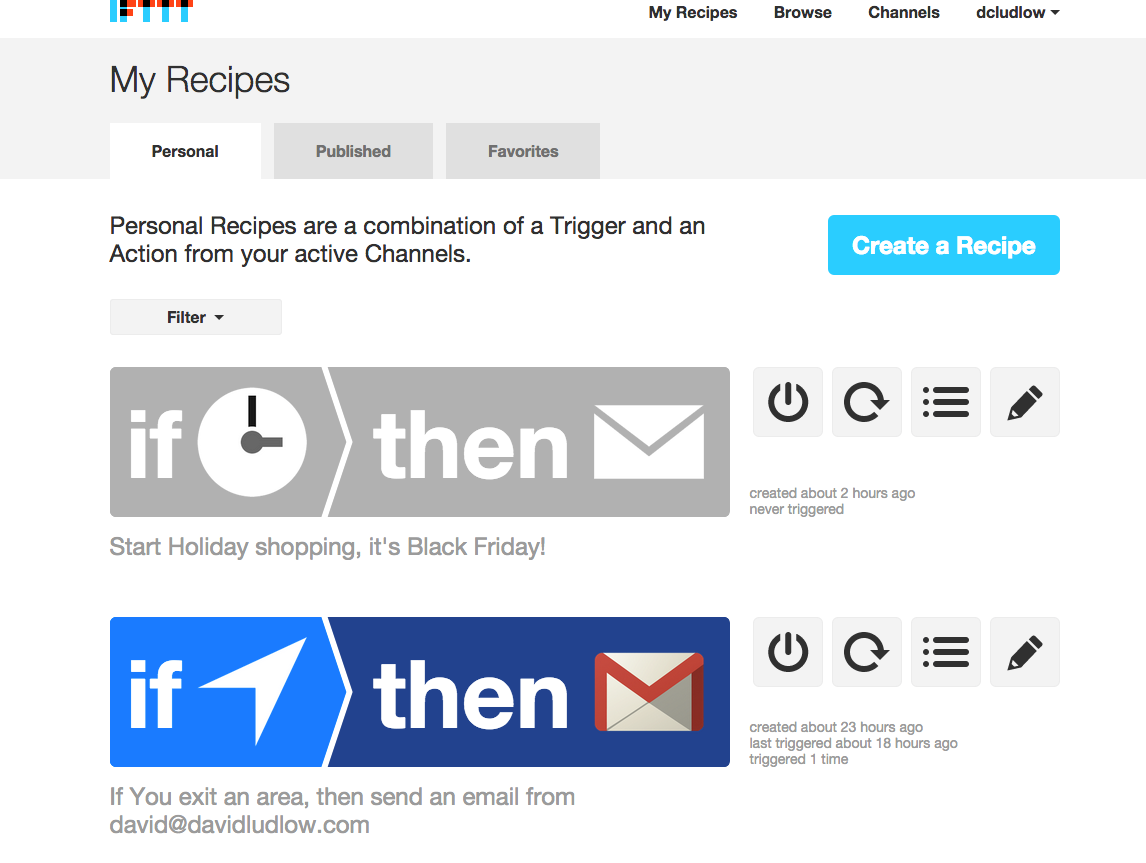
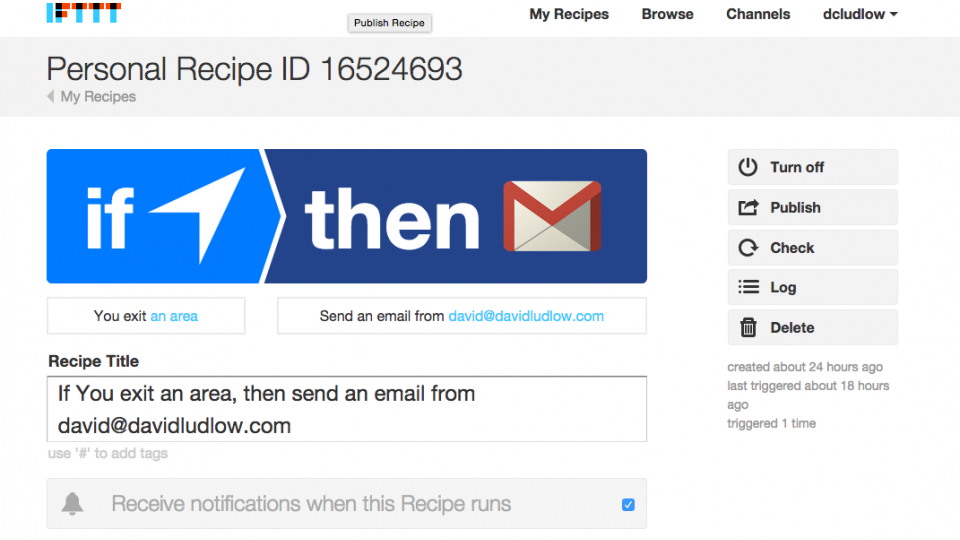
We’ve give you an overview of the kinds of rules that you can create, but you can now take it further, by investigating the other channels and creating rules based on the features that they offer. You don’t have to have all rules that you’ve created turned on, and can choose which ones you want to run. From the web interface click My Recipes and use the power button icon to turn a recipe on or off (it goes grey when it’s off). From the mobile app, click the Pestle and Mortar icon and use the toggle switch to turn a recipe on or off.
SHARING RECIPES
One of the neat things about IFTTT is that everything you create can be shared with the community and vice versa. You can share a rule and make it public using the web and app interfaces. From the web interface click My Recipes, then click the recipe that you want o share to go into edit mode. From the app, click the pestle and mortar icon and tap the recipe you want to share to go into edit mode. From either interface select Publish to share.
GETTING OTHER USERS’ RECIPES
Of course, you can get recipes that other users have created, letting you use their work. From the web interface, click on Browse and you can view collections, such as Recipes for iOS, Featured recipes, Trending ones, new ones and the most popular of all time. From the app, tap the Pestle and Mortar icon and then tap the Glasses icon to get a similar screen. You can search for specific recipes from either interface, too.
Once you’ve found a recipe that you’re interested in, select it and then choose Add recipe. This will add the recipe into your list. You’ll need to go to your list and edit the new recipe, configuring it for your needs. For example, a recipe that uses location won’t be set up to trigger where you want it to.