To help us provide you with free impartial advice, we may earn a commission if you buy through links on our site. Learn more
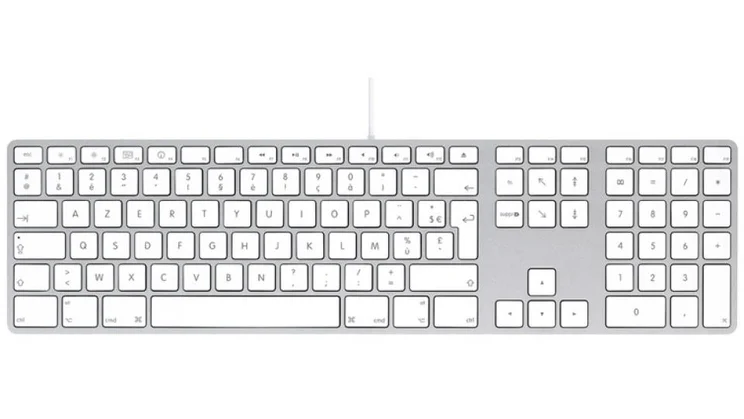
The Apple Mac keyboard is one of the best that you can buy. Its flat responsive keys make it quick to type on, while its slim and attractive finish means it looks great and doesn’t need a lot of room. The downside is that the keyboard isn’t officially supported in Windows and Apple only provides drivers if you use Bootcamp to install Windows on a Mac. Fortunately, you can work around the problems and get the keyboard working in no time on any version of Windows.
1. Download and install driver
Download the unofficial Mac keyboard layout Zip file. Extract the files on to your hard disk and run the Setup file. This will automatically install the keyboard file and configure your PC to use the correct layout. It also introduces some special shortcuts – CTRL-ALT-2 gives the € symbol, while CTRL-ALT-3 give the # symbol.

2. Assign the keyboard
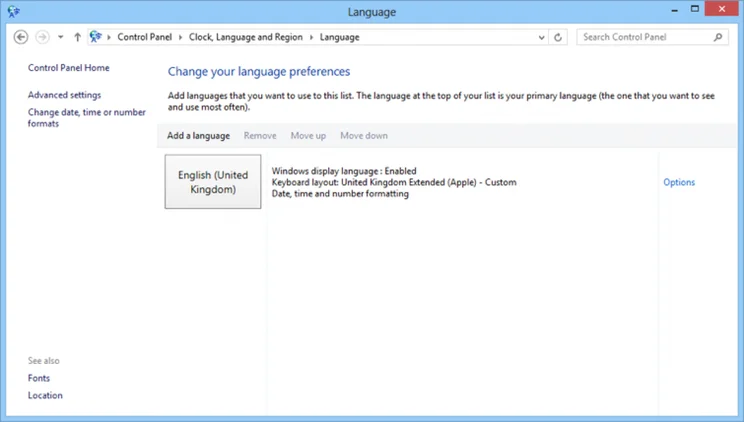
You now have to assign the keyboard to your computer. To do this you need to go to Control Panel, Clock, Language and Region, Language. Next to English (United Kingdom) select Options, the click Add an input method. Add United Kingdom Extended (Apple) – Custom. Click Remove next to all other input methods, then click Save.

3. Map missing keys
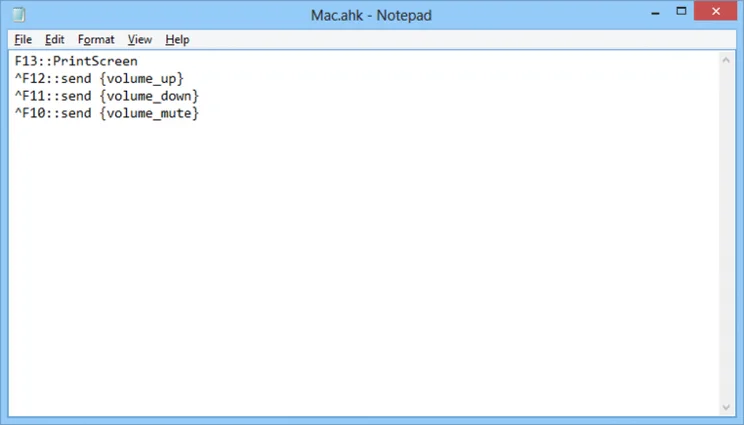
Your keyboard will now mostly work, but there are some things you need to do in order to perfect it. For starters the PrintScreen key won’t work and the Fn key and shortcuts, such as for adjusting volume, won’t work either. The easiest way to fix this is to use AutoHotkey, which you can download and install for free. Run Notepad and type the following in:
F13::PrintScreen
^F12::send {volume_up}
^F11::send {volume_down}
^F10::send {volume_mute}
This tells AutoHotkey to map F13 to PrintScreen and Control-F10-to-F12 to be the volume controls. Save the file as Mac.ahk.

4. Compile the script
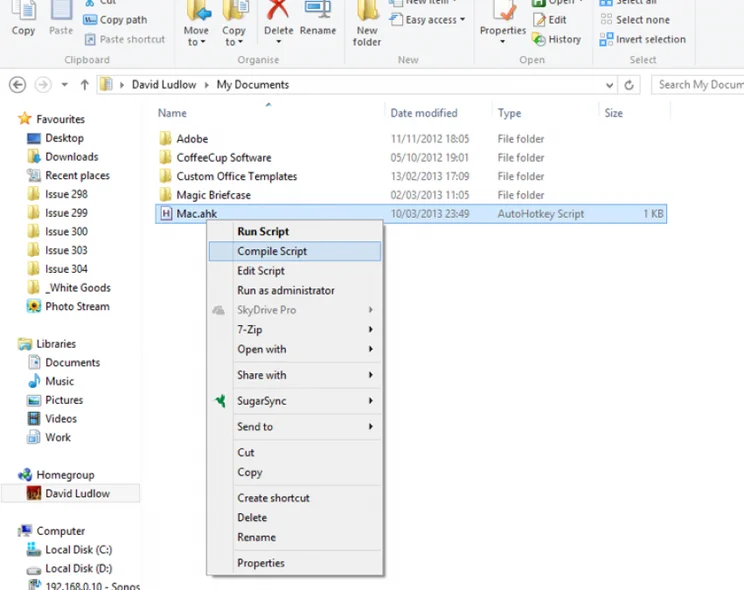
Browse to the file you saved, right-click it and select Compile. This will create an standalone executable for your keyboard settings. Next, open the Start Menu, which is stored in C:Users
5. Fix other applications
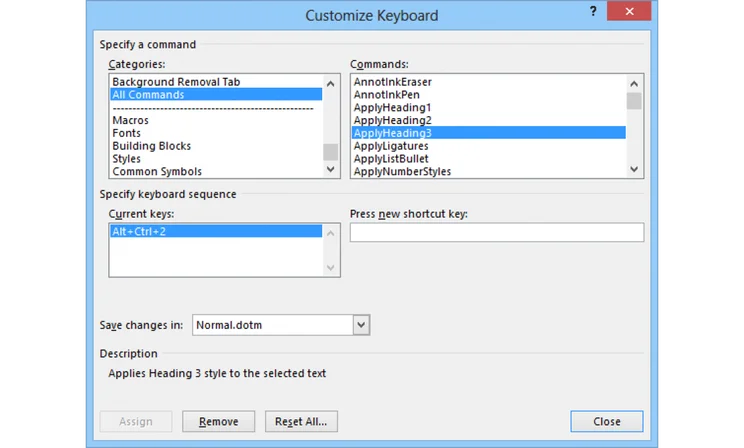
The only bit of software we’ve had problems with is Word, which uses CTRL-ALT-2 and CTRL-ALT-3 to select, respectively, the Heading 2 and Heading 3 styles. To remove these shortcuts, or reassign them, click on the Office button and select Options. Click Customize Ribbon, then click Keyboard shortcuts. In the Categories tab select All Commands, then scroll down to ApplyHeading2 in the Commands window. Select the Current keys shortcut and click Remove.
If you want to add a new shortcut, click the Press new shortcut key box and enter your key combination – you’ll be shown if your chosen selection is already assigned to something else – and click Assign. Otherwise, move on to ApplyHeading3 and repeat. Click Close when you’re done.