To help us provide you with free impartial advice, we may earn a commission if you buy through links on our site. Learn more

It’s not always in your best interests to delete an unwanted Gmail message, especially if you think you might need access to it later. Keeping on top of all your emails, and making sure your Gmail is clean and rid of clutter, is very important especially if you get hundreds of emails on a daily basis. Thankfully, Google has you covered, with a wealth of different features to keep your Gmail messages under control, most notably the handy Archive feature.
With this, you can send less important emails to their own area of Gmail. That way, your main inbox will only contain significant messages, while the other bumpf you get is relegated to the sidelines. It’s surprisingly simple to do too once you know how, but can be difficult to find, so we’ve got a step-by-step guide just in case you’re finding it a bit tricky.
How to archive messages in Gmail on PC, Android and iOS
First things first, you’ll want to open up your Gmail client either via the browser or the Android/iOS app. If you’re on the PC, you’ll want to open up the message you want to archive or check the little box next to it in the list of messages. Then you simply press the archive button at the top of the message list, it’s a file/box with a downward-pointing arrow on it.
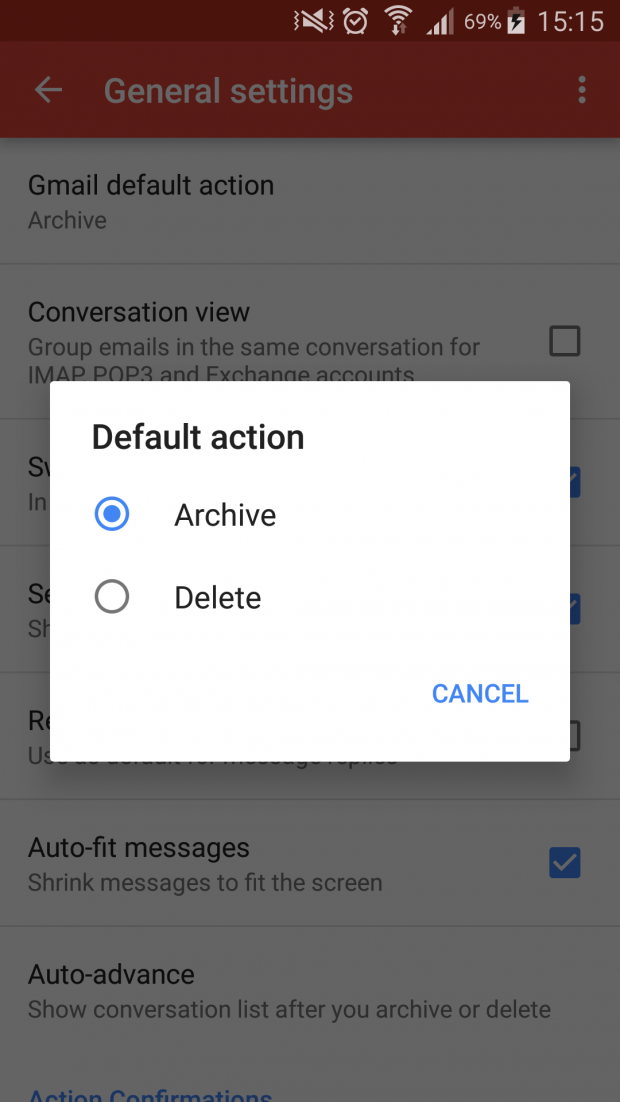
Things are a little bit different if you’re using a mobile device, though, yet it’s still relatively hassle free. If you’ve got an Android device, open up the Gmail app and tap the menu icon in the top left. From here there are plenty of options to choose from, but you’ll want to navigate to settings, then general settings and tap Gmail default action. You’ll then need to choose whether you want to archive or delete a message by default. You can also look into the action confirmations section here, to tick whether or not you want a confirmation option before making your choice with what to do with your messages.
If you choose to delete your messages by default, just remember that if you do delete them, they’ll only be stored in the Trash folder for 30 days, after which they are deleted permanently. If you need to recover your deleted Gmail messages, read up on our step-by-step guide to try and get them back.
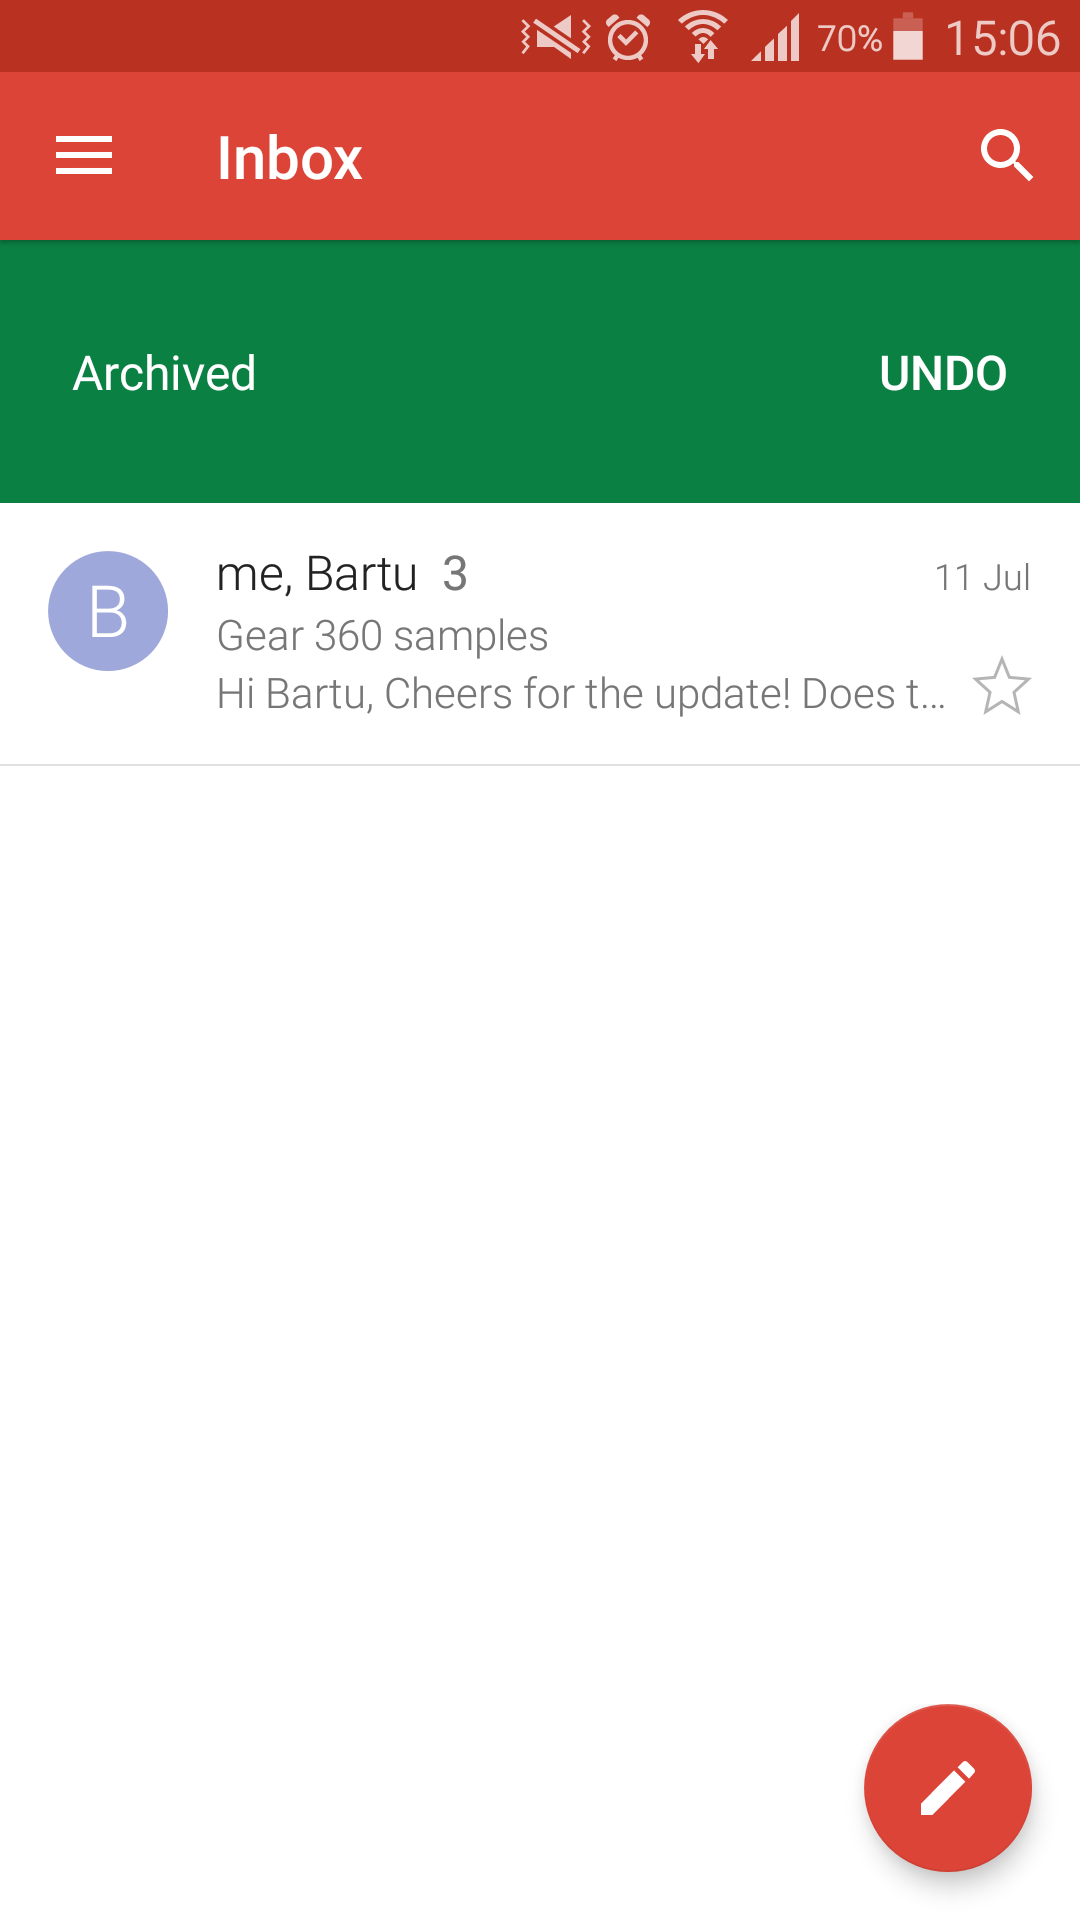
Once you’ve opted to archive messages, you’ll want to swipe the message you want to move to either the right or left to archive it, or just tap and select the archive option. The same goes for iOS too, it’s nice and straightforward.
How to find your archived messages
Now that you’ve archived them, you might be wondering, where it is you’ve actually moved them to. The messages have now been moved from your inbox and have been labelled under All Mail. If you’re on PC, hover your mouse over the label list on the left-hand side and scroll down to the All Mail label.

If you’re on Android or iOS, you’ll need to open your Gmail app and tap on the menu icon in the top left and finally, the All Mail label. From here, you’ll be shown every Gmail message currently synced and will be able to search for any emails you think might have gotten lost, it’s that simple.
Still itching to brush up your knowledge of Gmail? Read our Gmail tips and tricks guides such as How to recover your hacked Gmail account and How to change your Gmail name.


