To help us provide you with free impartial advice, we may earn a commission if you buy through links on our site. Learn more
You may know what a VPN is but still feel a bit leery about using one. After all, hiding your digital tracks and appearing as if you’re somewhere else sounds interesting, but how do you actually make it work? In this simple tutorial we’ll show you how.
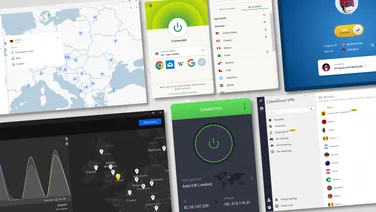
If you look over our overview of the best VPNs, you’ll notice that there are more than a few options to choose from, all of which have their own interface and way of working. For this guide, we’re going to use our favourite all-round service, NordVPN, which we find is among the most user-friendly (read our full-length NordVPN review for more on why we like it).
That said, NordVPN doesn’t set the standard, either, so wherever we feel it’s necessary to point out how another service performs a specific function, we will. Now, with disclaimers out of the way, let’s take a look at how to use VPNs.
READ NEXT: The best VPNs you can try before you buy
How to use a VPN: the basics
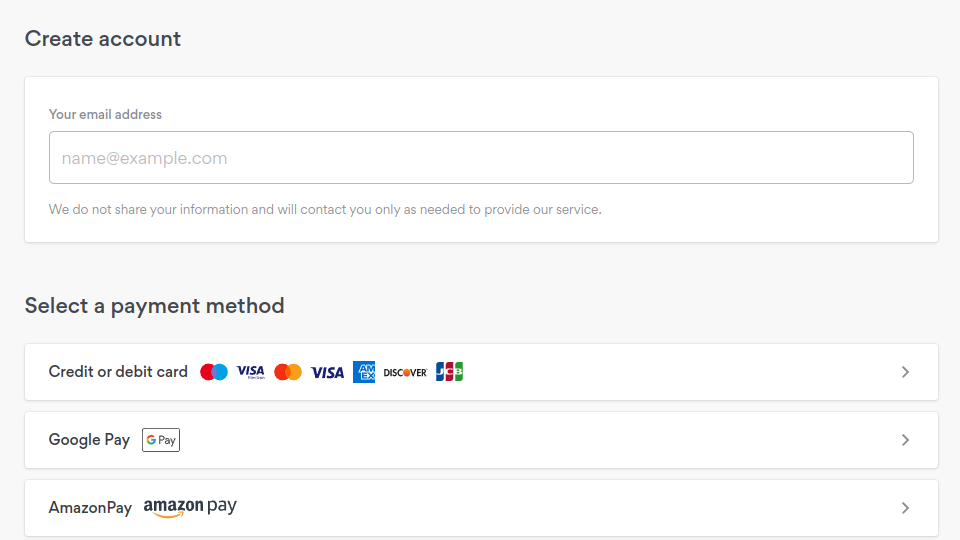
To use a VPN, you need to first sign up for one and install it. In the case of NordVPN, it’s as simple as going to the website, entering your email address, payment information and creating account credentials, like your password.
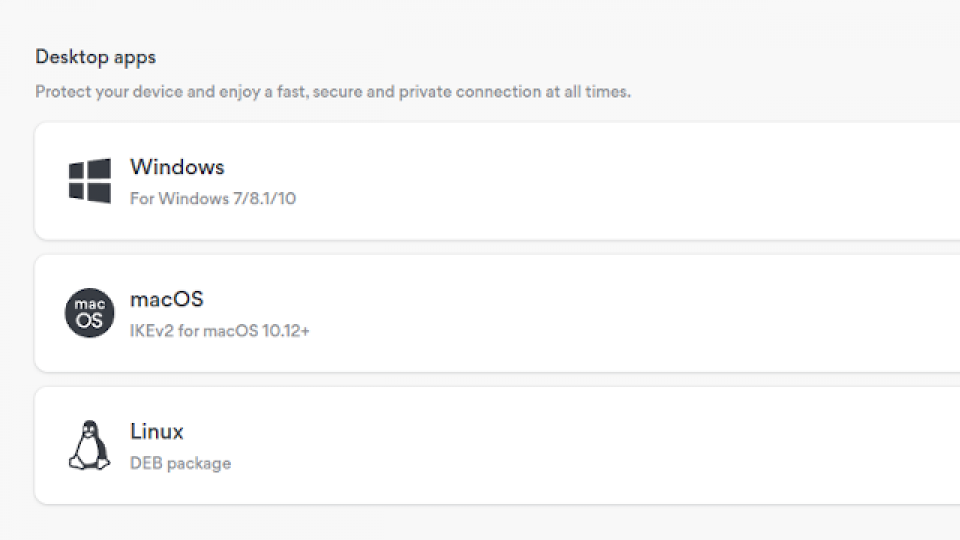
Then go to the downloads page in your account, and pick the flavour of OS you’re using (note that the Linux version is just run in the command line, there’s no graphical interface).
Once you’ve downloaded the installer, let it do its thing. It will install a desktop icon and once the installation is finished, click on it.
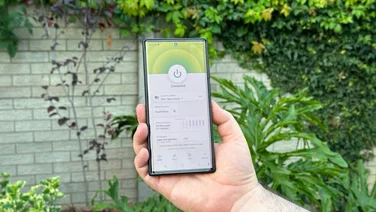
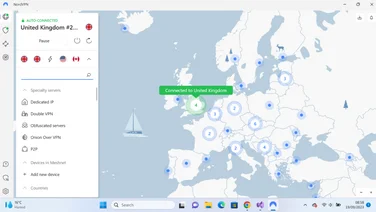
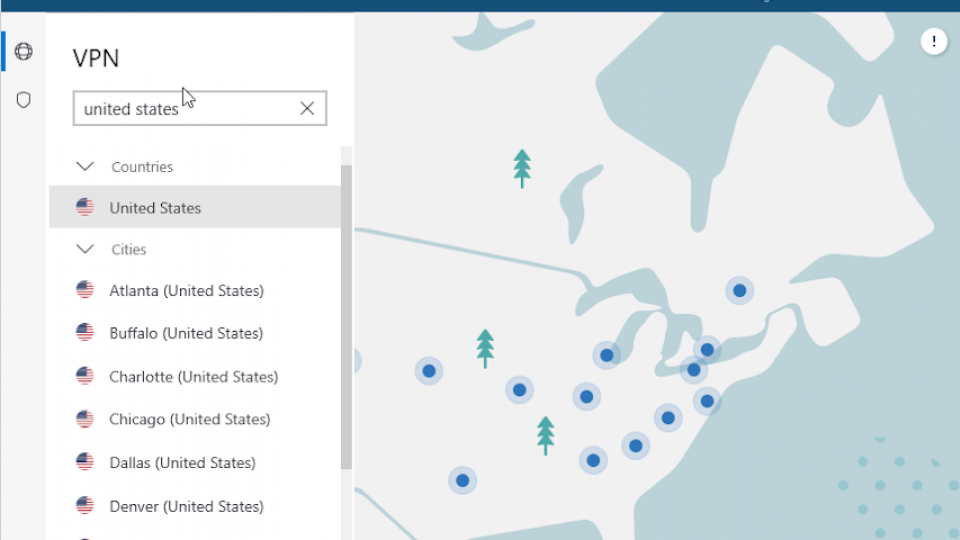
The program will open and you’ll be greeted by NordVPN’s main interface. This is just a map of the world from where you can choose places to connect to. However, if you don’t want to use the map, you can also use the menu on the left; either way works.
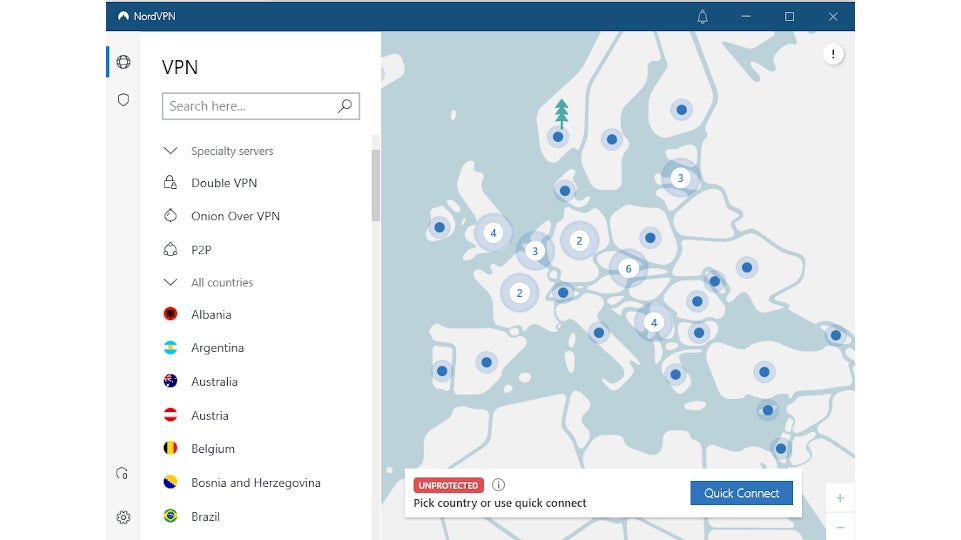
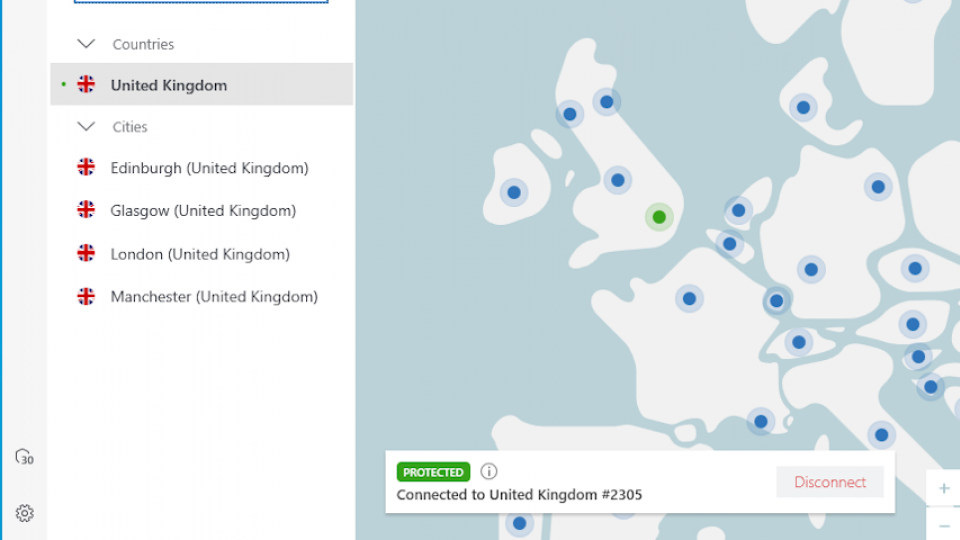
When you click on a server location, you’ll be connected automatically. If, instead, you click on “quick connect” in the bottom right of the screen, you’ll be directed to your closest server. Whichever way you go, you’ll see that NordVPN is connecting and, once the connection is made, you’ll receive a pop-up notification to tell you that you’re ready to go.
Where to connect to
While it’s nice to have the whole world open to you (in a manner of speaking), you may be wondering where to connect to. While it’s difficult to give concrete advice on this, here are a few general guidelines.
If your main concern is privacy and making sure you’re not tracked, then try and stay as close to home as you can. If you’re based in the UK, find a server close to yourself. There are a few places you can pick from (though you can always use quick connect if you’re not sure).

You want to stay as close to home as possible because the distance between yourself and the server will affect your connection speed. If you’re in London and connect to Manchester or Glasgow the drop in speed should be negligible, but connect to New York or Tokyo and you’ll feel the difference.
As such, we recommend you don’t connect to faraway servers unless you have to: if you want to access Netflix’s much larger selection of shows in the United States, for instance. Connecting from the UK, though, you’ll want to prioritise East Coast servers over ones on the West Coast to keep speeds up.
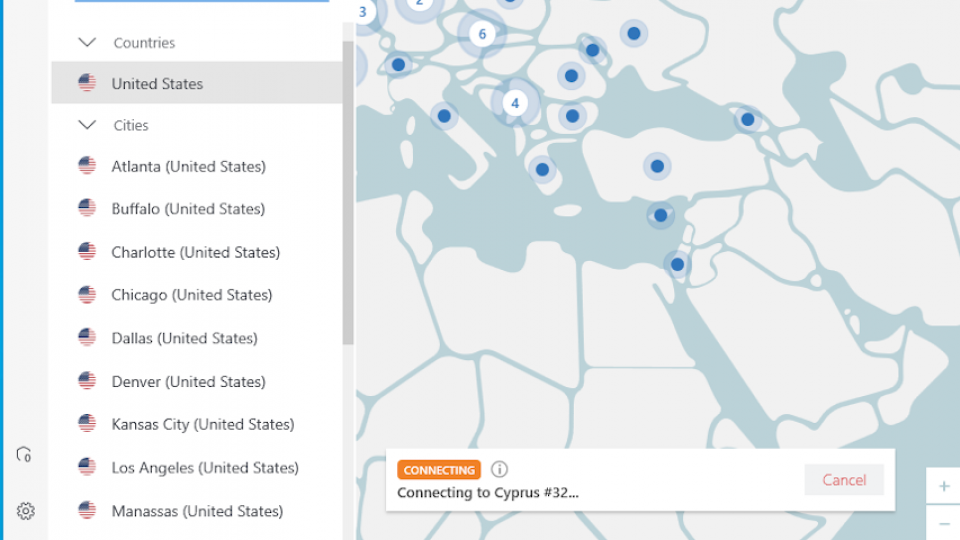
If you’re ever having trouble with a specific server – maybe it’s too slow, or it keeps disconnecting you – just switch over to another one by disconnecting via the button in the bottom right.
To find a better one, instead of clicking on a country, simply select an individual server by clicking on the three dots next to a country’s name and then using the drop-down menu next to the word “server.”
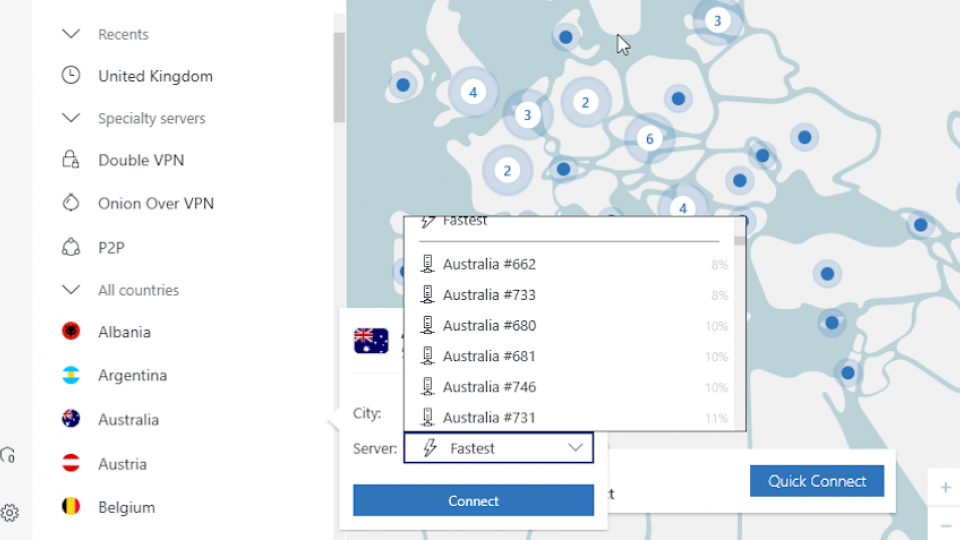
Annoyingly, NordVPN numbers its servers, which makes it hard to find a specific one. If you’re worried about this happening a lot, use ExpressVPN, instead. This names servers according to location.
Specialty servers and options
Now we’ve covered the basics of using a VPN, let’s take a look at some more advanced abilities. NordVPN is one of the very few services to offer what it calls specialty servers: servers that have a specific function.
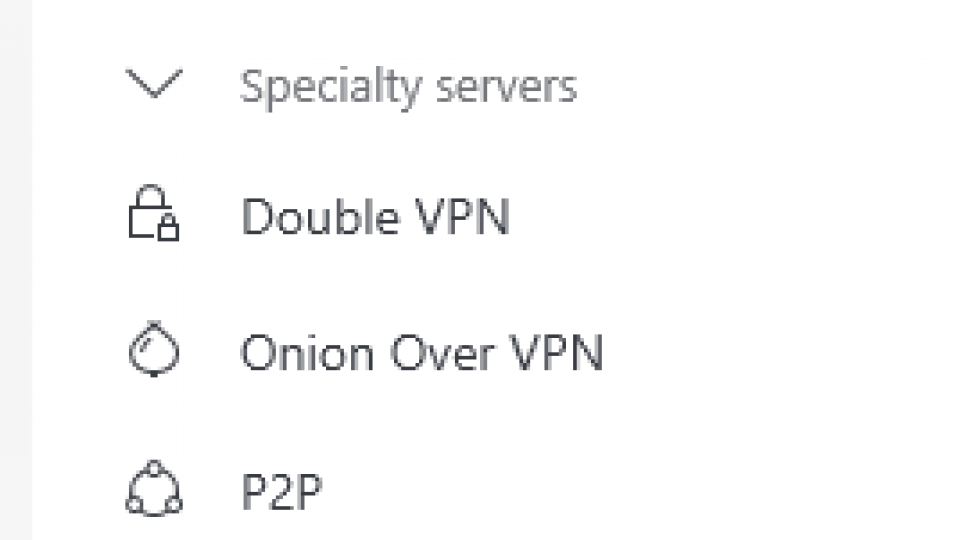
Of these, only the P2P servers, which are meant for torrenting, are useful. Double VPN only slows your connection down for no appreciable benefit, while the Onion over VPN connection is only for people that want to connect to the dark web, and even then is of questionable utility.
The upshot is that if your VPN of choice offers torrenting servers, use those. However, if it doesn’t, just use standard servers. In the end, there doesn’t seem to be much difference.
Other Settings
Generally speaking, no matter which VPN you use, you’re best off always checking a few functions in the settings menu. Again, we’ll use NordVPN as an example, mostly because its options are quite comprehensive. But the below counts for most other VPNs, too.
Before we go on, though, be warned: here be dragons! Unless you know exactly what you’re doing, do not mess with most settings.The wrong toggle can put your security at risk, especially if you start messing with things like protocols and security systems.
In the case of NordVPN, the settings menu looks something like this:
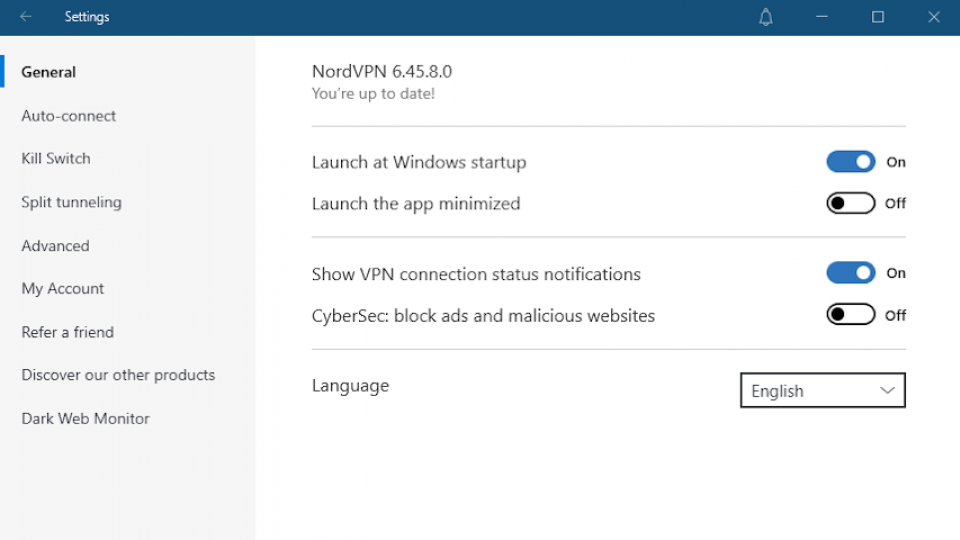
The general and auto-connect settings explain themselves and can be messed with freely. They mostly are ease-of-life tweaks that determine when and how the VPN connects. We’ve never seen a VPN that didn’t offer options like this, so set them as you see fit. The interesting stuff is found below, under the “killswitch” tab.
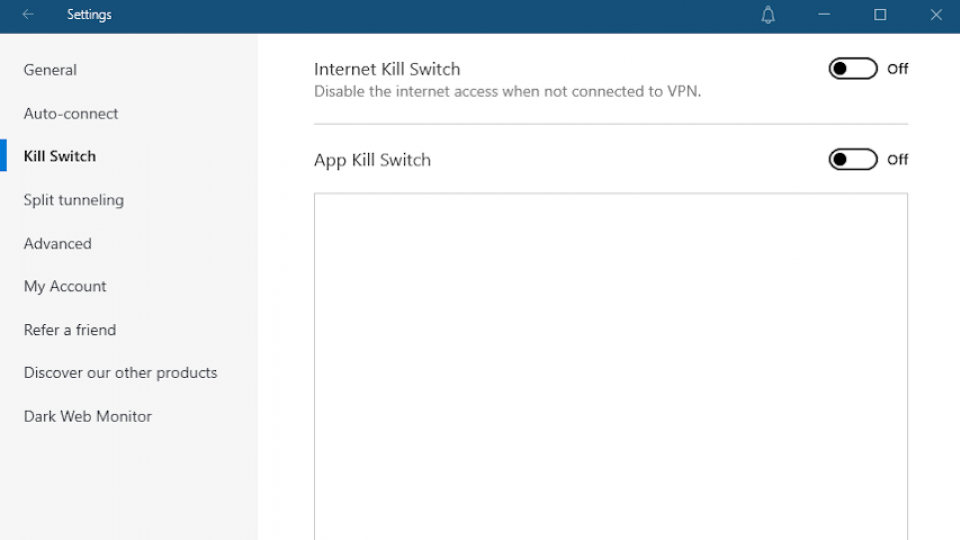
A killswitch disconnects your device from the internet if the VPN fails for any reason. Unlike almost every other competitor, NordVPN has this disabled by default. Contrary to our own earlier advice, we’re going to recommend that you switch this on so you’re sure to be protected even if the server is on the blink.
Other things you could look out for are split tunnelling, which lets you decide which apps use the VPN and which don’t, as well as torrenting or streaming related options; these can differ a lot depending on your VPN.
Besides the killswitch, though, we doubt most users will need to access the settings menu. All you really need to use NordVPN is the main screen and the connect button. Have fun, and stay safe out there!