To help us provide you with free impartial advice, we may earn a commission if you buy through links on our site. Learn more
When it comes to online privacy, virtual private networks (VPNs) have become essential to avoid being spied on by the powers that be, or having your data stolen by hackers. It’s not the total solution some might make it out to be, but one of the best VPNs is certainly a great start to better privacy and security.
Here we’ll cover what a VPN does, why you would want to use one, which Android devices support them and the two main ways to set one up on an Android device.
READ NEXT: The best VPN for Android
What does a VPN do?
If you want to get into the finer technical details, we have published a guide to VPNs and how the technology works but, if you’re in a hurry, the least you need to know is:
- A VPN creates an encrypted, virtual “tunnel” between your device and the VPN server.
- Only you and the VPN provider know what information passes through that tunnel – not your internet provider, nor anyone else spying on the network traffic coming from your location.
- Websites and any other online servers that you access via the VPN can only see the VPN’s location and identity.
Of course, your online destination will still know who you are if you tell them. For example, if you log into Facebook through a VPN, Facebook still knows who you are.
READ NEXT: The best Chrome VPN extensions
What can you use a VPN for?
There are two main uses for VPNs on Android devices or, really, any internet-connected devices: first, as previously mentioned, it’s a boon for privacy and security – you won’t have to worry about using public Wi-Fi, or fear that your internet provider will start throttling your bandwidth because of the websites you visit or where you download things from.
Second, you can use a VPN to bypass location restrictions. Streaming services such as Netflix offer different content libraries in different parts of the world. With a VPN, you can make that service think you’re somewhere else, meaning you can watch the library from that region.
READ NEXT: How to use a VPN
What Android devices can use VPNs?
Any modern Android device can use a VPN. That includes mobile phones, tablets and Android TV devices. The general steps for all three types of devices are the same, with the specifics differing depending on the device’s brand and model, and which version of Android it’s running.There are two main ways to get a VPN on your Android device. The first is to manually enter its details into Android, using the information from your VPN provider – this will work on Android tablets and phones, but not Android TVs – and the second, most popular method is to use the client app provided by the VPN company.
Let’s start by looking at the manual method.
Setting up a VPN manually in Android
Starting with Android 4.0, there’s a basic VPN client built into Android. How to get there differs depending on your specific Android device, but on our Samsung S22 Ultra, running Android 13, the path is Settings > Connections > More Connection Settings > VPN.
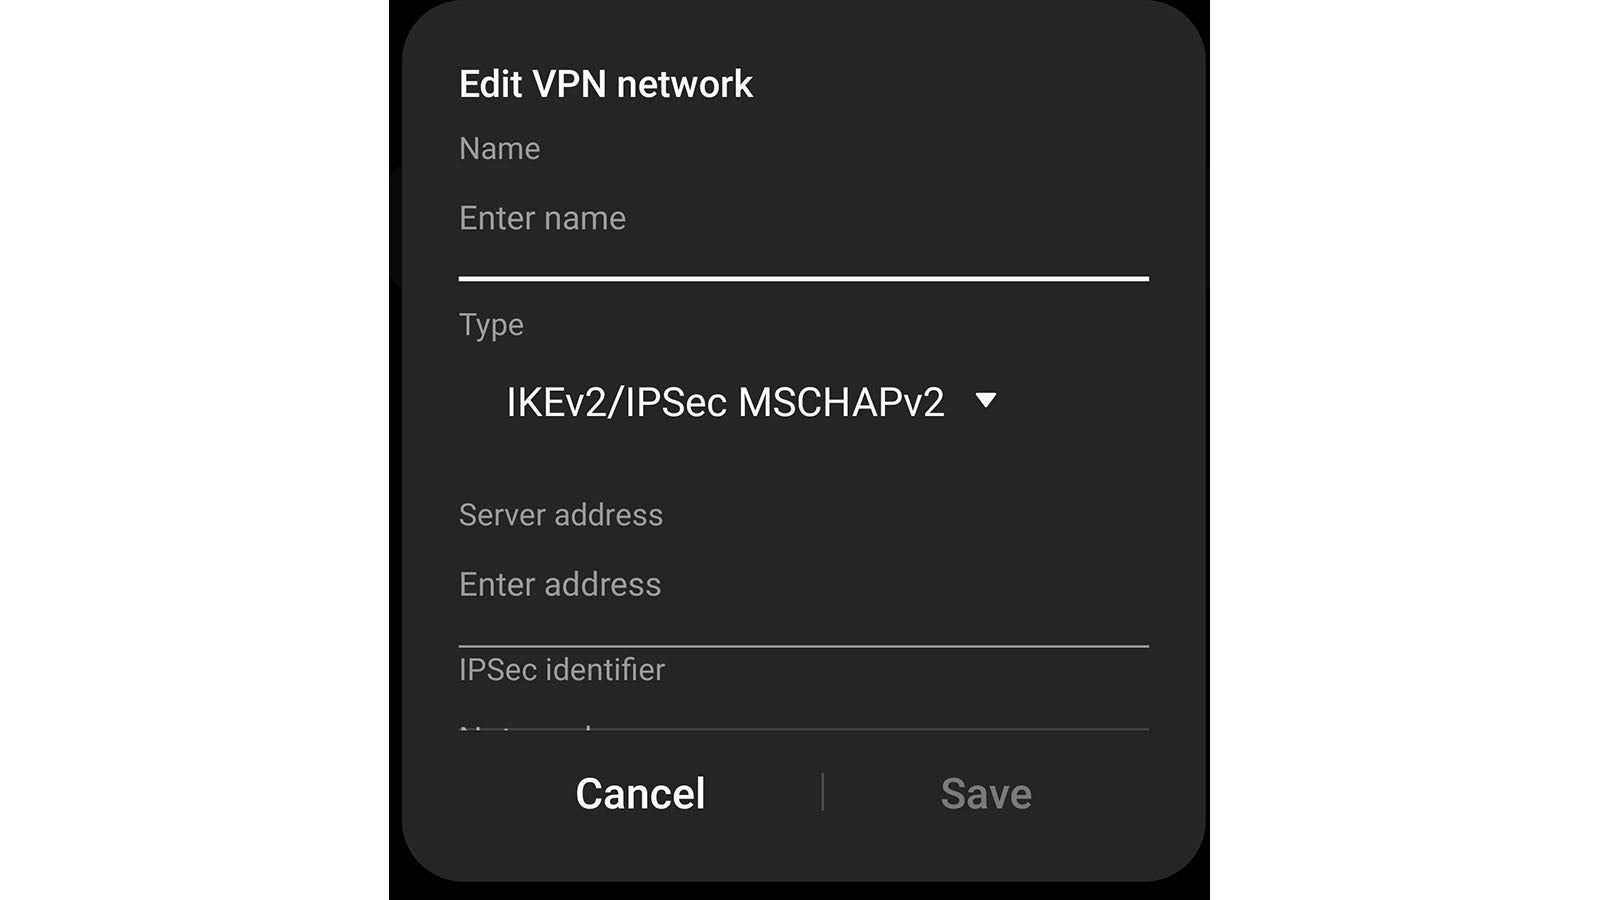
Here you’ll enter the details provided by your VPN service, and then save the profile.
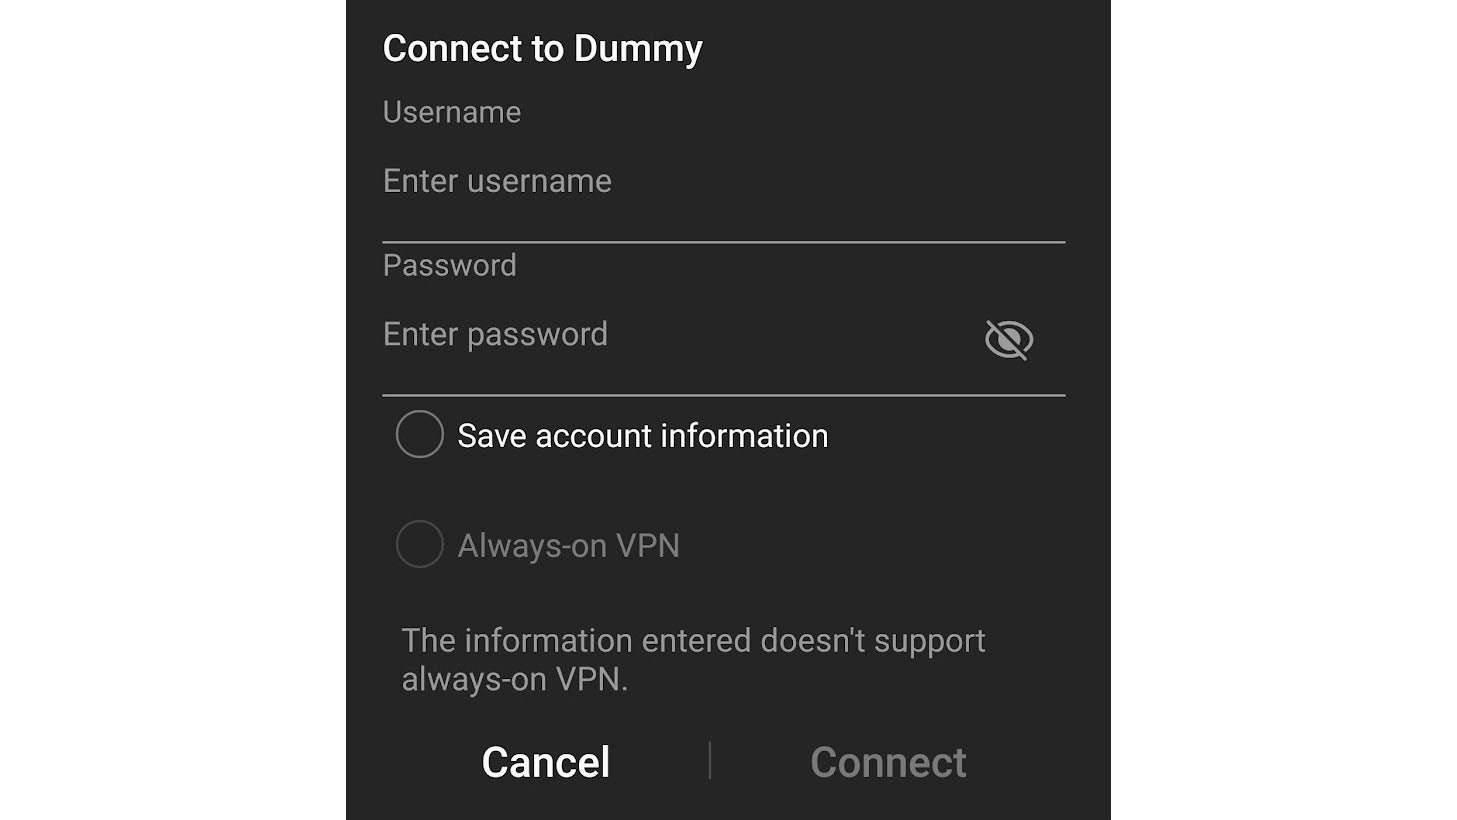
To connect to the VPN, tap on it in the list of profiles, enter your username and password if needed, and then tap Connect.
READ NEXT: The best VPNs for gaming
Setting up a VPN in Android with an app
We strongly recommend that you only use the manual VPN setup if you have no other choice. For the vast majority of Android users, a VPN app should be your first port of call. Most good VPN services maintain their own app and you should be able to easily find it in the Google Play store. In our example, we’ll use the popular ExpressVPN app, but the general idea is the same for all similar services.
Once you’ve downloaded and installed the app, open it and sign in. If you’re not already a subscriber, you’ll most likely be prompted to register and start a free trial or purchase a subscription.
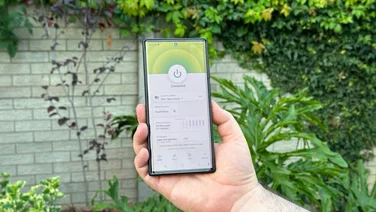
Once you’ve signed in – and paid up – you can connect to the VPN, usually by tapping a large “Connect” button. To disconnect, simply press that button again.
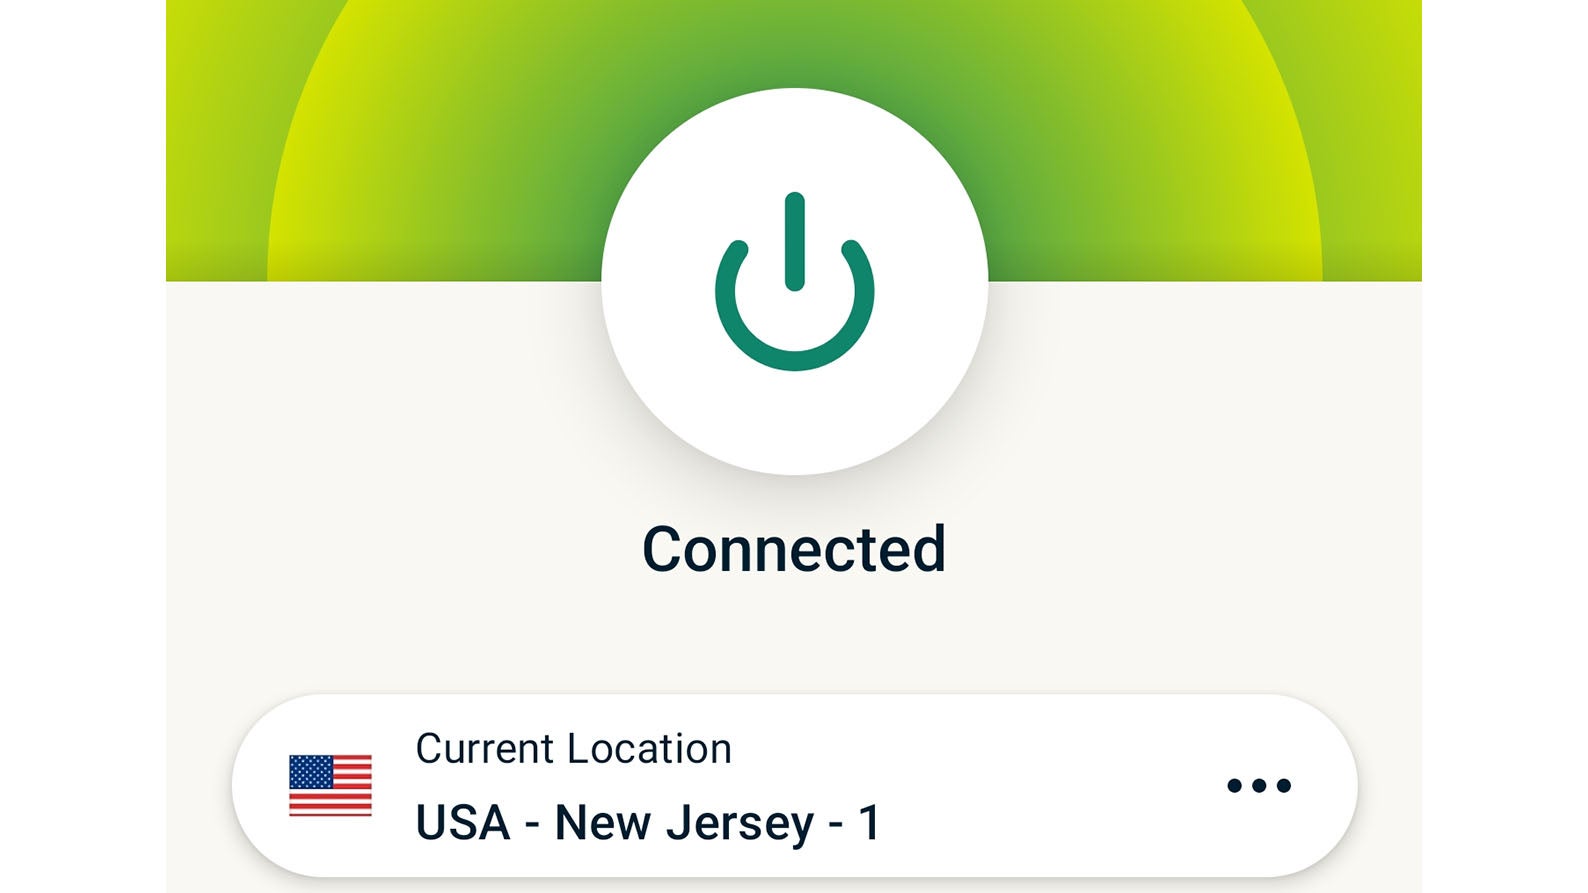
You can tell if your VPN is active by looking for the small key symbol in the system bar at the top of your phone’s screen.

READ NEXT: The best cheap VPNs
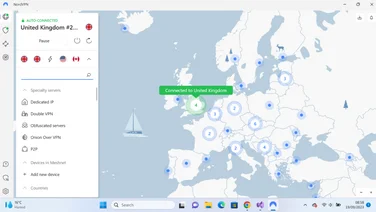
Choosing a VPN region
Usually, the VPN app will automatically choose the best server for you. This is usually a server in the same country or region as you: the one that’s physically closest to you. By connecting to a nearby server, you shouldn’t experience any performance issues when it comes to connection quality or speed. You’ll enjoy privacy from being spied on by your internet provider, or any bad actors on the same network as you. However, since you’re still in the same region as your true location, you won’t benefit from geographic unblocking.
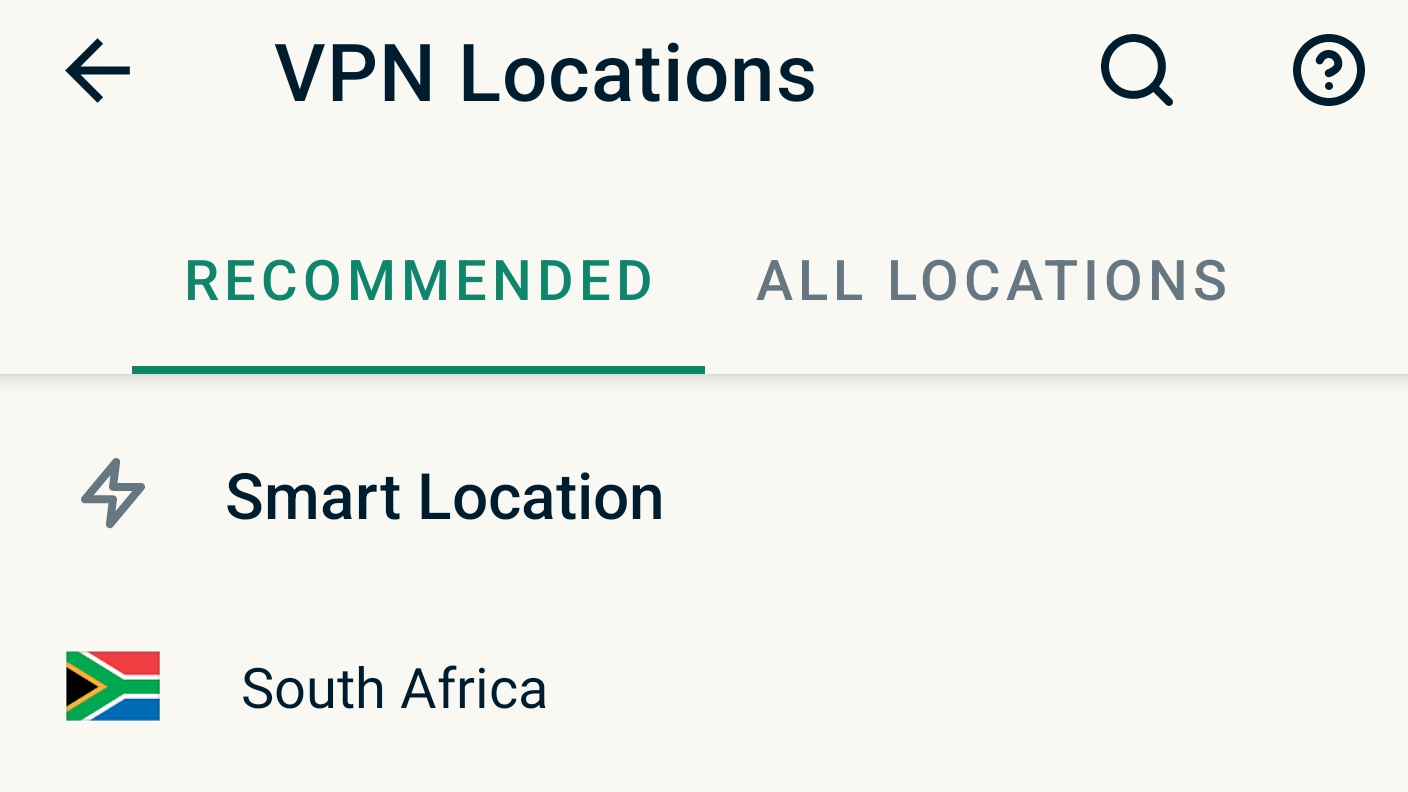
If you want to appear as though you’re in another region, you’ll have to disconnect and select a server in a different region as your destination. Depending on where that server is in the world, you may experience degraded network performance.
Some VPN services also have specialised servers meant for streaming or for BitTorrent, and others for regular web browsing.
READ NEXT: The best VPNs for Amazon Fire TV Stick
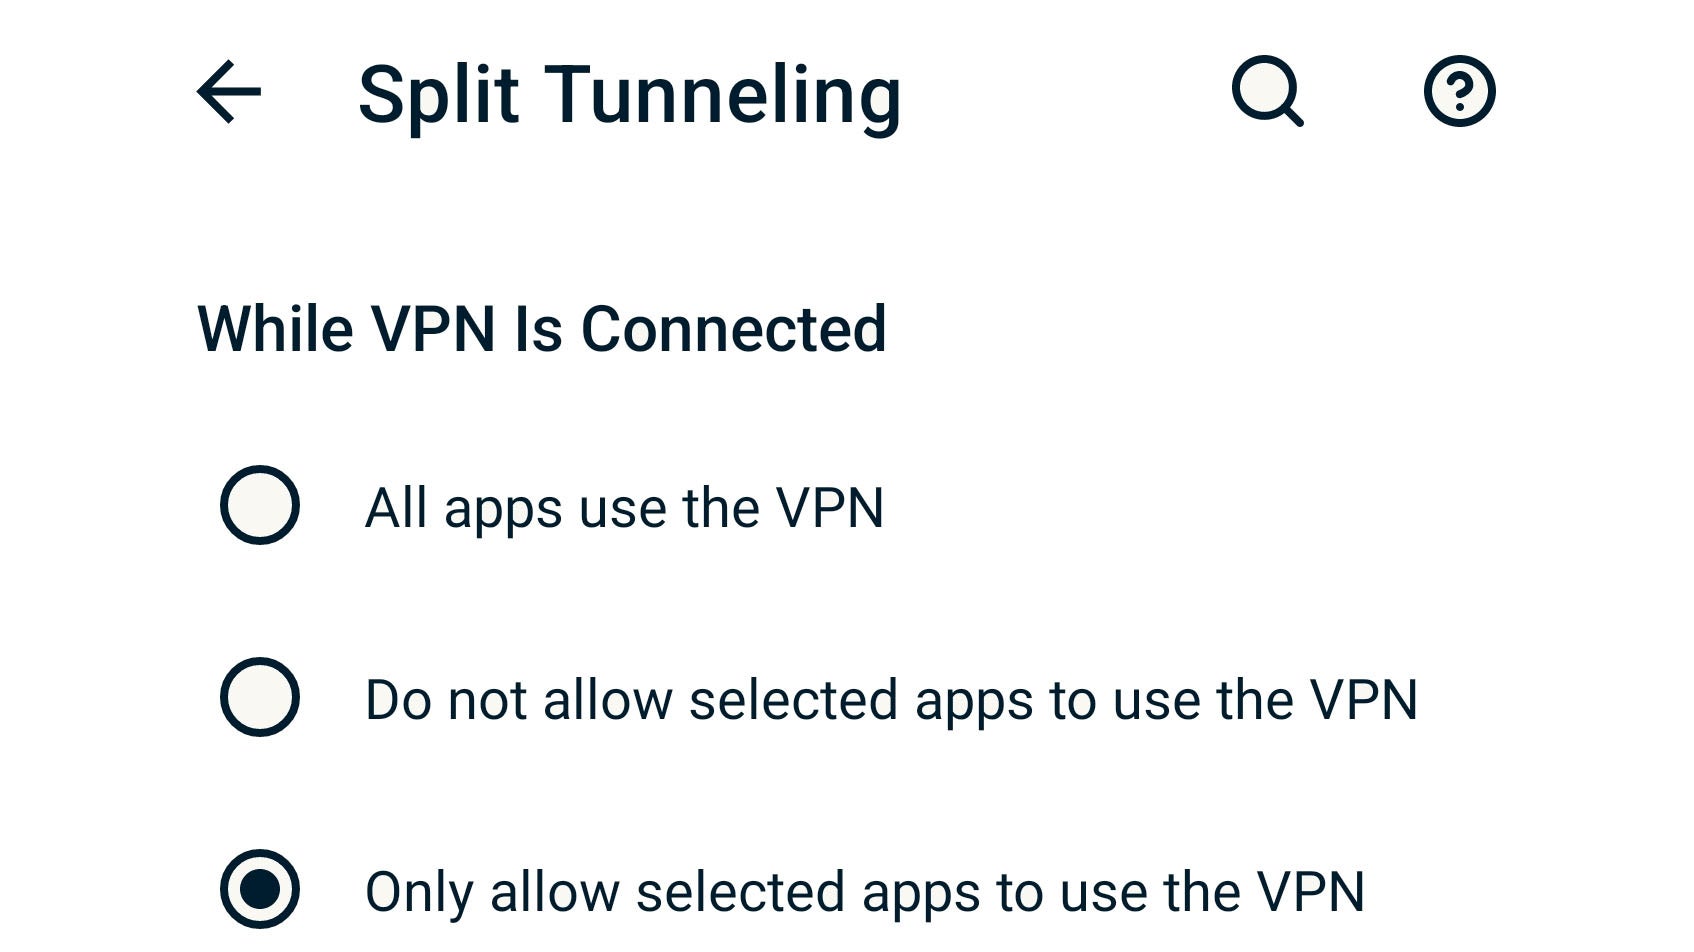
Using split tunnelling
Sometimes you don’t want every app on your device to go through the VPN. Some apps don’t work well with VPNs – such as your banking app, which might not appreciate thinking you’re in China or South America when you’re actually in Swansea – so some VPNs support a feature known as “split tunnelling”, where some traffic goes to the internet normally.
Different VPN providers have different interfaces for this in their apps but, in our ExpressVPN example, it’s as easy as marking which apps should be ignored by the VPN.
That’s all you need to know to install, configure and activate a VPN on your Android device. Now you can enjoy a more secure internet experience.