To help us provide you with free impartial advice, we may earn a commission if you buy through links on our site. Learn more
WordPress is one of the most popular content management systems ever created. It can host anything from a personal blog to the homepage of a multinational business, and it’s as easy to set up as it is to use.
But where do you start? How do you install WordPress? And, once it’s on your server, how do you navigate the comprehensive dashboard, write posts, publish pages, manage your media and extend its core features using plugins and themes?
Whole books can be – and have been – written answering these questions, but we’ve distilled the essentials into just over 2,000 words. Follow our advice and you can get your website up and running, using tools the professionals favour, in a couple of hours.
How to install WordPress
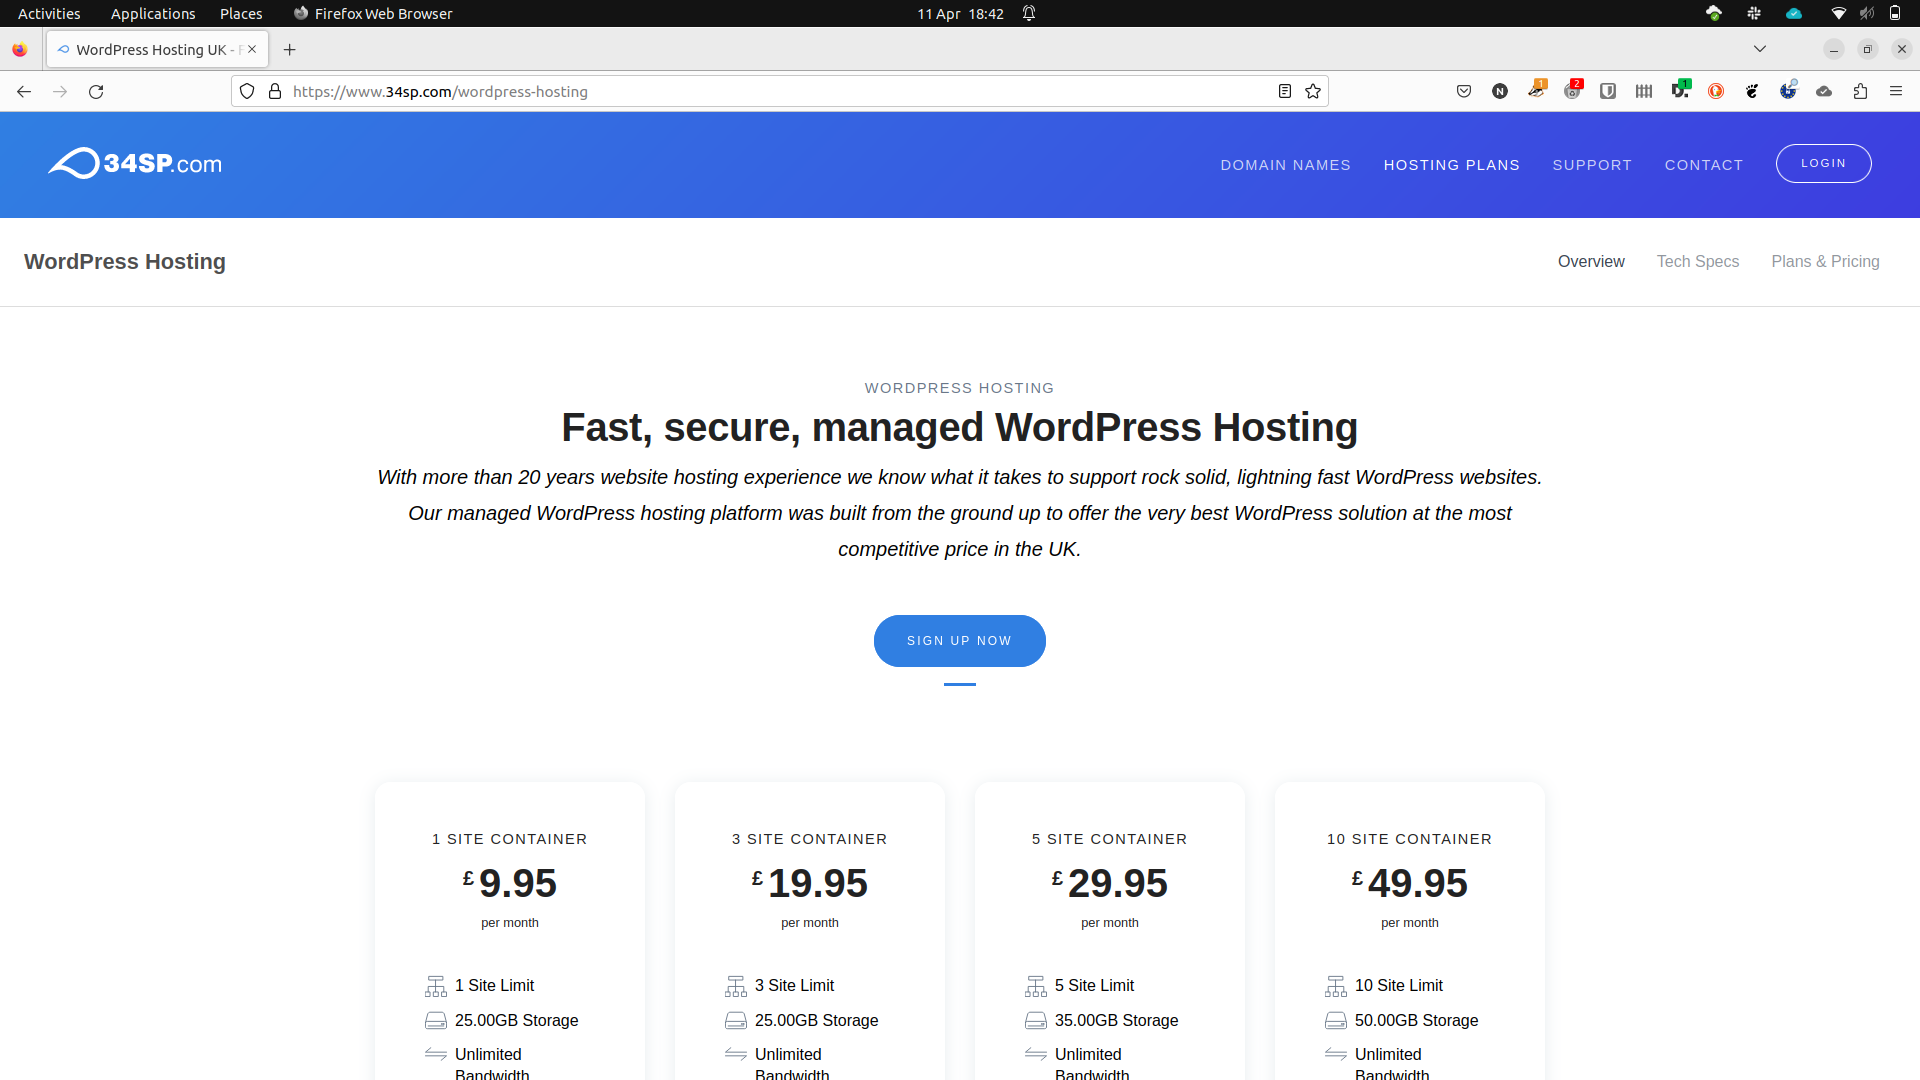
The easiest way to get started is to sign up for a dedicated WordPress hosting account. WordPress itself can host your site at wordpress.com, but it’s far from the only option. Many third-party hosts, including Ionos and 34SP.com, offer dedicated WordPress hosting as an alternative to regular free-form hosting plans.
It’s important to note that when buying a dedicated WordPress hosting package you won’t usually be able to use surplus web space to host anything outside of the WordPress content management system. You might also find you’re unable to set up subdomains, so talk to your host in advance if you have any doubts about whether you can achieve everything you want within WordPress itself.
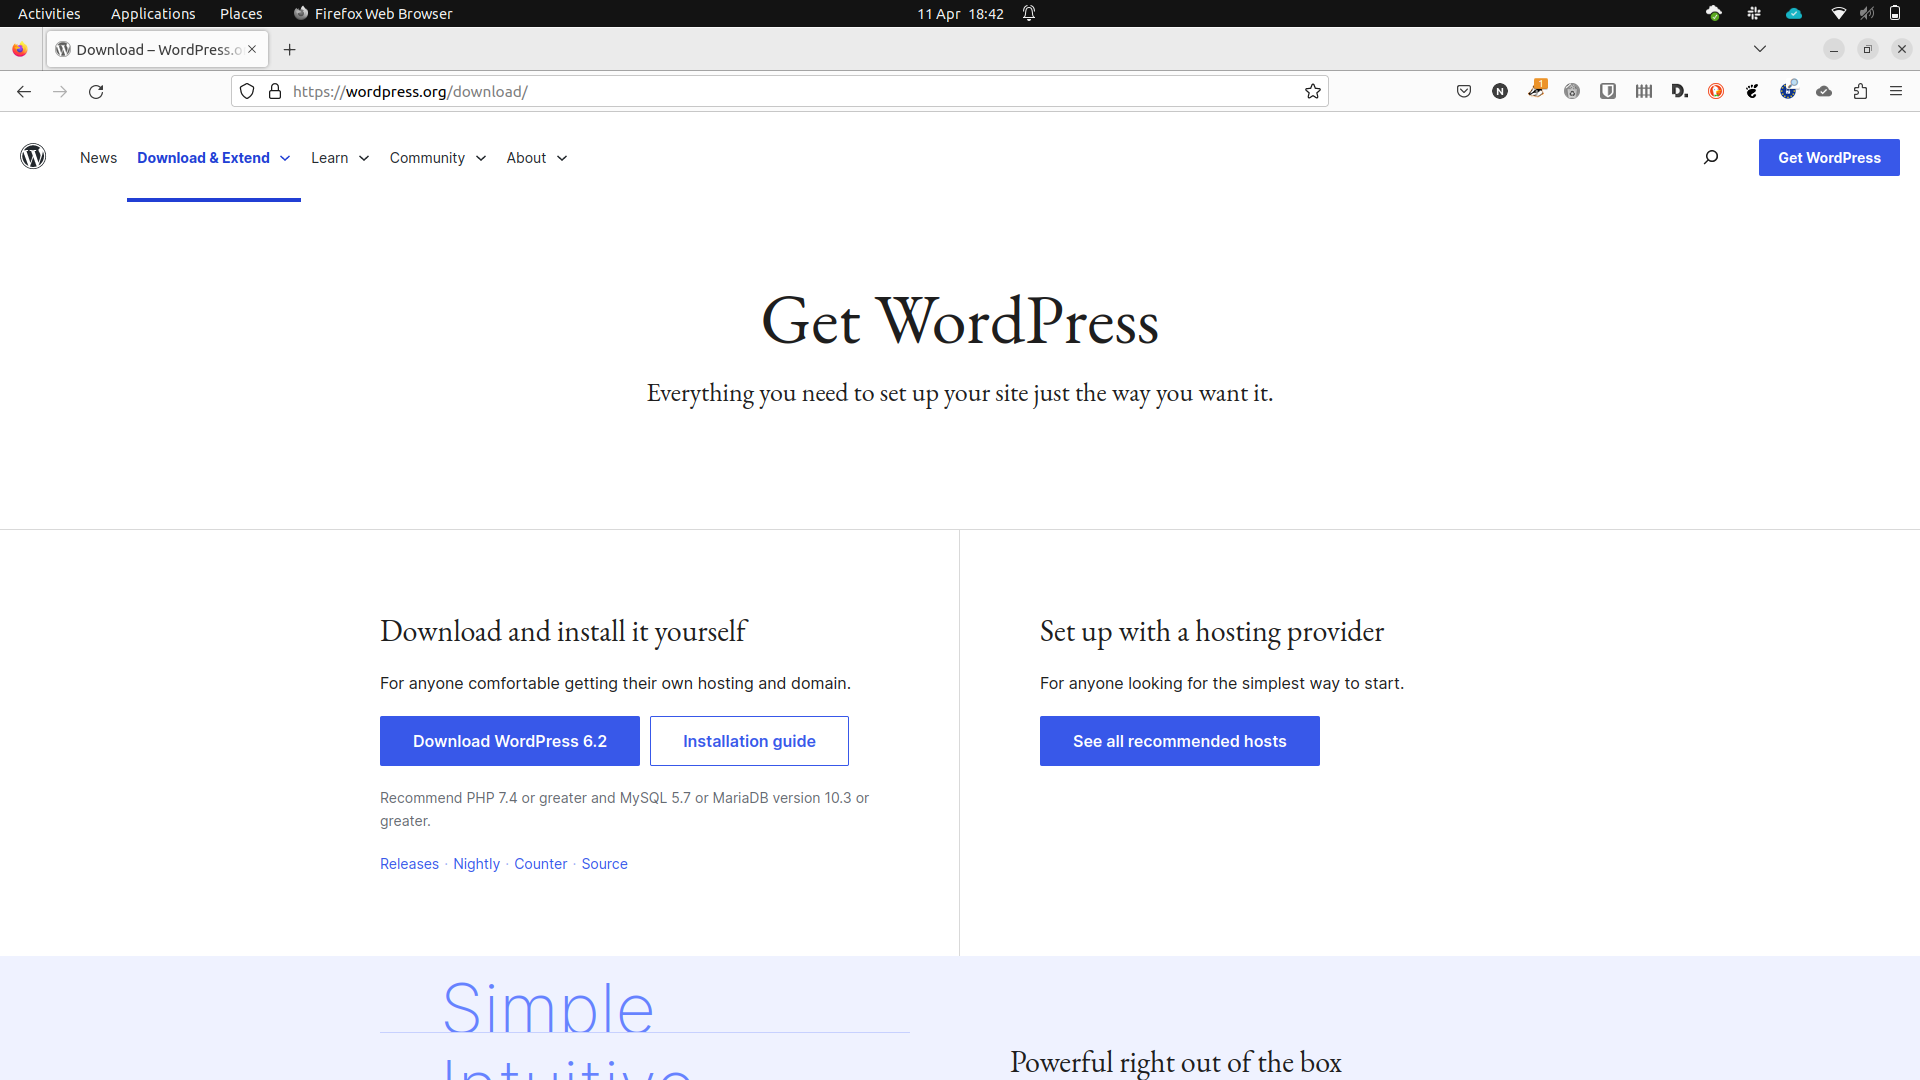
The alternative is to opt for regular web space and install WordPress yourself, either by downloading it from wordpress.org or by using your host’s built-in app installer. To run the latest version of WordPress, you’ll need to make sure your hosting account supports at least PHP 5.6.20 and MySQL 5.0, although as these versions have been superseded we would recommend using later versions. WordPress’ recommended specification, at the time of writing, is PHP 7.4, MySQL 5.7 or later or MariaDB 10.3 or later, and support for HTTPS. Again, if this doesn’t mean anything to you, discuss these requirements with your preferred host; few hosts should have trouble meeting them. If you use an app installer to set up WordPress, it will usually set up the database and database user simultaneously. However, if you prefer to manually upload the files and set up your database yourself, the five-minute installer included as part of the software greatly simplifies the task of linking the two. Follow the instructions on the WordPress site.
READ NEXT: WordPress Premium review
How to design your WordPress site
Log in to your site by adding “/wp-admin” to the end of your domain name, and you’ll arrive at the WordPress Dashboard. This is the screen through which you’ll access each of the content management system’s settings, create your first posts and pages and manage your media.
Your first job is to choose a theme for your site. As this will determine how your content is presented to your audience, it’s important to choose something that represents your own personal brand (or your business brand, if you’re creating a site for an organisation).
WordPress itself is bundled with several themes, with a new one being added to the collection every year. You’ll find them by hovering over Appearance in the sidebar and clicking Themes on the fly-out menu. Hover over any of the theme thumbnails that you like the look of and click the Live Preview button that appears to see how that theme would look on your site. If you still like it, click Activate to swap it in for the theme that’s currently active. As every page on your site is constructed on the fly when a visitor clicks through to it, the change will be immediately visible across all of your content, saving you the chore of updating each page individually.
If none of the pre-installed themes appeals you can install your own, either by downloading a theme from a third-party theme store such as Themeforest or by choosing one from the built-in theme repository.
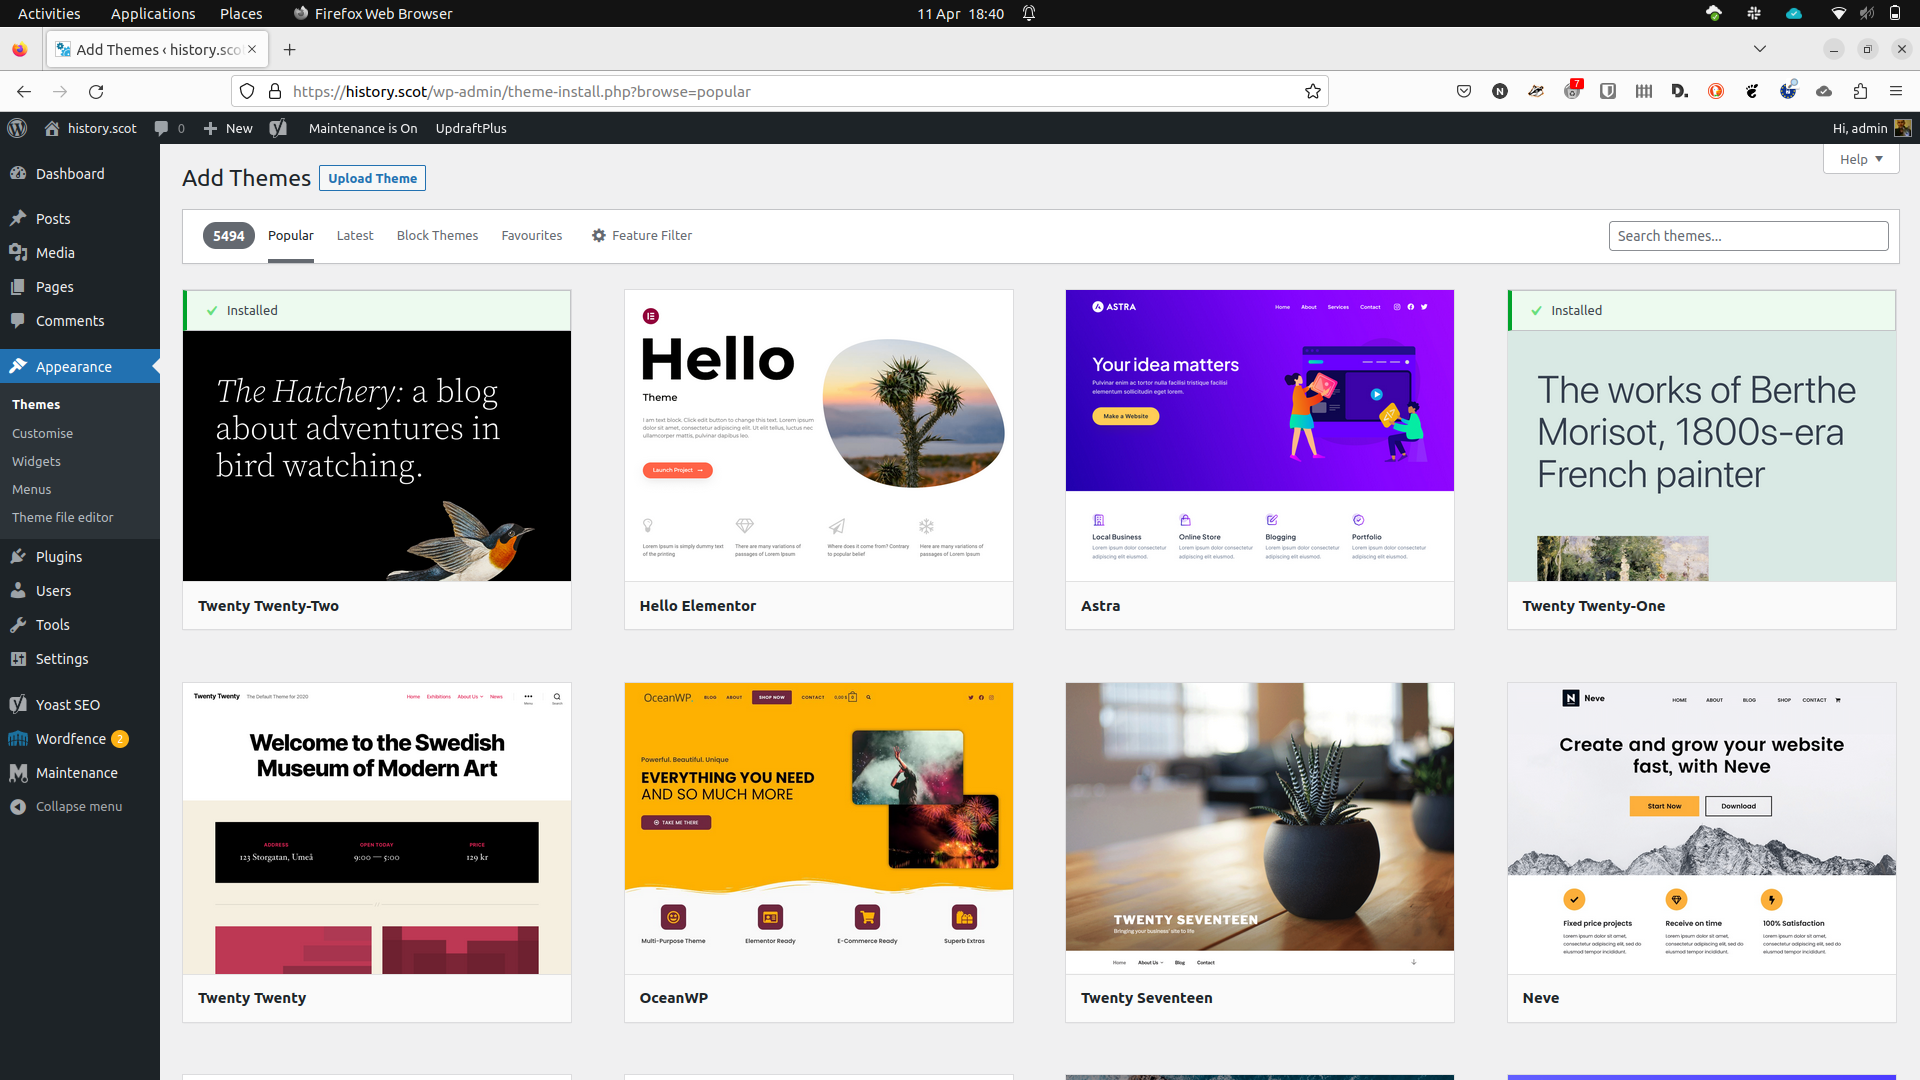
Installing a theme from the repository is easy as it takes just a couple of clicks. Click the Add New button at the top of the Themes page, then click through the options that appear. By default, WordPress will show you the most popular themes, but by clicking Feature Filter on the toolbar above the theme thumbnails you can streamline the results to just show themes that match your requirements. If you’ve seen a theme elsewhere that you like and you know its name, type this into the “Search themes…” box to see whether it can be installed directly from the repository.
Populate your sidebar
Many themes have sidebars that can be used to display a narrow column of menus and highlights alongside your primary content. The easiest way to define what should appear here is using widgets, which are pre-built blocks of code that you can drag and drop into position. Your theme will need to support widgets to be able to do this, but very few don’t.
Click Widgets in the sidebar, then drag blocks from the left of the page into position on the right. Note that if your theme has multiple widget areas you’ll be able to populate each one individually – and the widget areas won’t all necessarily appear in your sidebars.
Some themes include widget areas in the footer and header, and even display different widget blocks depending on whether your visitor is on the homepage or somewhere else on your site. This gives you enormous flexibility when it comes to laying out the site in whichever way is most effective at presenting your content.
Set up your navigation
While thinking about the design of your site, you should also consider how visitors move around it. Every time you create a new piece of content, such as a post or a page (we explain how they differ below), it will be given its own unique address within your domain. The technical term for this address is a permalink.
By default, your permalinks will be serial numbers, but that’s not very helpful when it comes to locating a specific piece of content by typing an address, and not great for search engine optimisation, either. After choosing a theme, therefore, hover over Settings in the sidebar and click Permalinks on the fly-out menu, then choose a more meaningful option. As you’ll see, several options are pre-defined, including permalinks based on posting dates or post names. However, there’s also a free-form option at the bottom of the list that you can populate manually by clicking the tags buttons beneath it to add them to the address.
READ NEXT: Is WordPress free? Everything you need to know
How to write a Post and a Page
Finally, it’s time to start writing your content in the form of posts and pages. There’s an entry for each of these in the Dashboard sidebar, and it doesn’t really matter which you favour, although there are some key differences to keep in mind.
Pages are intended for longer-lasting content that will change less frequently. So, you could use them for reference material that you’ll link to frequently, a contacts page, your cookies policy and so on.
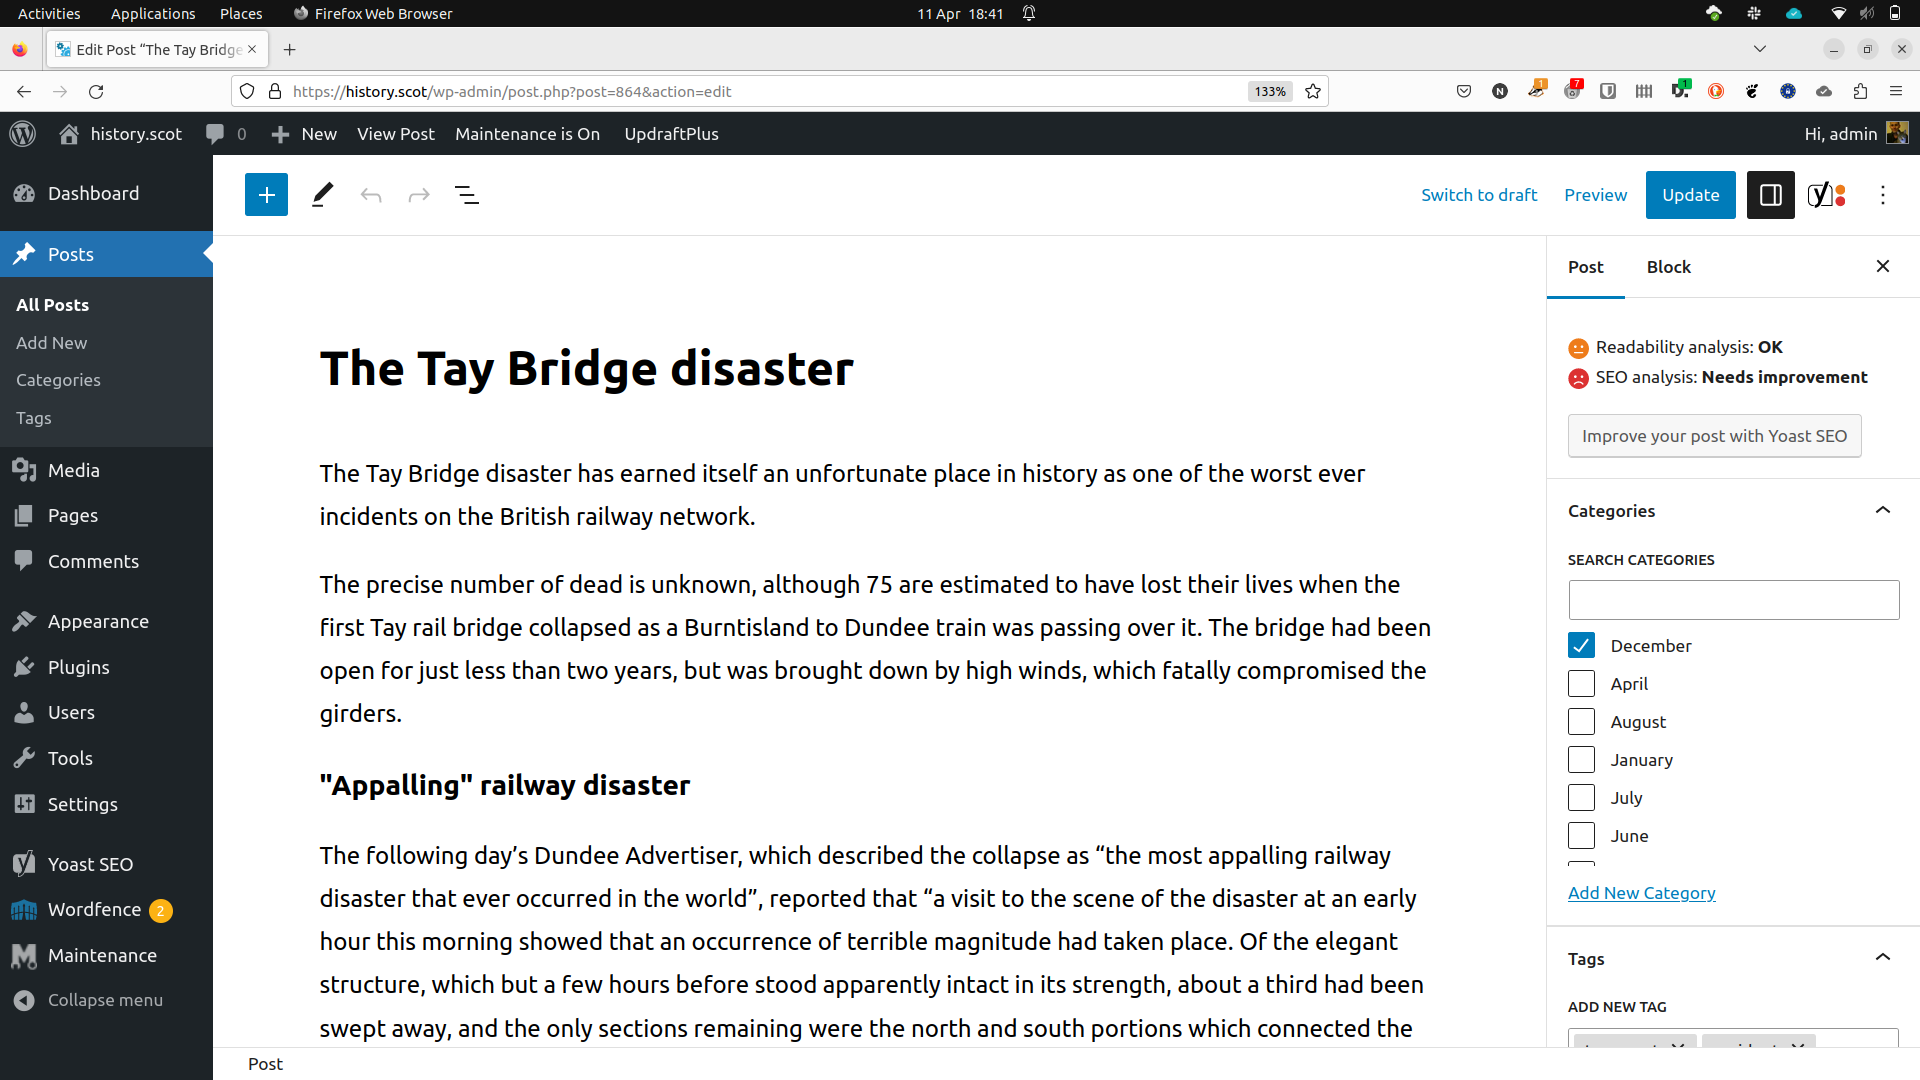
Posts, on the other hand, are most often a place for content that’s more immediate and might one day expire. You can add tags to posts, which help you file them and give visitors another piece of data they can use to search your site. You can also add posts to categories, which you can’t do with pages. Categories are collections of related content that grow over time to provide an expanding resource for visitors who can see all of the allied content in a single location. Both tags and categories are added in the right-hand sidebar of the post-writing screens. When you’ve decided whether you need to add a post or a page, click its entry in the left-hand sidebar, and start writing. Be sure to give the new content a title, and optionally use the fields in the Page or Post section of the right-hand sidebar to change the publication date. Setting this into the future will hide your content from visitors until the publication date rolls around, even if you press publish before that date.
Whatever you publish, it can be a mixture of formatted text, quotes, images, tables and more, each of which is inserted and organised using a system of blocks. Hover your mouse pointer within the post or page writing area, a little way below the text cursor, and a “+” will appear. Click this and select the kind of content you want to add. If you add an image, you can upload it to your site directly through the WordPress interface and, to save you uploading the same thing many times over, it will be added to a gallery from which you can select it again in the future. (You can access the gallery directly when you’re not writing a post or page by clicking Media in the left-hand sidebar.)
How to publish your content
When you’ve finished writing and added all the other content you need, click the Preview button at the top of the page and select whether you’d like to preview it as though you were using a regular browser, a tablet or a smartphone. This gives you an opportunity to read through the content in the manner by which your visitors will encounter it. This should highlight any problems with the content not rendering well on a smaller screen, and may help you to see it with fresh eyes, so you’ll be better able to pick out errors and typos.
If you’re happy with what you’ve produced, click the blue Publish button, and WordPress will check that you’ve added everything it expects (such as categories and tags for a Post, for example). Look through the list of pre-publication check results and, if you’re happy with what you see, click Publish again to make your content live.
Decide what to do about comments
By default, WordPress will allow visitors to add comments to your posts and pages. This is a great way to build up a loyal audience – especially if you engage with them yourself and other visitors start chatting to one another below your posts and pages.
However, comments aren’t always appropriate, in which case you can turn them off, either for each piece of content on a case-by-case basis, or across the whole site.
To switch off commenting for a single post or page, open it in the content editor, then click the Discussion header in the right-hand sidebar to reveal its contents. Now clear the tickbox beside “Allow comments”.
If you want to turn off comments across your whole site, there’s no need to open each post in the editor. Instead, hover over Settings in the left-hand sidebar and click Discussion on the fly-out menu. On the following page, clear the tickbox beside “Allow people to submit comments on new posts”, then scroll to the bottom of the screen and click Save Changes.
READ NEXT: Best WordPress plugins 2023
Extending WordPress
WordPress is already a fully featured and powerful content management system, and many users will never need to go beyond its core feature set.
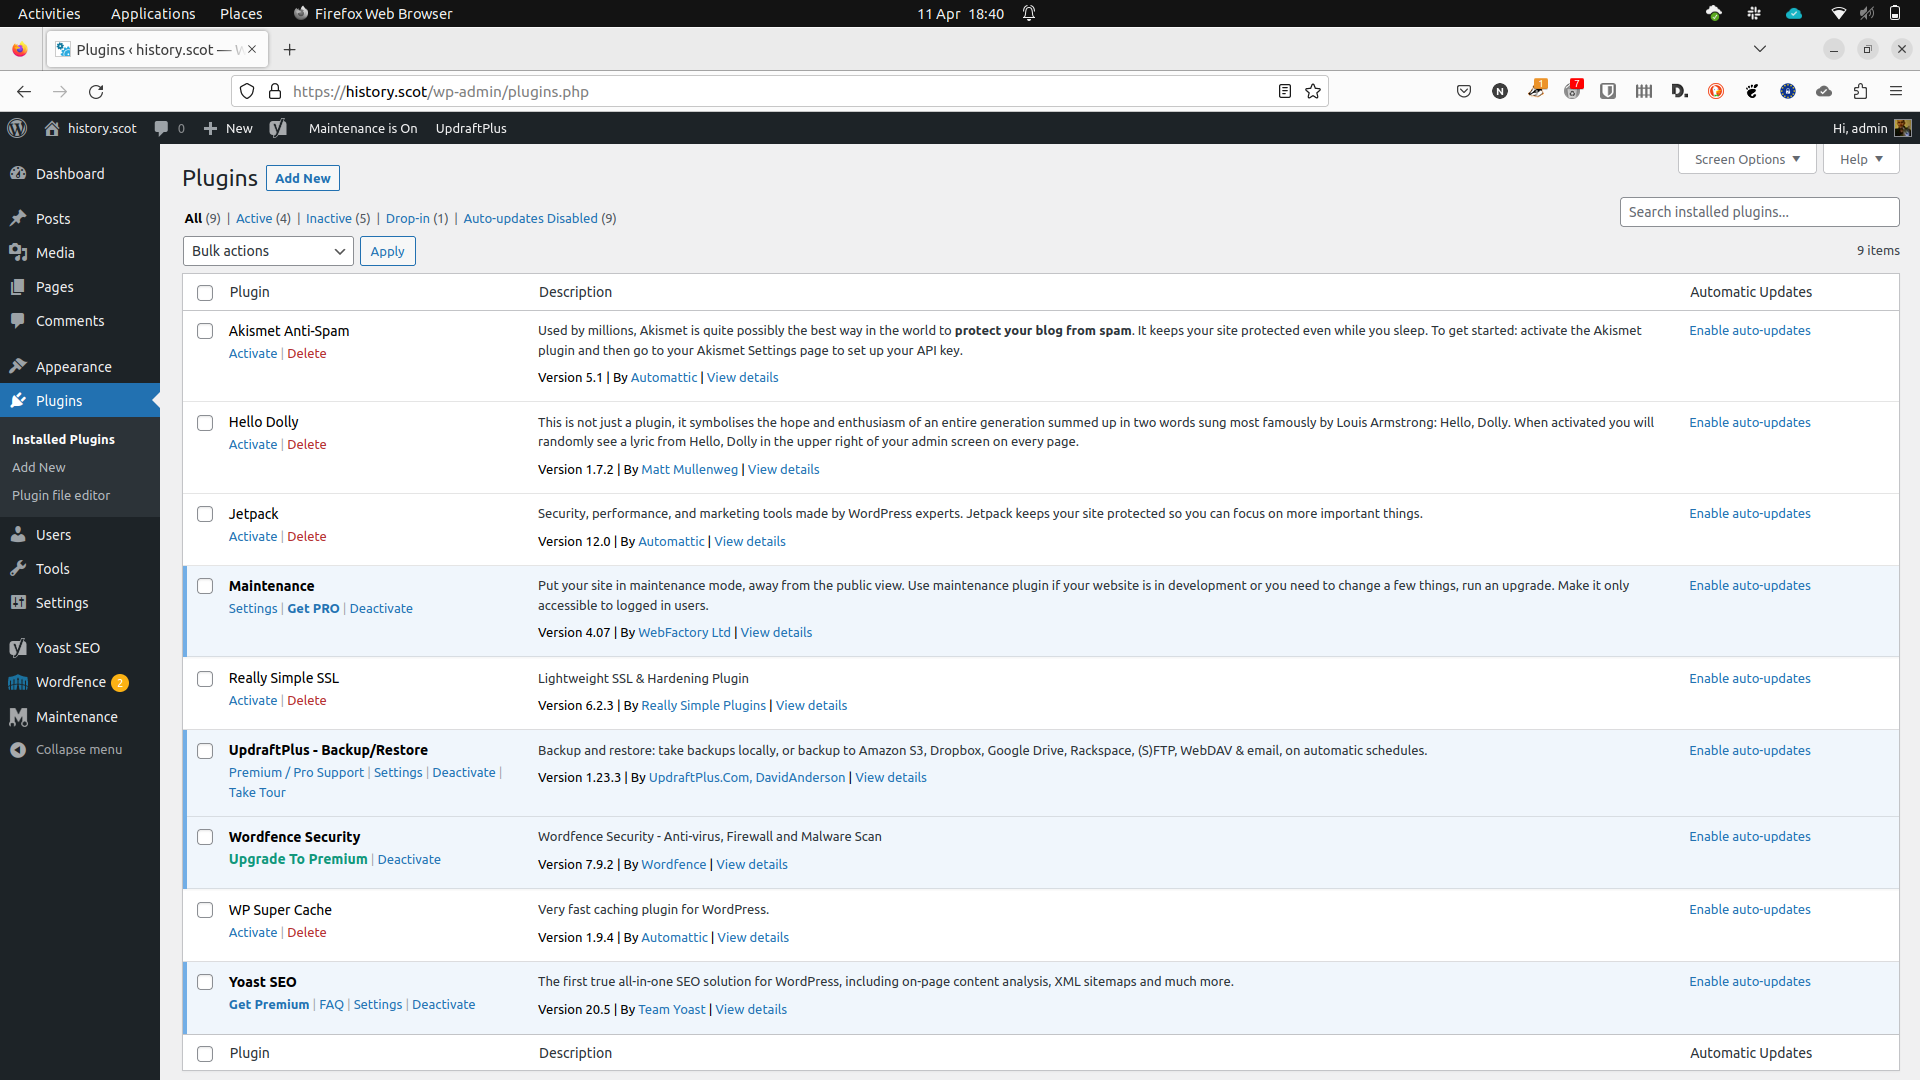
However, should you find that it’s missing a particular tool, or you want to improve on what it already does, you can extend it using plugins. These bolt-ons live within the WordPress environment and perform all manner of tasks, such as displaying products in an online store, improving your performance in search engine results or helping visitors sign up to your newsletter (if you have one).
As with themes, you can buy plugins through third-party stores or add them through the WordPress repository. You’ll find the repository by hovering over Plugins in the sidebar and clicking Add New on the fly-out menu. By default, the screen that loads shows you the most popular plugins, but you can use the search box at the top of the page to find others, or click the menu options for Popular, Recommended or Favourite options. (The Favourites section will be empty if you haven’t previously marked any plugins as such.)
To install a plugin from the repository, click the Install Now button on its thumbnail card and, once it’s been added to your site, click Activate. If the plugin has additional options, these will be added to the left-hand sidebar, but may be filed within an existing section, such as the Settings or Tools sections, so be sure to check inside them.
Although you can install as many plugins as you want, it’s good practice to remove any you no longer need. Do this by clicking Plugins in the sidebar, then clicking Deactivate on any that you’re no longer using. Once you’ve deactivated them this way, a new Delete option will appear. Click this to remove the plugin from your web space entirely.


