To help us provide you with free impartial advice, we may earn a commission if you buy through links on our site. Learn more
Ecommerce platform Shopify provides all the tools and functions you need to run an online store. Well, nearly all. One key way to give customers what they want is to offer extra payment options such as Klarna. Adding Klarna to Shopify is fairly straightforward if you have a store up and running, and it could really make a difference to your bottom line.
Klarna is one of the world’s biggest names in digital payment. The Swedish firm, named Europe’s most valuable private tech company in 2021, lets customers pay now or ‘buy now pay later’ (BNPL), and charges no interest if the bill is paid within 30 days. So it’s like PayPal but with a credit element.
We explore Shopify itself in our in-depth guide, What is Shopify?. In this article, we’ll focus on how Klarna works with Shopify, how to sign up as a Klarna merchant, and how to add Klarna to your online store.
Why should I add Klarna to Shopify?
The Klarna icon is already a familiar feature of ecommerce checkout pages, and it’s now available for Shopify users to incorporate into their stores. You can’t have Klarna as the only or default way to accept payments, but it’s fairly easy to add as an extra option.
To pay using it, all your customer has to do is click the Klarna option and provide their email address and shipping info. Klarna then emails them an invoice that they can click to pay via PayPal, bank transfer or card.
Like credit cards, BNPL is not without controversy. But it is undeniably popular. Integrated BNPL services will account for $995 billion of spending and more than 24% of global ecommerce transactions by 2026, up from 9% and $266 billion in 2021, according to Juniper Research. Klarna itself reckons that stores which offer its payment methods see an average increase of 30% in conversion, 41% in average order value (AOV) and 36% in purchase frequency.
How much does Klarna cost to add to Shopify?
You’re not charged anything to register as a merchant with Klarna, or to add its payment function to your Shopify. All you pay is your Shopify membership fee, plus Klarna’s Shopify transaction fees.
Fees start at 2% plus 20p per transaction, or less if you have a high sales volume. That compares favourably with other third-party gateways (only Shopify Payments charges zero transaction fees), and makes Klarna one of the best value Shopify payment gateways, especially for merchants who deal with consistently high sales numbers.
How do I add Klarna to my Shopify store?
First you’ll need to have a Shopify store up and running. If you haven’t signed up, there’s no time like the present: the most popular Shopify plan currently costs just £1/mth for the first three months, down from the usual £19/mth.
Unfortunately, you can’t simply add Klarna to Shopify from the Shopify App Store. This is because Shopify doesn’t allow payments apps in the store. Instead, integration is a two-stage process: first you sign up with Klarna as a merchant, and then you integrate Klarna into your Shopify store.
How do I become a Klarna merchant?
Here’s a step-by-step guide:
- Go to Klarna and click ‘For business’, ‘Get started’. Enter your email address and Shopify URL (default ‘your-store.myshopify.com’). Select UK from the dropdown menu, then click Continue.
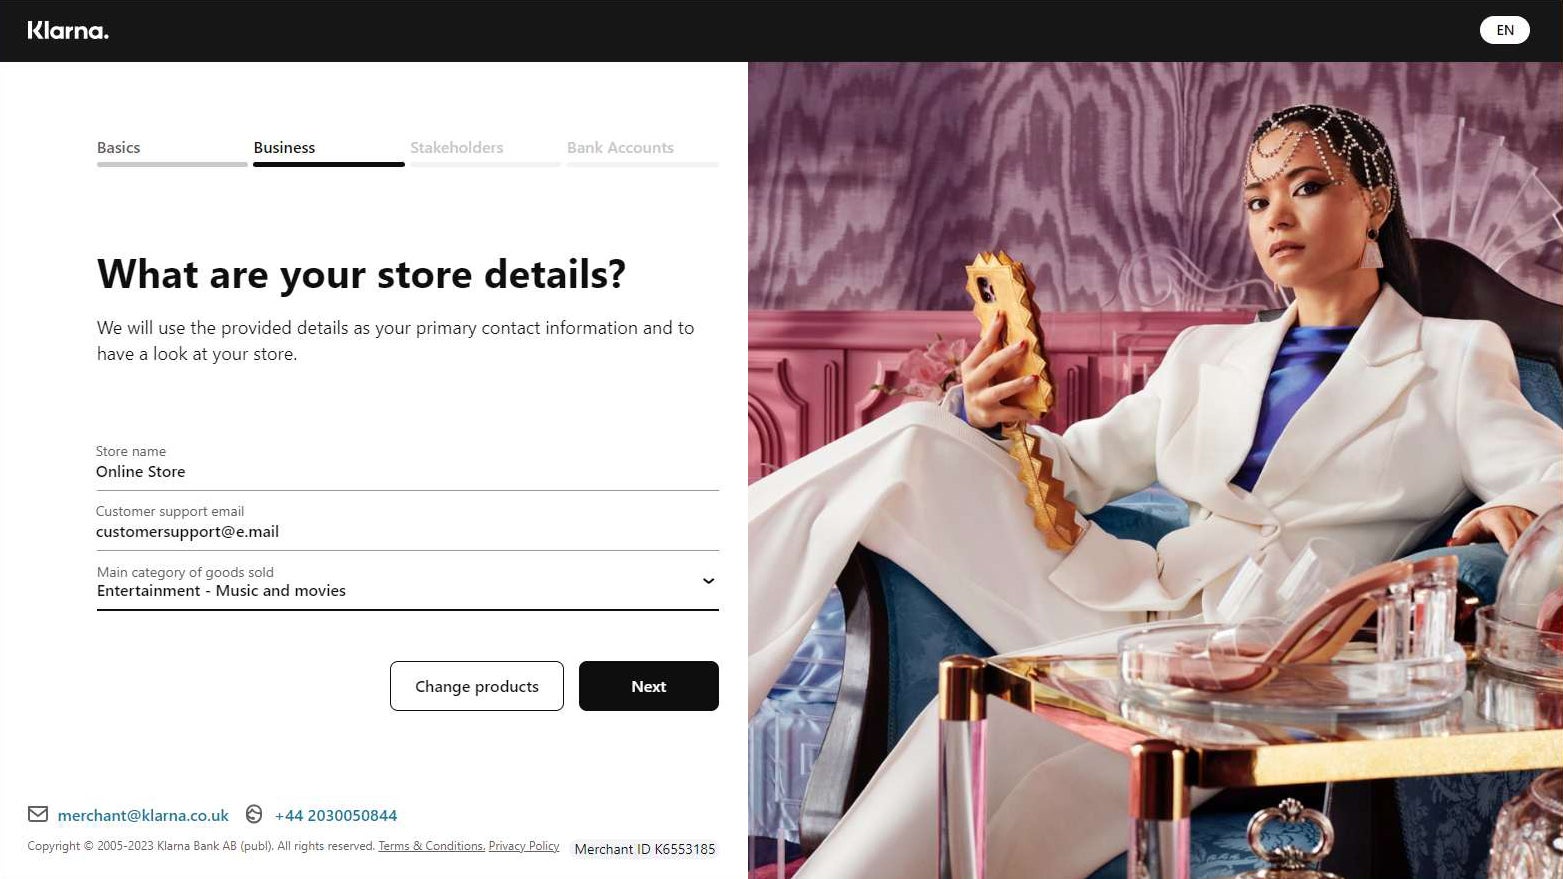
- Answer basic questions about your store, including size (let’s assume it’s ‘below £5 million’, the lowest multi-choice answer) and which ecommerce platform you’re with, which in this case is Shopify.
- Klarna then states its fees as 5%+30p/transaction. But when you use Klarna with Shopify, fees actually start at 2%+20p/transaction. If you’re happy with that, click ‘Create account’ and fill in business information including your address.
- Fill in your bank account information so that Klarna can pass your customers’ funds to you. You’ll need your bank account’s IBAN (international bank account number), which you can find in your banking app or online dashboard.
- On the ‘Review and submit’ page that appears, check your info, tick the boxes and click Submit.
- Check your email for your Klarna merchant ID and account activation link, which you’ll need to use within seven days. Choose a password (more than 14 characters, no less!) and set up two-factor authentication, which is now mandatory.
Your application is then sent for review by an actual human being, who may not accept you as a Klarna merchant if your Shopify site isn’t yet fully operational.
You’re now almost ready to see the pink Klarna icon as a payment option on your checkout pages… but not quite.
How do I integrate Klarna into my Shopify?
Once your Klarna merchant application has been accepted, head back to Shopify to comnplete the integration. Here are the steps:
- Open your Shopify admin panel (‘your-store.myshopify.com/admin’) and click Settings at the bottom-left.
- Click Payments, ‘Add payment methods’, search for Klarna, and then click Activate, Connect.
- You may also be prompted to install the free Klarna app, which is one of hundreds of free third-party apps that add extra functions to your Shopify store.
- Enter your Klarna merchant ID and your Klarna password.
And that’s it – you’re now Shopify seller who accepts payment via Klarna. To find out more about using Klarna as a payment method, and what to do when you hit any roadblocks, check out the excellent and extensive Klarna Docs help centre.


