To help us provide you with free impartial advice, we may earn a commission if you buy through links on our site. Learn more

A proper understanding of how to iron a shirt is something that eludes a surprising number of people. Most enjoy the look and feel of a freshly ironed garment, but the steps required to arrive at that point are often skipped or carried out incorrectly. This usually results in a poor finish that can easily spoil an otherwise presentable and well put together outfit thanks to crinkles, creases and a scruffy appearance.
The good news is that ironing a shirt properly is actually quite simple. You just need to know how to use your iron for best results. This way, you’ll get a lovely crisp shirt every time, and after a while you’ll barely have to think about it.
From using steam to tease wrinkles out to deploying starch for military precision, there are a number of things you can do and techniques you can use to become a shirt-ironing pro. In this handy explainer, we’ll look at these as well as walking you step-by-step through how to iron every inch of your garment the right way.
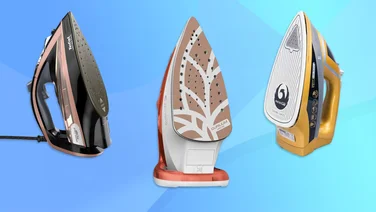
READ NEXT: Best steam generator irons
What setting should I iron my shirt on?
Unless your iron is one of the original Victorian ones that needs to be heated up in front of an open fire, chances are it has a dial to control the various temperature settings. Different fabrics react differently to heat – some can handle it well, while others need to be treated with more care – and the fabric your shirt is made from will determine which heat setting you should select.An easy way to find this out is by simply checking the wash labels inside your shirt. They’re usually located inside along one of the side seams. The label should have a clearly marked iron symbol with a number of black dots inside it – the more dots, the higher the heat. Match these dots up with the corresponding symbol on your iron’s temperature dial to make sure you don’t damage the garment.
Broadly speaking, cotton can be ironed fairly hot, as can linen, but delicate fabrics like silk and wool, and synthetics like polyester and nylon need to be ironed on a much lower heat.
Do I need steam to iron my shirt?
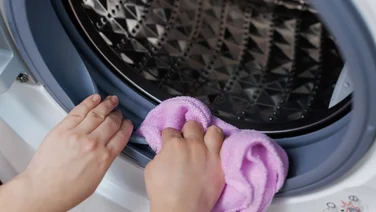
Most modern irons come with a steam setting that blasts steam out of holes on the footplate. This really helps to remove stubborn creases, which fall out more readily when the fabric is slightly damp.
Do you need it? Well, it’s possible to iron a shirt without any steam, but using your iron’s steam setting will make the job a lot quicker and easier. For this reason, we would recommend you do so.
READ NEXT: Best steam irons
Should I iron over pleats?
Many shirts have pleats sewn in that help to give a more fitted look. This is great from an aesthetic point of view, but it can cause confusion when it’s time to get the iron out. You might well wonder – should you iron them in? Or should you iron around them?
The beauty of pleats is they’re designed to do the work all by themselves thanks to the stitching. They don’t need any help from the iron. With that in mind, it’s always best to go around any pleats on the back and sleeves of the shirt, as ironing them in isn’t necessary and can create extra unwanted creases.
READ NEXT: Best clothes steamers
Should I use starch to iron my shirt?
Starch isn’t something that’s used a great deal these days, but it was the go-to method for getting clothing extra crisp back in the days when irons were more primitive tools. Using starch helps the iron to glide over the cloth, and “sets” the fabric so that it requires fewer passes to remove creases.
These days, starch is probably overkill for ironing your everyday shirts, but one time you might want to consider using it is if you’re attending a black-tie event where a dress shirt is required. Doing so can help to give the garment an ultra-polished, professional appearance, which is perfect for when you need to look your best.
READ NEXT: Best cordless irons
How to iron a shirt step-by-step
- Start off by turning the shirt inside out, then take one sleeve and lay it flat on the ironing board. Make sure that no fabric from the bottom side is bunched up underneath, which could cause creases to be ironed in. Using the iron on the specified setting, work your way up and down the sleeve, avoiding the very edges, while applying firm, consistent pressure. Flip the sleeve over and repeat this technique on the other side.
- Pick the sleeve back up and lay it down so that the fabric that was at the edge is now in the middle and repeat the first part of step one, again taking care not to iron the edges. Then, lay the cuff flat and iron it. Once finished, repeat steps one and two with the other sleeve.
- To iron the collar of the shirt, unfold it and spread it out flat on the ironing board. Apply pressure with the iron, moving it around until any creases are gone. Repeat on the other side and fold it back down into its natural position.
- The next part of the shirt to iron is the yoke, which is the area around the shoulders and the very top of the back. Place one shoulder of the shirt inside out onto the pointy end of the ironing board and work the creases out with the iron. Move the shirt around on the board so that you can work on the top of the back, and finish off with the other shoulder.
- The last part to iron is the body of the shirt. The torso is the part most susceptible to creasing, so leaving it until last ensures that it won’t get crinkled while you go. Simply work the iron over the surface of the fabric applying gentle, but firm pressure and turning the shirt on the board periodically until you’ve covered the whole thing from front to back.