To help us provide you with free impartial advice, we may earn a commission if you buy through links on our site. Learn more
If you have a clip you’re dying to share but don’t want to shell out on video editing software, you can YouTube’s rudimentary web-based video editor to cut your clip down to size and spruce it up, ready for the world to see.
Upload
First, you’ll need to upload a video. If you recorded it on your smartphone, you can upload directly from the YouTube app. On Android, select the tab on the right of the main screen and tap the up arrow to upload. On iOS, you’ll find the upload button in the menu that pulls in from the left of the app.
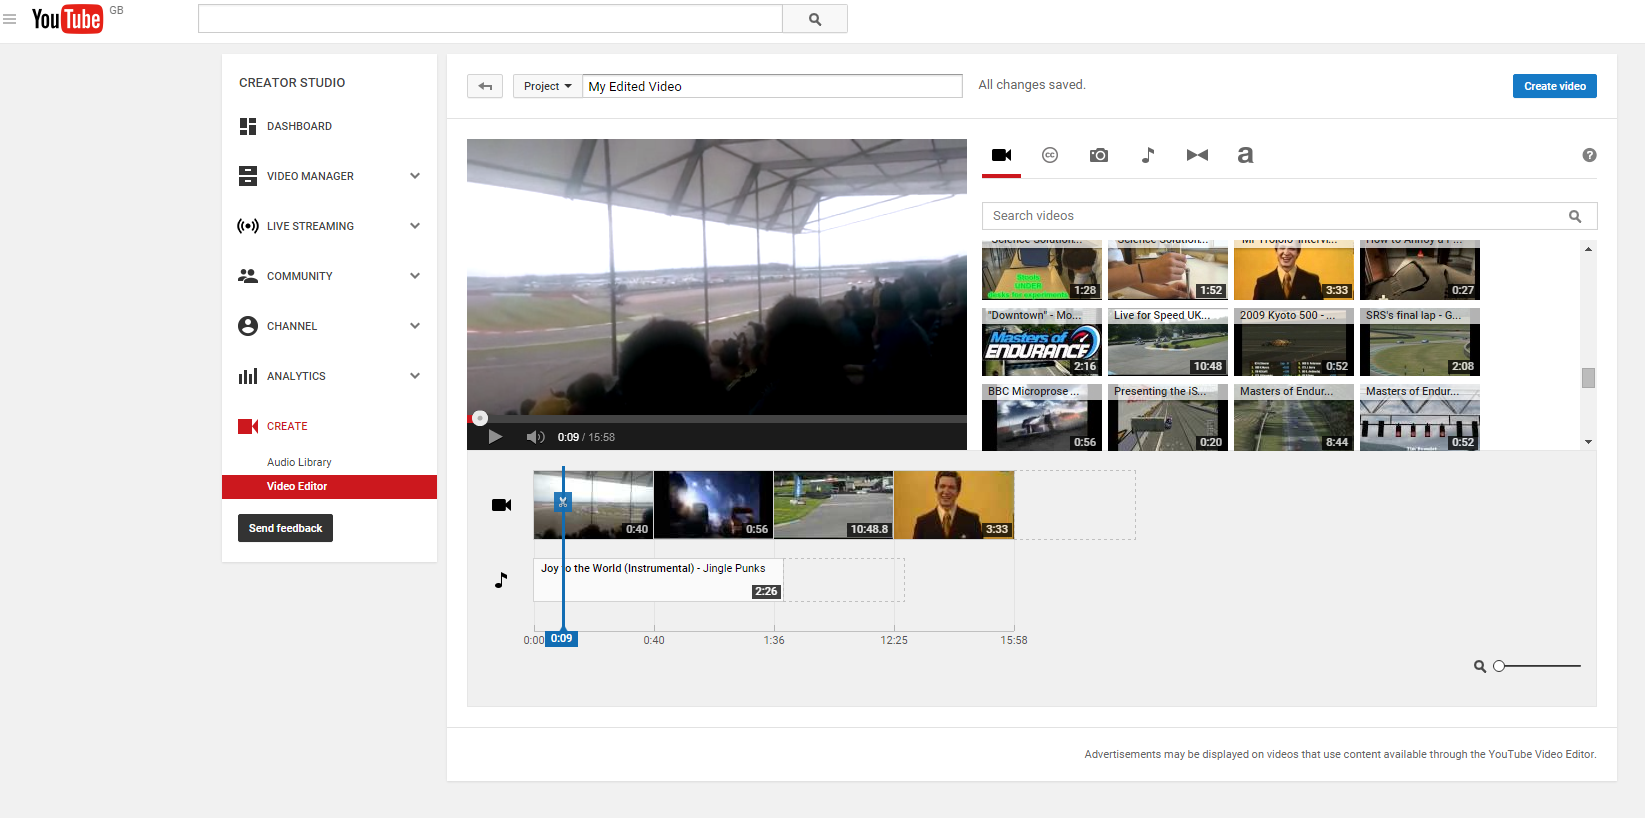
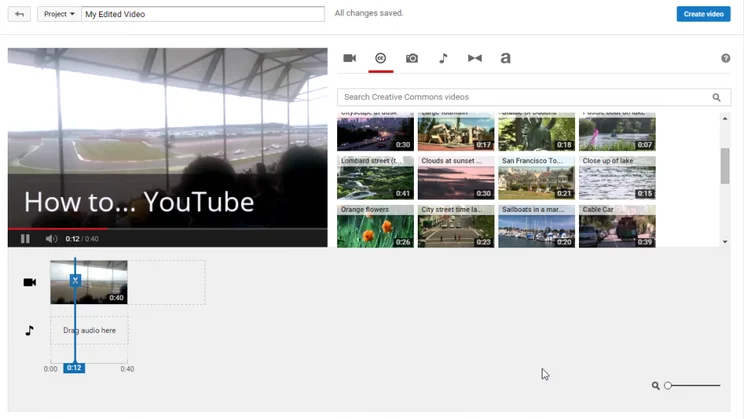
Once your video is uploaded, you’ll need to go to a desktop web browser to fine-tune your video. Click on your profile picture on the top-right of any YouTube page and then click Creator Studio. Select Create on the left and then click on Video Editor. You’ll be presented with a blank timeline, a preview window and a box that contains your uploaded videos. If you had more than one video you want to share but want to combine them into one video, you can do this here. To start, click and drag a video from the library onto the timeline. This will include both the video and the audio track. There’s an extra audio track for background music if you choose to use it.
Slice and dice
If the best part of your video is several minutes in, don’t make people sit through the whole thing, cut the video so the money shot is front-and-centre. This is extremely simple but very important: people aren’t going to wait around for a punchline that might not be worth it, and are less likely to share a video that requires effort. Short, sharp, immediate content is king on YouTube.
When you first drag a clip onto the timeline, you can use the the handles on the left and right of the clip to trim it to size. If you want to trim it again in the future (or extend it back to its original length), click on the video on the timeline again and drag the handles around. Drag the left handle to near where the action starts and the right handle to any point you think is appropriate to end.
Quick fixes
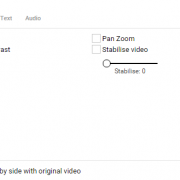
Whenever you select a clip on the timeline, you can apply quick fixes to the video to make it more pleasant to watch. The Auto-fix tool will generally apply some contrast and brightness setting and also stabilises the footage. You can apply other fixes individually, and also add slow motion to your clip.
The other tabs available also let you apply filters and add captions to the video, which can be handy if you’re trying to explain what’s going on. Finally, a set of audio adjustments are available to make certain sounds clearer. You can keep on adding videos to the timeline to trim and adjust in the same way you did with the first clip. Then you can move on to some of the other tools available.
If stills tell your story better than a video can, you can use photos instead. Upload them through the photos tab and drag them onto the timeline as you would a video. To make them look a little more interesting, add a pan zoom from the Quick fixes tab so you’re not just showing still image after still image.
Music box
You can add background music in the music tab. Drag any song onto the audio section of time timeline. If it’s too loud, you can adjust the volume by clicking on the track in the timeline and adjusting the volume slider. All the music in the music tab is available for free, although YouTube doesn’t notify you whether you need to credit the musician or not. It’ll be worth noting down the track and artist name and adding it to your video’s description when it’s published.
The transitions tab lets you add fades and wipes to your video. Select a transition and drag it onto the timeline, to any point in the video where two items meet. This will add a smooth transition between clips. You can also drag transitions to the start and end of the video for a more gentle start and finish.
Finishing up
When you’re done with your video, hit the blue Create Video button on the top right of the screen. You’ll then be taken to the video’s page. You’ll get an error message because YouTube will still be processing the video. After a few minutes, the video will be live and viewable. You can edit the description of the video here, and also edit whether the video is private, public or unlisted (where only those with the link can watch the video; it won’t show up in search results or on your channel).