To help us provide you with free impartial advice, we may earn a commission if you buy through links on our site. Learn more
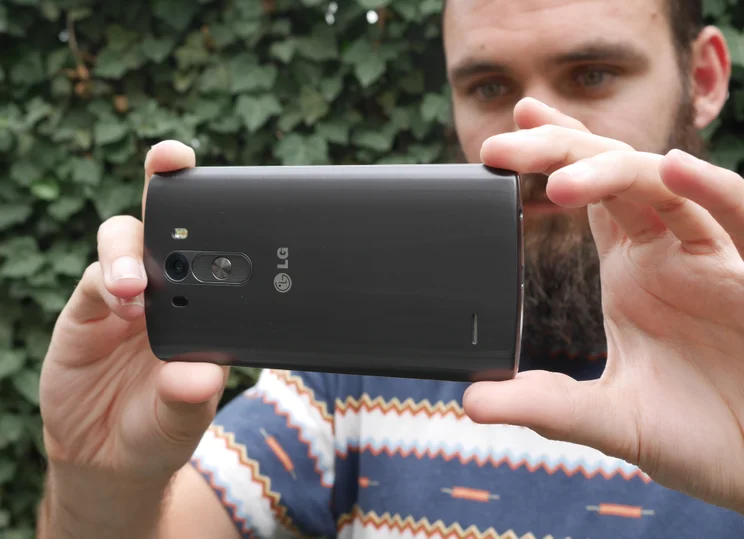
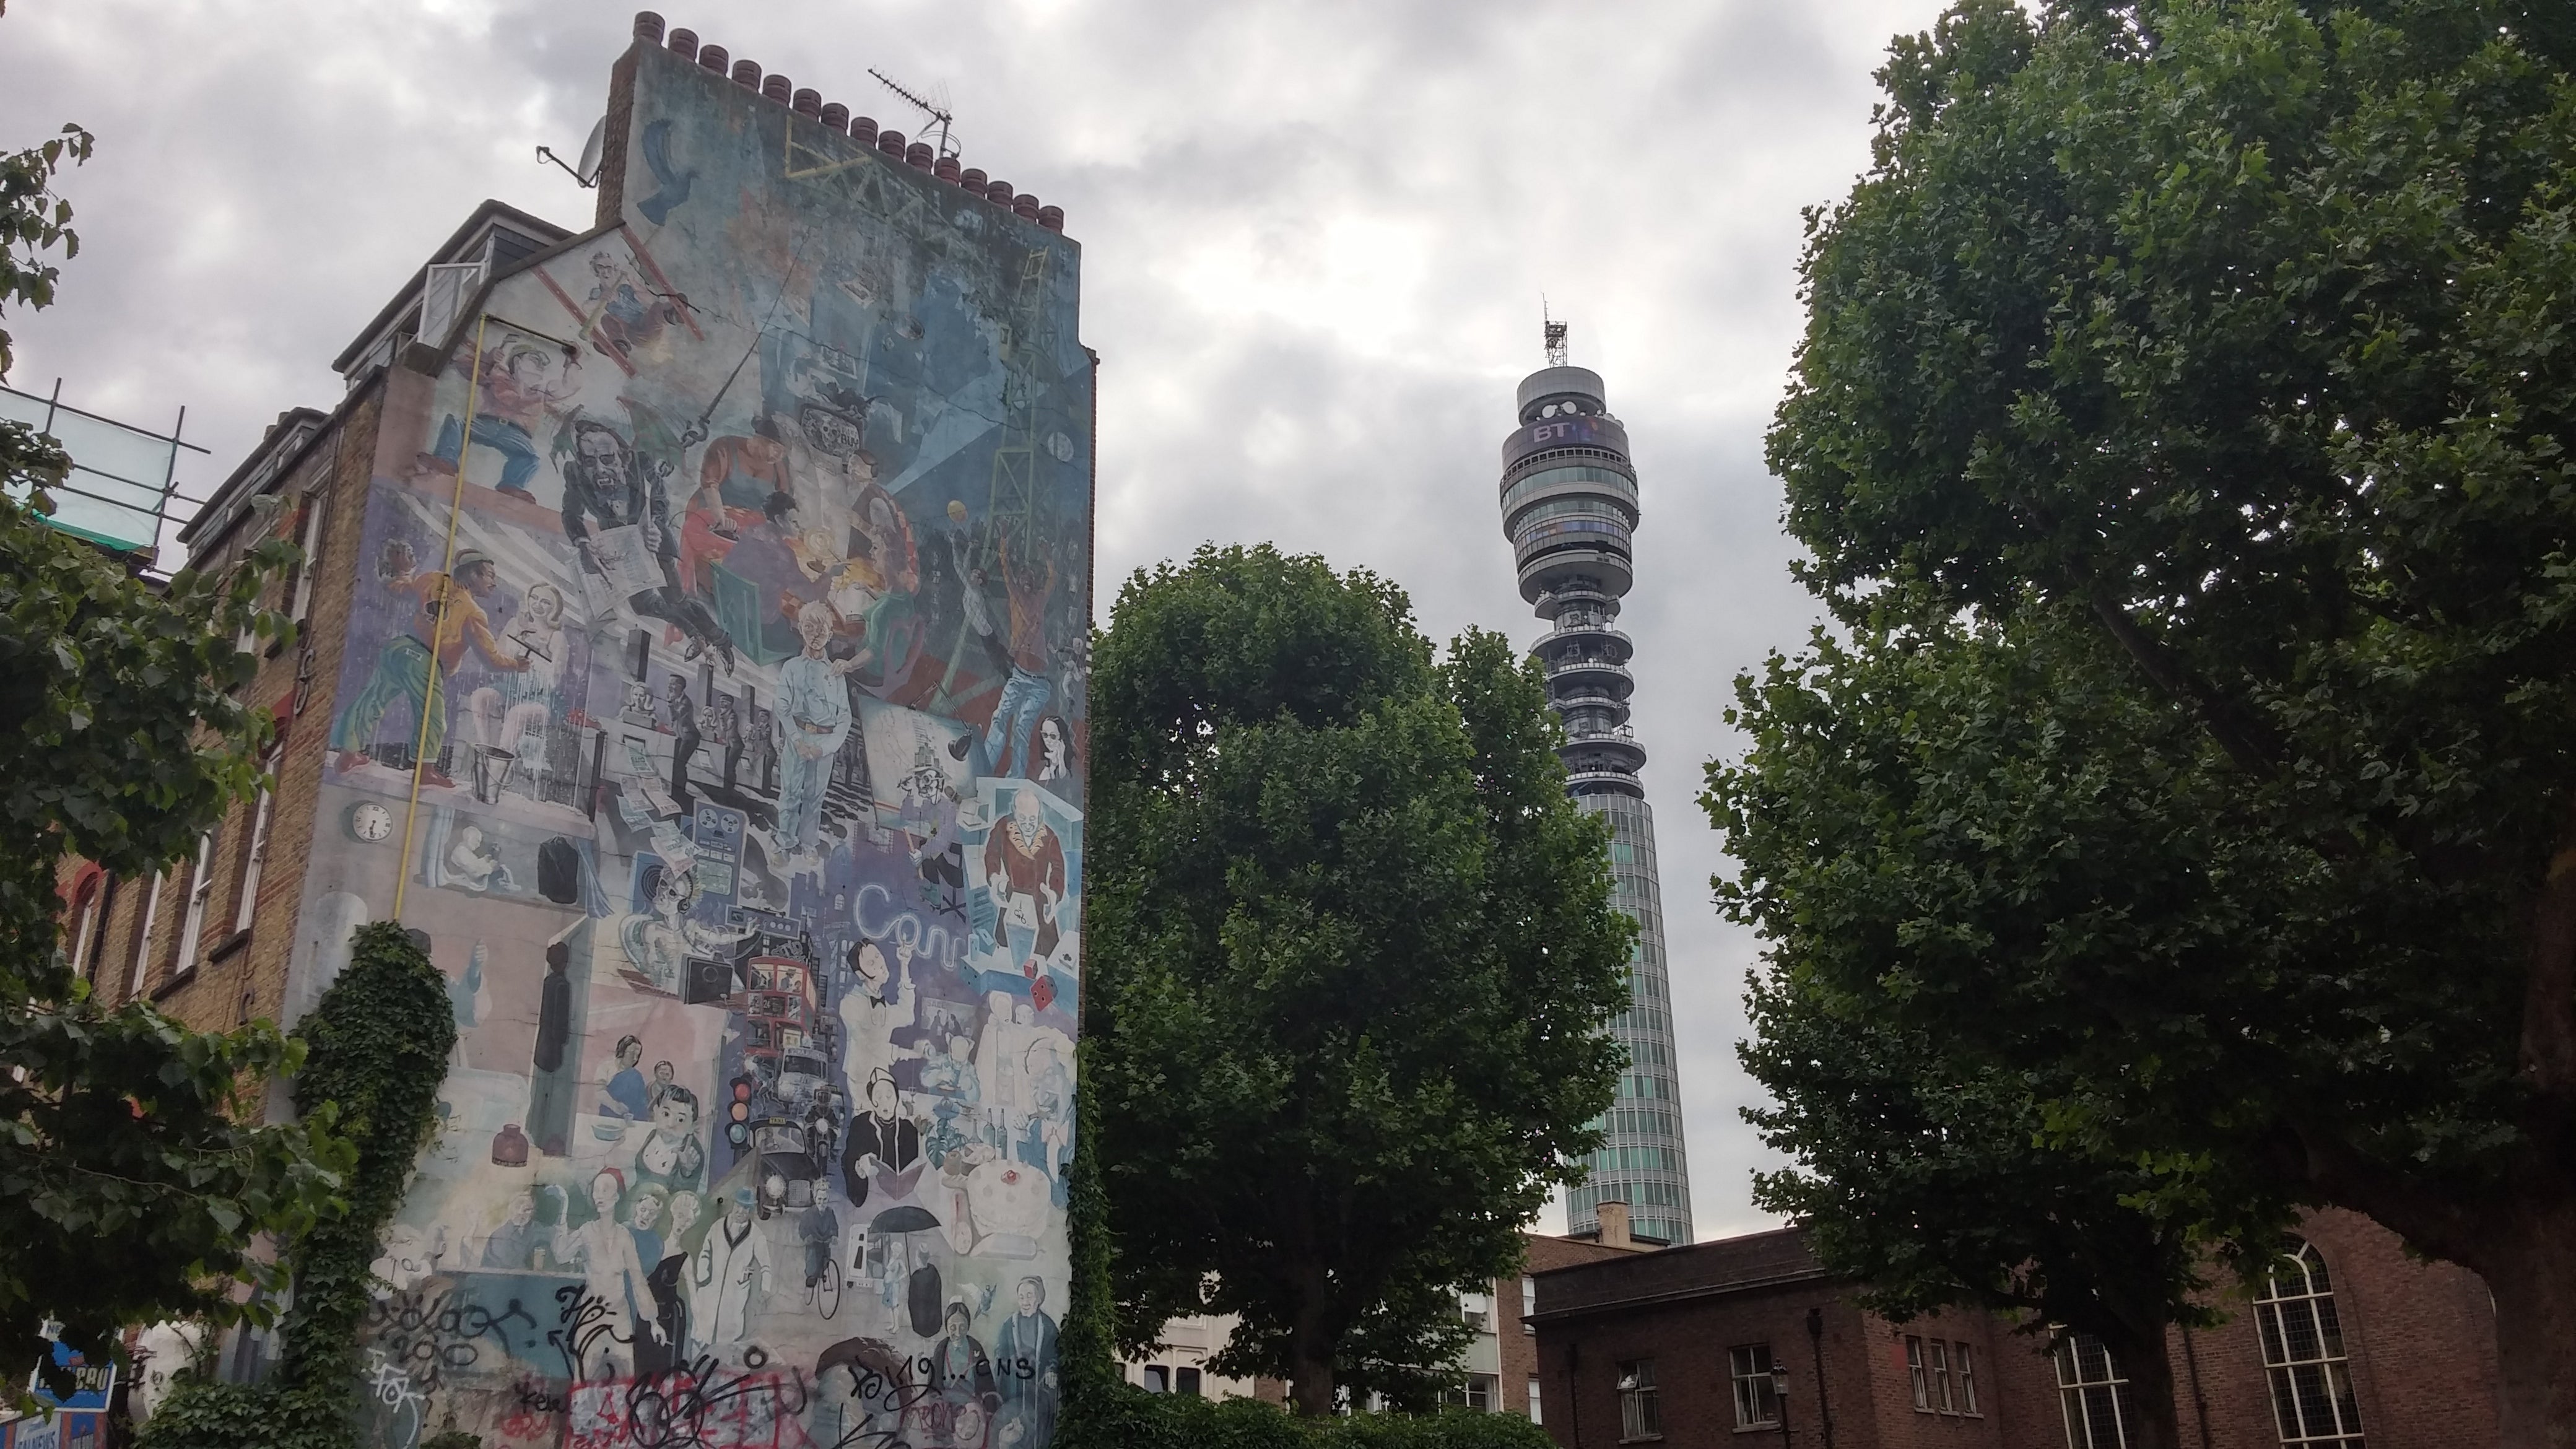
With a 13-megapixel camera sensor, optical image stabilisation and a laser autofocus system, the LG G3 is one of the best Android smartphones around for photographers. It may not have as many megapixels as Samsung’s Galaxy S5, or the depth-sensing secondary camera of HTC’s One (m8), but when used the right way it’s capable of some impressive results.
LG has opted for a simple approach to photography, so more in-depth techniques like ISO, white balance and image filters aren’t an option unless you download a third party camera app. Even so, if you follow our comprehensive guide, you’ll quickly work out which modes to use, what the various settings mean and learn how to always take the best photos – whatever the lighting conditions or subject.
Get to the camera quicker
By default, the volume down button on the back of the G3 is assigned to the camera. When the phone is in standby mode, you can long-press this button to jump straight into the camera app, which is much quicker than unlocking the handset and opening the camera manually.

If you’re in a hurry to capture a fleeting moment, this is the fastest way to do it. The app will even remember your settings from the last time you used it, so you won’t even have to flip the camera to take a selfie if that was the last thing you did.
Use gridlines
You might not have enabled the gridlines option on a digital camera or smartphone before, but it’s definitely worth giving it a try. It overlays a grid of lines onto the screen, making it easier to follow the Rule of Thirds when composing your shots. To enable gridlines on the G3, open the camera app, tap the Settings icon, then tap the gridlines icon (second from bottom) to enable or disable gridlines. The lines are thin and light enough that they won’t obscure the view of your subject, so you could feasibly leave them on all the time.

You’ll want the horizon lined up with the lower horizontal line, with your subject placed towards one of the vertical lines. Crash points, otherwise known as power points, can give your images greater visual appeal; this is where objects interect with more than one line, which draws the eye towards them.
Pick your subjects with Magic focus
Magic Focus mode lets you blur out parts of an image to make the subject more prominent, or change the point of focus after you’ve pressed the shutter to give your photos a more artistic look. It mimics the depth of field effects usually found in expensive digital SLR cameras, without the need for a big lens. However, it only works well in particular situations; you don’t want to use Magic Focus when shooting landscapes, as without a prominent foreground image there’s nothing for the camera to focus in on.
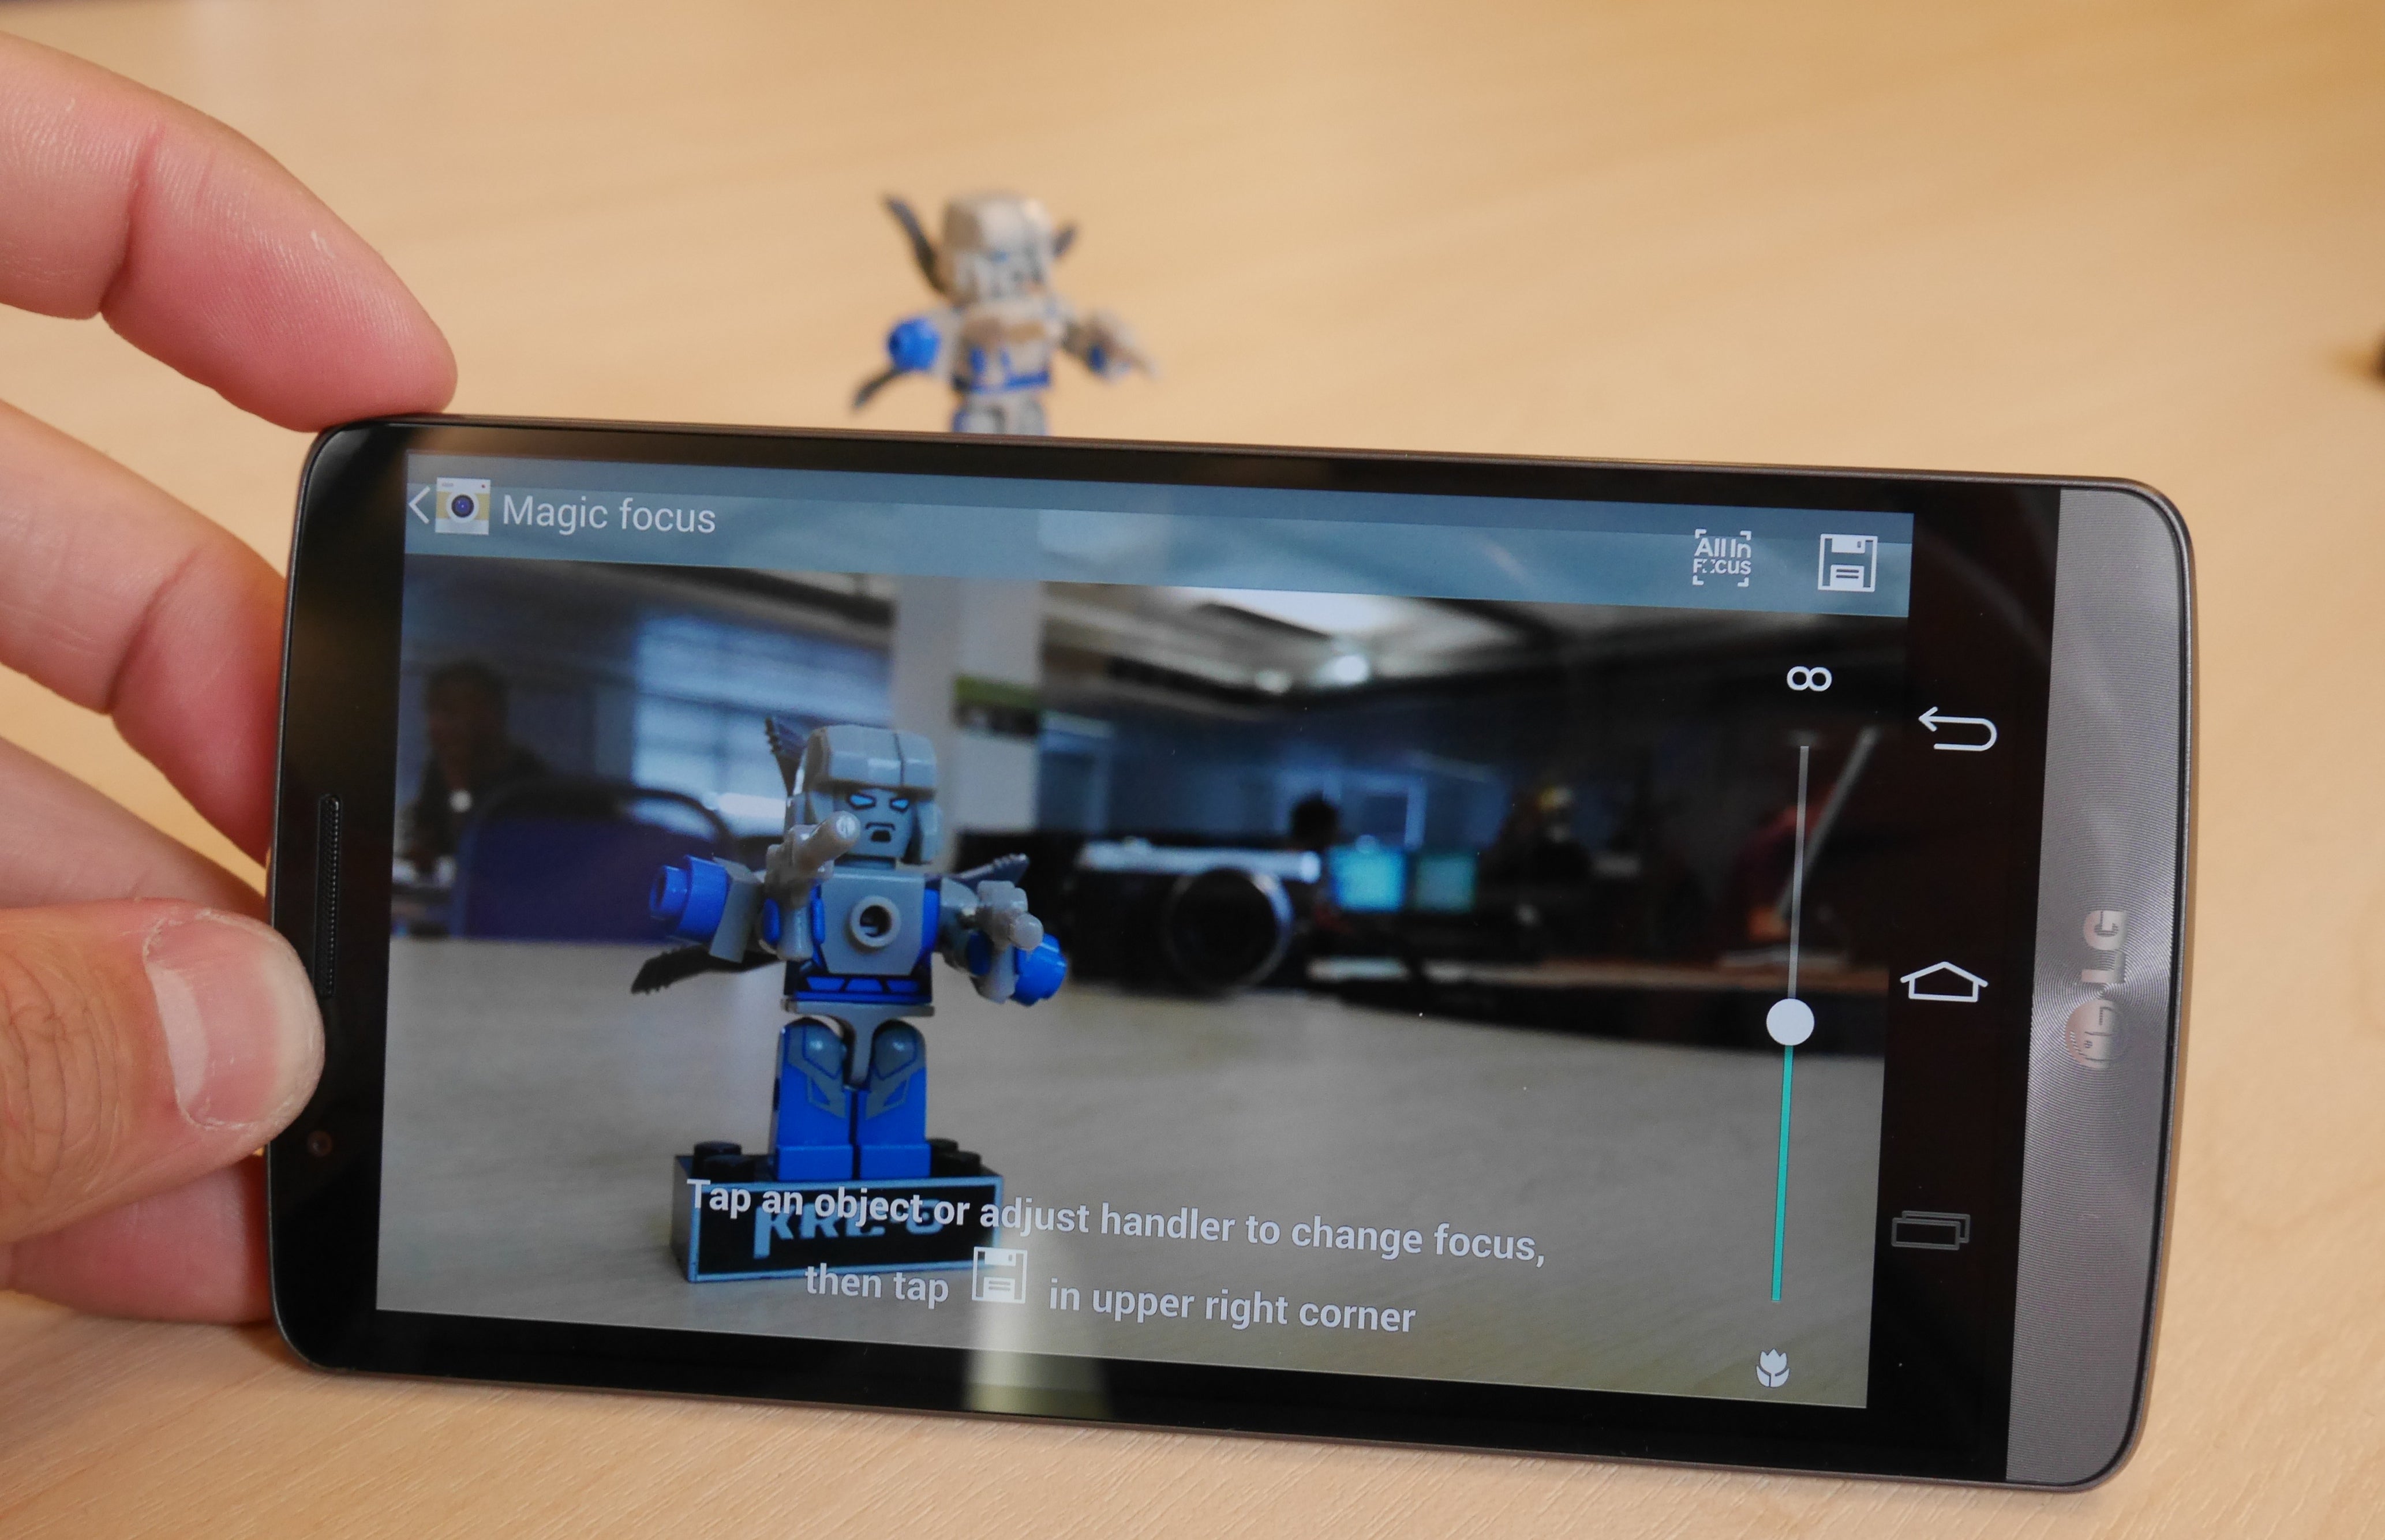
After opening the camera app and pressing Mode, choose the Magic Focus and line up your shot. You’ll need to hold the camera steady, as one press of the shutter button will actually take five photos. Once the images have been stitched together, head into the gallery and use the slider on the far right to chose which image to keep, or tap the “all in focus” button to focus on the entire scene.
Unfortunately you can’t change focus once you’ve saved the image and exited the gallery, so you have to be happy with your edits before taking another photo.
Use the HDR mode
High dynamic range, or HDR, lets you capture a much greater range of light in an image than would otherwise be visible in a regular photograph. Cameras typically have a limited exposure range, which means detail can be lost in the darkest or brightest areas of an image; with HDR enabled, multiple images captures at different exposure levels are combined to cover this extra range. On the G3, you can enable HDR mode by opening the camera app, tapping the settings icon and tapping HDR. You can toggle the mode on and off, or leave it in automatic mode to let the phone decide when to use HDR and when to leave it disabled.
In this non-HDR image, the sky is overexposed and loses cloud detail to keep the rest of the image visible
Enabling HDR restores the lost detail, bringing out the depth in the sky without underexposing in the foreground
Unfortunately, the G3 doesn’t have live-view HDR like the Galaxy S5, meaning you won’t see what your HDR images will look like until you’ve pressed the shutter. On the S5, you can see the effects of HDR before you take a shot, so you can decide for yourself whether HDR is needed. With the G3, you’ll have to take a picture, check the results then reshoot if you prefer a non-HDR image.
Give Panorama mode a try
The G3 has a very simple panorama mode that lets you capture a much wider view than would normally be possible with a single image. To use it, open the camera app, tap mode and tap Panorama. Once your subject is in view, tap the shutter than slowly pan the phone from left to right; it will automatically snap a new shot every time it detects a new part of the scene, then stitch all the images together when you’re done.
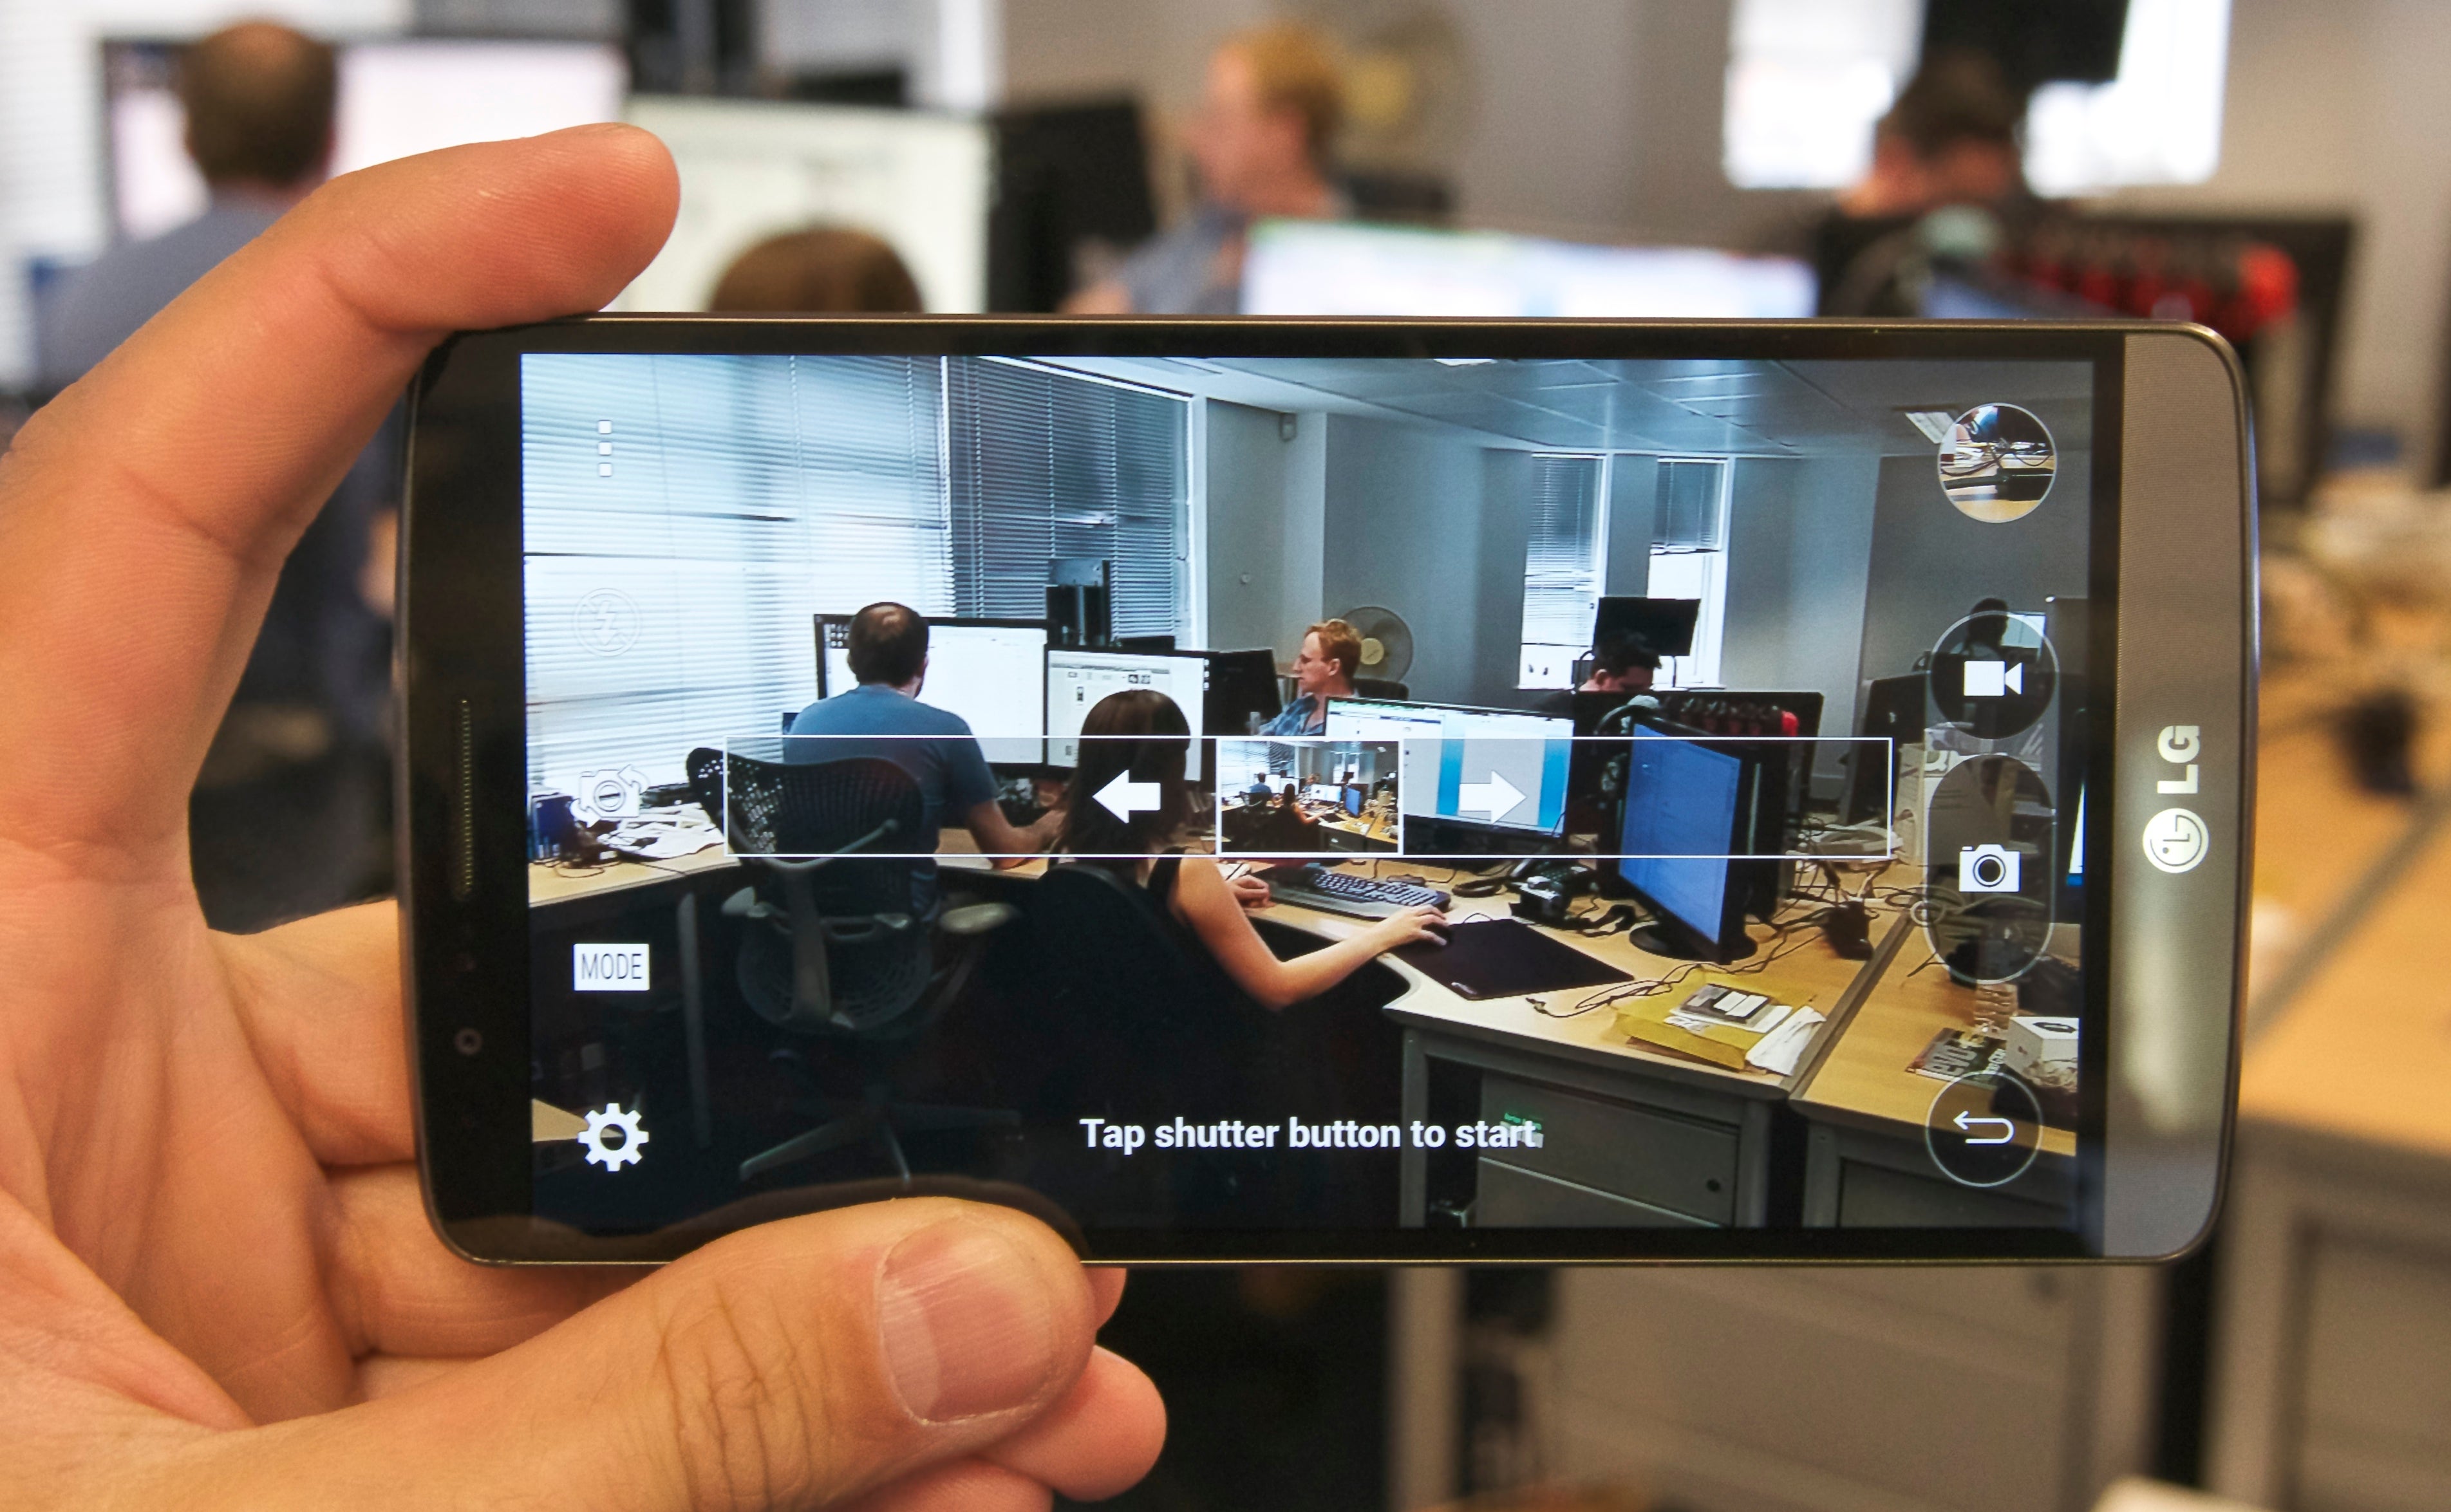
The images are much wider than a regular photo, so you may struggle to fit it all onscreen at once, but you’ll have captured much more of the scene. Just make sure not to pan too fast, or the final image will be blurred.