To help us provide you with free impartial advice, we may earn a commission if you buy through links on our site. Learn more


Apple only supports a limited range of video formats for its Apple TV, iPad (such as the iPad Mini with Retina Display and iPad Air) and iPhone (such as the excellent iPhone 5S. This is fine if you’ve bought all of your content through Apple, but if you’ve got a computer or NAS full of other video files, say from your digital camera, it’s annoying not to be able to play them.
Fortunately, there’s an easy solution thanks to Handbrake, a free video conversion application designed specifically for Apple devices. It will convert all videos to the necessary H.264 (.mp4) video format, which all Apple devices can play. It can also convert videos so they’re at the correct resolution for the device, although it’s probably best to leave video files at native resolution, so you can play them on a variety of different devices.
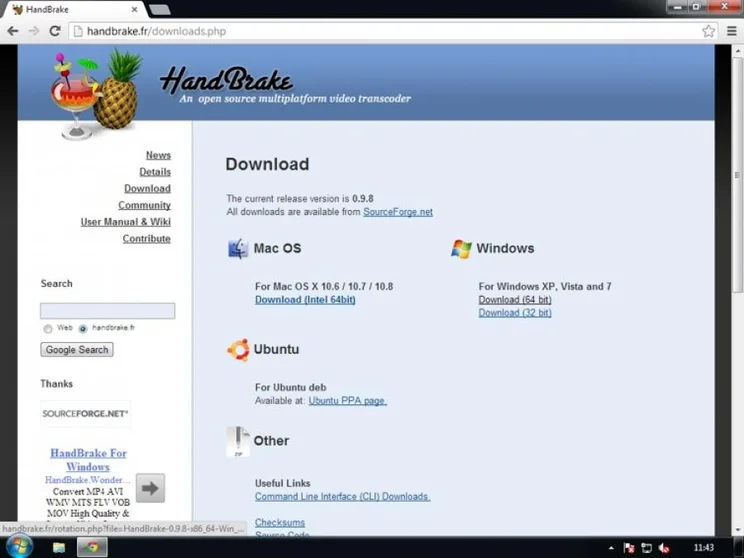
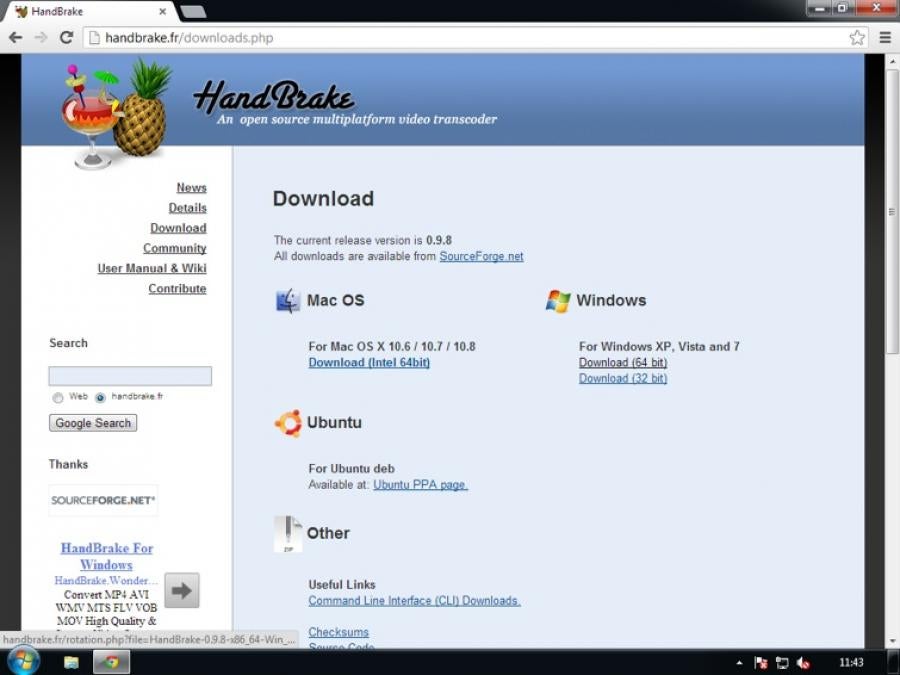
STEP 1 – DOWNLOAD HANDBRAKE
Visit www.handbrake.fr, click Download and choose the relevant installer. While Windows 8 isn’t listed, Handbrake will work perfectly on it, but on any Windows version be sure to download the correct (64 or 32-bit) installer. It’s easier for OS X, as the you’ll just be presented with the correct version to download. Install the software on your computer.
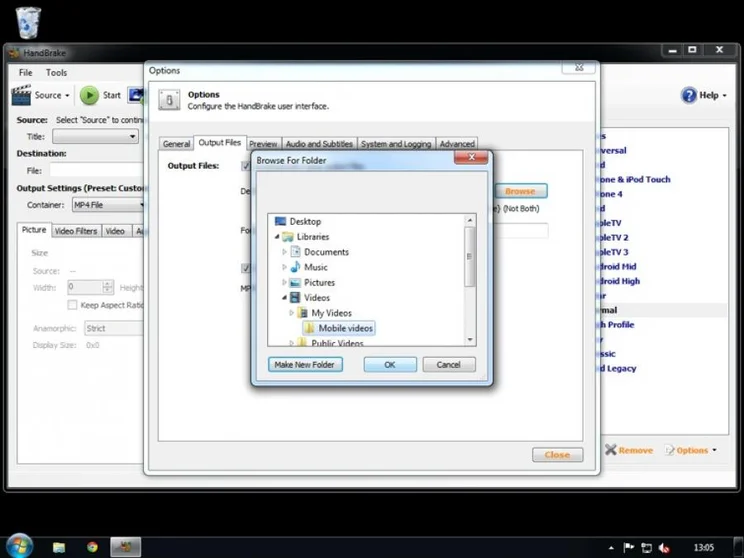
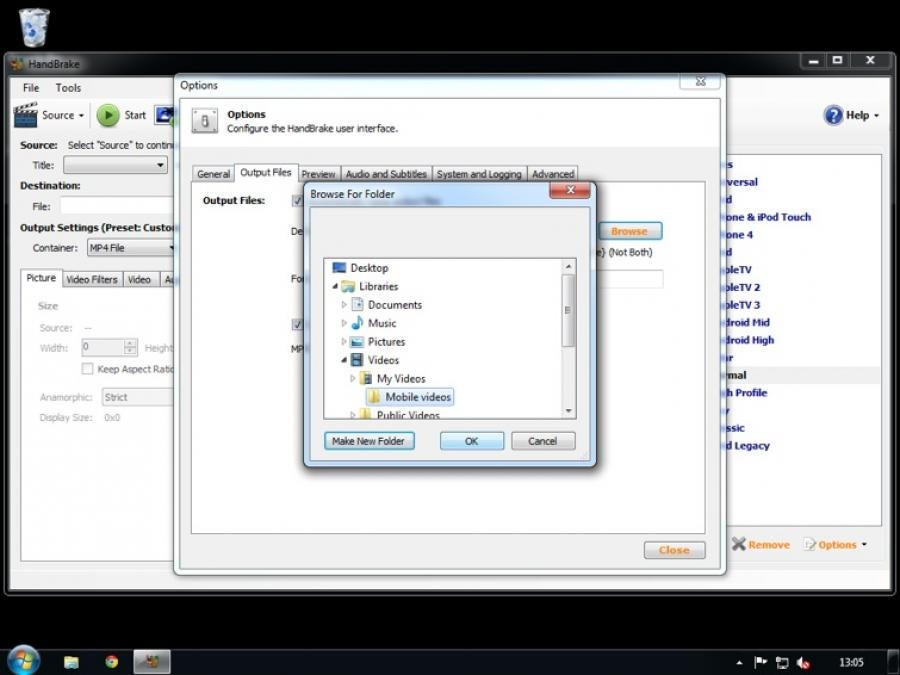
STEP 2 – SELECT DESTINATION
When Handbrake starts, click the Tools menu, select Options and click the Output Files tab to specify a location for your converted video files. Click Browse, navigate to the folder you want and click OK, then click Close to dismiss the Options dialogue. With this done, click the Source button and choose either a video file or folder.
STEP 3 – SELECT RESOLUTION
If you want to convert videos to make them the same resolution as your mobile device, Handbrake has several presets. For playback on multiple devices, you can just skip to step 5, leaving the video files’ resolution untouched.
If your device appears on the list simply click to select it. If it’s your only device you might also want to set it as the default; click the Options button underneath the list and choose Set Default. With this done move onto step five. If your device isn’t on the list you can create a new preset, although you might first want to check the settings in the Picture tab as these can be saved with the preset – we’d recommend selecting Loose in the Anamorphic setting box.

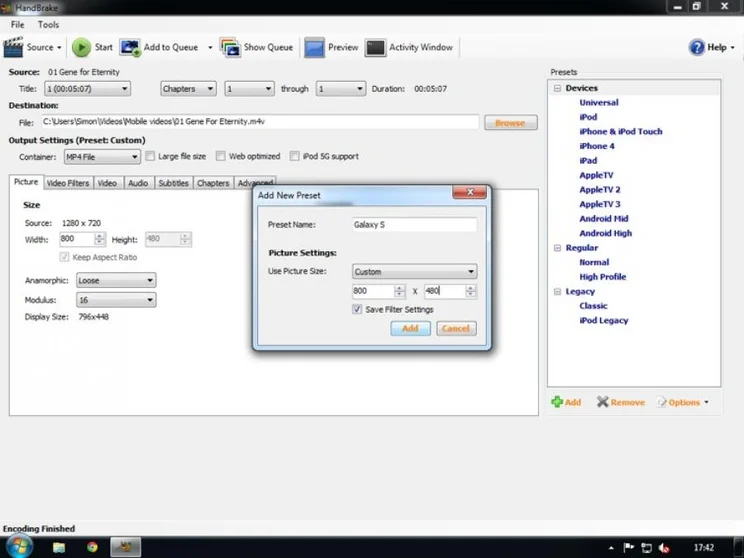
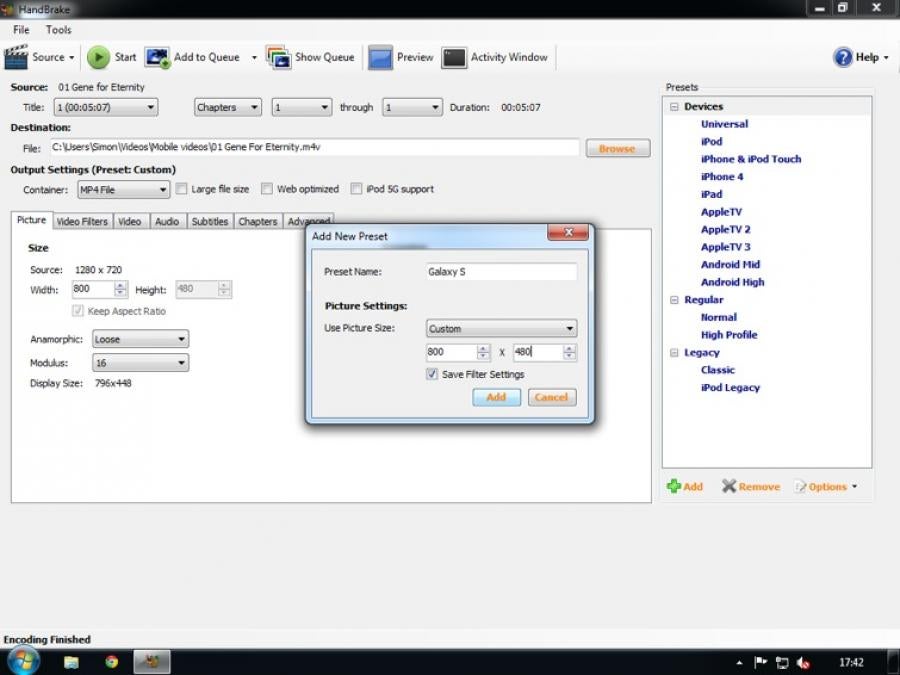
STEP 4 – CREATE A NEW PRESET
Click Add under the Presets list to create a new preset. Give the new preset a name, select Custom from the Use Picture Size box, and enter the screen resolution of the device – you can usually find it on the manufacturer’s page or by simply searching the web. Remember that the resolution of a mobile device is usually given with the smaller number first (i.e. a portrait orientation). In most cases you’ll want to watch videos in landscape orientation, so simply swap the two numbers if necessary. Make sure Safe Filter Settings is ticked then click Add to save the preset, which should appear at the foot of the list.
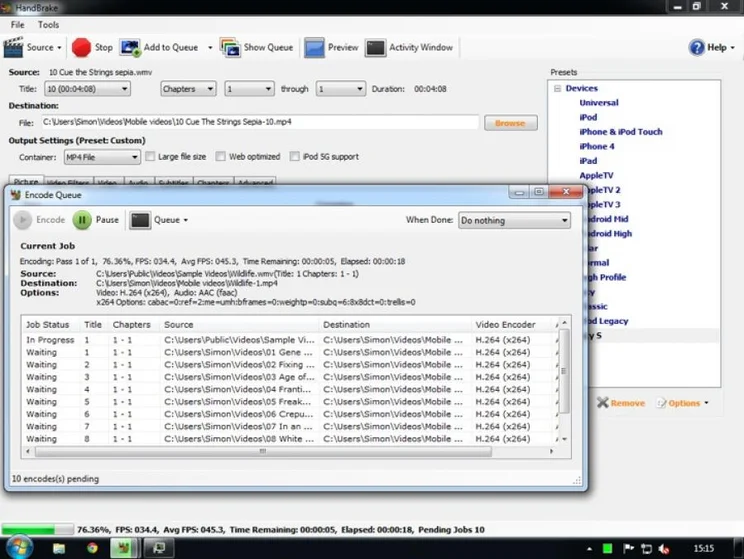
STEP 5
Once you’re happy with the settings, click Start to begin transcoding a single file or, if you’re transcoding a folder, click Add to Queue, then drop down the Title box and move through the folder’s other files, checking the settings and enqueing each. When the queue is full, click Start to begin the transcoding. Remember that it’s an intensive process that will work your computer hard, and may take several hours. It may be best to perfect the settings on a single file, then enqueue a batch of files to run overnight.
Once the files have been converted, you can copy them to your mobile device using iTunes, or copy them to a media server and stream them to your Apple TV.