News

Amazon Prime Day: The BIGGEST laptop deals – LIVE
Keep up to date with the latest, greatest laptop deals from Amazon's week of Prime Day deals 2025
-
 Amazon Prime Day 2025: The best deals on the penultimate day Our experts are scouring Amazon for the best Prime Day deals - here's what we've found so far
 -
 The M4 MacBook Air is a steal at £849 but it's not really a Prime Day deal £849 is a great price for the 13in M4 MacBook Air, but Prime Day deal this is not
 -
 Samsung Galaxy Z Fold 7: The real slim shady Samsung goes super-slim with its latest foldable and the result is an absolutely stunning phone
 -
 This Surface Pro deal is an absolute knockout A huge discount on one of the best 2-in-1 laptops around and the keyboard cover is cheap, too
 -
 The best bargain on Prime Day so far? Huawei's cheapest smartwatch gets even cheaper on Prime Day 2025
 -
 Still no new Google Pixelbook but this is as close as it gets Latest Chromebook has echos of the Pixelbook Go in its design, but it’s the ARM chip at the laptop’s heart that steals the show
 -
 XGIMI MoGo 4 hands-on: XGIMI’s portable projector gains major improvements XGIMI unveils the latest model in its portable projector range and it's a little bit special
 -
recommended
 Nintendo Switch 2 review: It’s a super-sized smash, bro The long-awaited Nintendo Switch 2 evolves the formula with more powerful hardware and a much better display – but battery life suffers£395
 -
 The best and worst announcements from Apple’s WWDC 2025 WWDC 2025 goes hard on the software, with Apple revealing its new year-based naming system and fresh designs for iOS 26 and co
 -
 7 common mistakes people make when buying security cameras Thinking of kitting out your home with security cameras? It's a great idea but there are plenty of things to think about before parting with your cash
 -
 6 mistakes people make when choosing a new power bank Don't get overcharged – and other pitfalls to avoid when buying your next power bank
 -
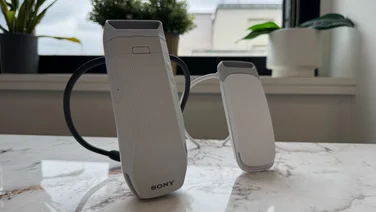 I tried Sony’s latest Reon Pocket Pro It has twice the cooling area and twice the operating time, but is the Sony Reon Pocket Pro twice as conspicuous as its predecessor?
 -
best buy
 Sony WH-1000XM6: A new standard for headphones Sony updates its flagship headphones and improves them across the board – the WH-1000XM6 are the new king of noise-cancelling headphones£399