To help us provide you with free impartial advice, we may earn a commission if you buy through links on our site. Learn more
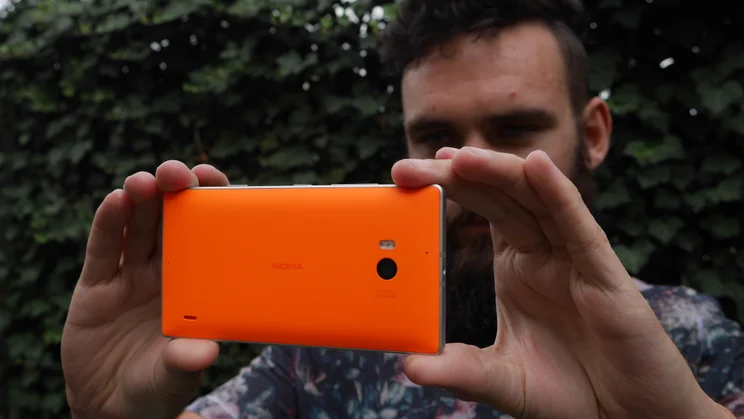
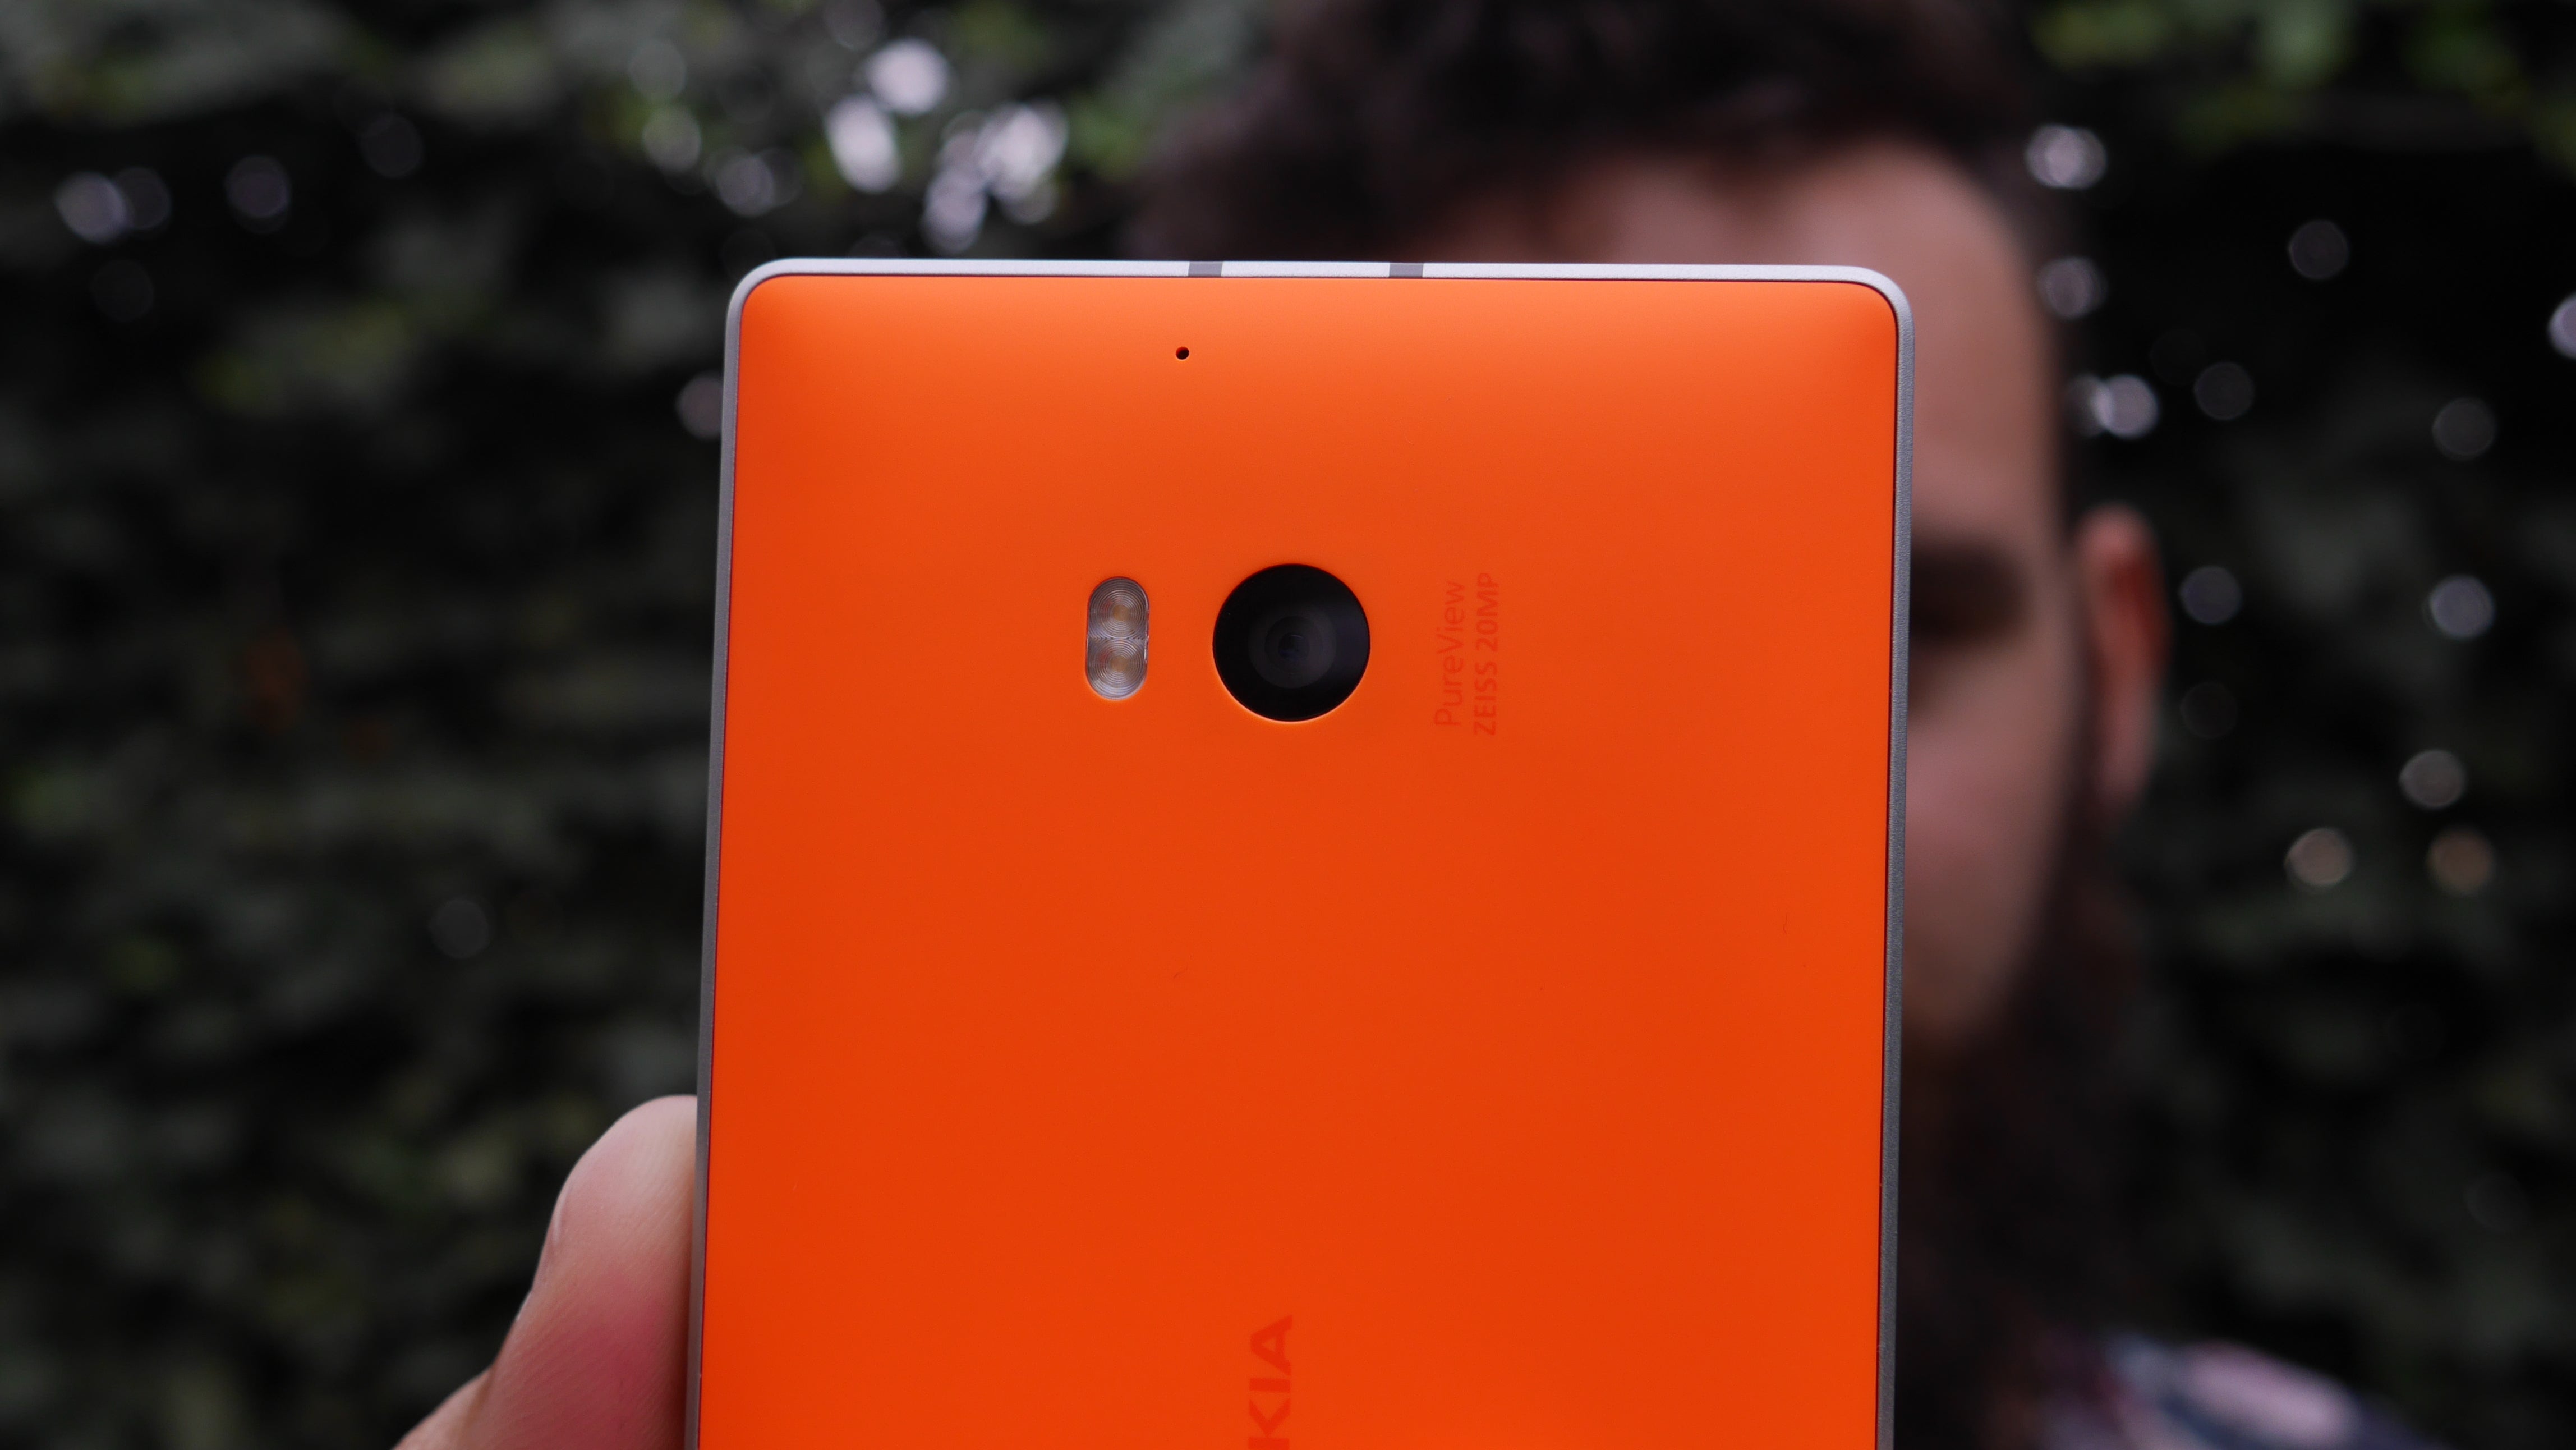
Nokia has a rich history of putting high quality camera sensors into its smartphones, and the Lumia 930 is no exception. It might not have the incredible 41-megapixel PureView sensor found in the Lumia 1020, but at 20.7-megapixels it’s still a cut above most other smartphones. It’s able to produce some excellent high-resolution images, and has plenty of extra features to help you get creative with your photography.
It’s easy to let Nokia’s Auto mode do all the heavy lifting, changing ISO, shutter speed and exposure settings for you when you’re in a rush to get that one-in-a-million shot, but with our in-depth guide you’ll soon be using the Lumia 930 to the best of its ability when you’ve got a little more time to compose your shots or experiment with effects and filters.
Don’t ignore the built-in tutorials
On the surface, Nokia’s Camera app looks deceptively simple, but there are plenty of manual controls hidden behind the flick of a switch. It can be pretty intimidating if you’re used to shooting in automatic, so if you’re still learning make sure to check out the tutorials. Tapping the menu button (the three dots in the right corner of the screen) and scrolling down to tutorials reveals easy-to-follow guides on brightness, shutter speed, low-light shooting, manual focus, white balance, and importantly, basic photography terms – for all the times we’ve mentioned ISO but you were too embarrassed to ask what it meant.

Each tutorial shows you how your changes affect the final image, using the same interface as the camera itself to familiarise you with the sliders and toggles.
Use framing grids for better shot composition
Gridlines are fairly common on digital cameras, but they are often neglected on smartphones. That’s a real shame, as it helps when composing your shots by ensuring the horizon is straight or that your subject is best placed for maximum visual impact. On the Lumia 930, you have a choice of framing grids: tap the menu button in the top right corner of the screen (the three dots), then tap settings in the menu that appears. From here, tap Framing Grids to choose between rule of thirds, golden ratio, crosshairs or square.
The Rule of Thirds overlays a 3×3 grid on the viewfinder. Grid lines make it easier to align the main subject with the horizon, ensuring your image is straight and giving it greater visual pop. The horizon should be lined up with the lower horizontal line, while the main subject of the image should be positioned towards either of the vertical lines. Crash points, where objects intersect with more than one line, will give your images even more balance, so it’s worth experimenting.
The Golden Ratio is a slightly tweaked version of the Rule of Thirds, with more prominence placed on the grid in the center of the image. When composing your shot, make sure your subject intersets with the middle gridline for maximum impact. Crosshairs mode is best used when you want the subject to be in the exact center of your image, and Square gridlines help anyone addicted to Instagram get the perfect framing for uploading images later.
Use the physical shutter button
The Lumia 930 is part of a select group of smartphones that have a dedicated camera shutter button – clearly an indication of its photography prowess, and a useful inclusion for more than one reason. It primarily gives you greater precision when shooting, as you aren’t moving your hand around the screen and introducing unwanted camera shake; press the button in half way to focus, then fully press it down to snap a photo.

The button also acts as a shortcut, which can send you straight into the camera app at any time – even if you’re using another app, the screen is off or the phone is password or PIN locked. Holding down the button fully for one second will launch the app, without having to enter your password if the phone is locked. You can pass the phone to your friends to snap photos, as they won’t be able to scroll back through your camera roll unless they have the password.
Get creative with Smart Sequence
One of the Nokia Camera app’s best features, Smart Sequence lets you snap away happily, then come back to your images later to edit them with motion blur effects, remove any moving objects, create an action shot with multiple exposures and swap faces for fun collages and mashups. After opening the camera app, scroll through the three icons at the side of the screen until you get to Smart Sequence. From here you can take as many photos as you like, with the camera set to automatic.
Once you’re done, open the camera roll and tap on the “edit Smart Sequence” button that appears on any photos taken within Smart Sequence mode. You’ll then be able to swipe between Best Shot, Remove Moving Objects, Change Faces, Action Shot and Motion Focus modes. Each one will let you save your changes independently, so you don’t have to worry about overwriting the original with bad edits. If your images aren’t going to see much improvement with one of the five available effects, the preview will be darker than the ones that will see a noticeable difference.
Smart Sequence is particularly useful if you’re shooting fast moving subjects, as it takes multiple images in very quick succession. You’ll be able to choose the one shot that was in focus even if the moment has passed. Being able to swap faces saves the need to get people to pose for multiple pictures, as if one person wasn’t smiling at the exact moment you’ll likely have a pair of images that can be merged into one perfect photo.
Download extra lenses
By default, the Nokia Camera app covers the basics, but you can add extra features by downloading optional “lenses” – small apps that extend its abilities without forcing you to open a whole new app. We’ve concentrated on the three official Nokia lenses (Nokia Cinemagraph, Nokia Panorama, and Nokia refocus) but there are plenty of others from third party developers that are also worth a try. To download new lenses, tap the menu button, the select “lenses…”. This will open up a page showing which lenses are currently installed, but if you tap “find more lenses” it will take you to the Windows Phone app store. Most of the lenses available at the time of writing were free, but there were a few paid-for lenses too. Once you’ve downloaded a new lens and opened it from the Lenses… menu, it will give you a brief overview of how it works before explaining how to take a shot.
Nokia refocus lets you pick the point of focus for a particular image, even after you’ve pressed the shutter. It’s a lot like the HTC One (m8), without the need the depth-sensing secondary camera; simply get close to your subject and snap. The camera will take five separate images, then let you pick which part of the image to put in focus. You could also set the entire image to appear in focus if you prefer, or desaturate all but one colour for a more dramatic effect. Refocus only works well with particular shots, so without a prominent foreground image you won’t notice any major difference between different points of focus. Essentially, don’t use this mode for shooting landscapes – stick with portraits and close-ups instead.

Nokia Cinemagraph adds a splash of movement to an otherwise still image. After opening the lens, take a picture with a moving subject. Once the image is saved, you can draw on it to select which parts to animate, or highlight areas to remain static. Once you’re happy, you can set the speed and loop points using the icons to the right, add a selection of colour effects, or remove all but one colour for a more stylistic result.
Nokia Panorama lets you capture a much wider view of a scene than you’d otherwise get with a single image. It works by stitching multiple photos together, resulting in a significantly wider photo. After swiching to the Panorama lens, tap to take the initial image and hold the phone steady. Once it has taken a picture, move the phone in the direction shown onscreen and it will automatically take a second snap once it’s aligned. After taking five images, it will stitch them together to leave you with one wide panorama. You have to make sure to pan slowly and hold the camera steady, as otherwise the final image could be blurred, but we found it was consistently able to stitch images together neatly.
Use Pro mode for more control
The Nokia Camera app might look simple, but swiping the camera icon to the left reveals a whole host of manual controls. Using the five sliders, you’ll be able to adjust white blanace, focus, ISO, shutter speed and exposure value – givign you the same level of control as a full digital SLR camera. The menu is transparent, but it does cover a significant portion of the screen, so to better see your subject when shooting you can use the floating manual controls instead. Tapping the arrow at the the top of the screen extends the shortcut bar, letting you toggle each manual control independently.
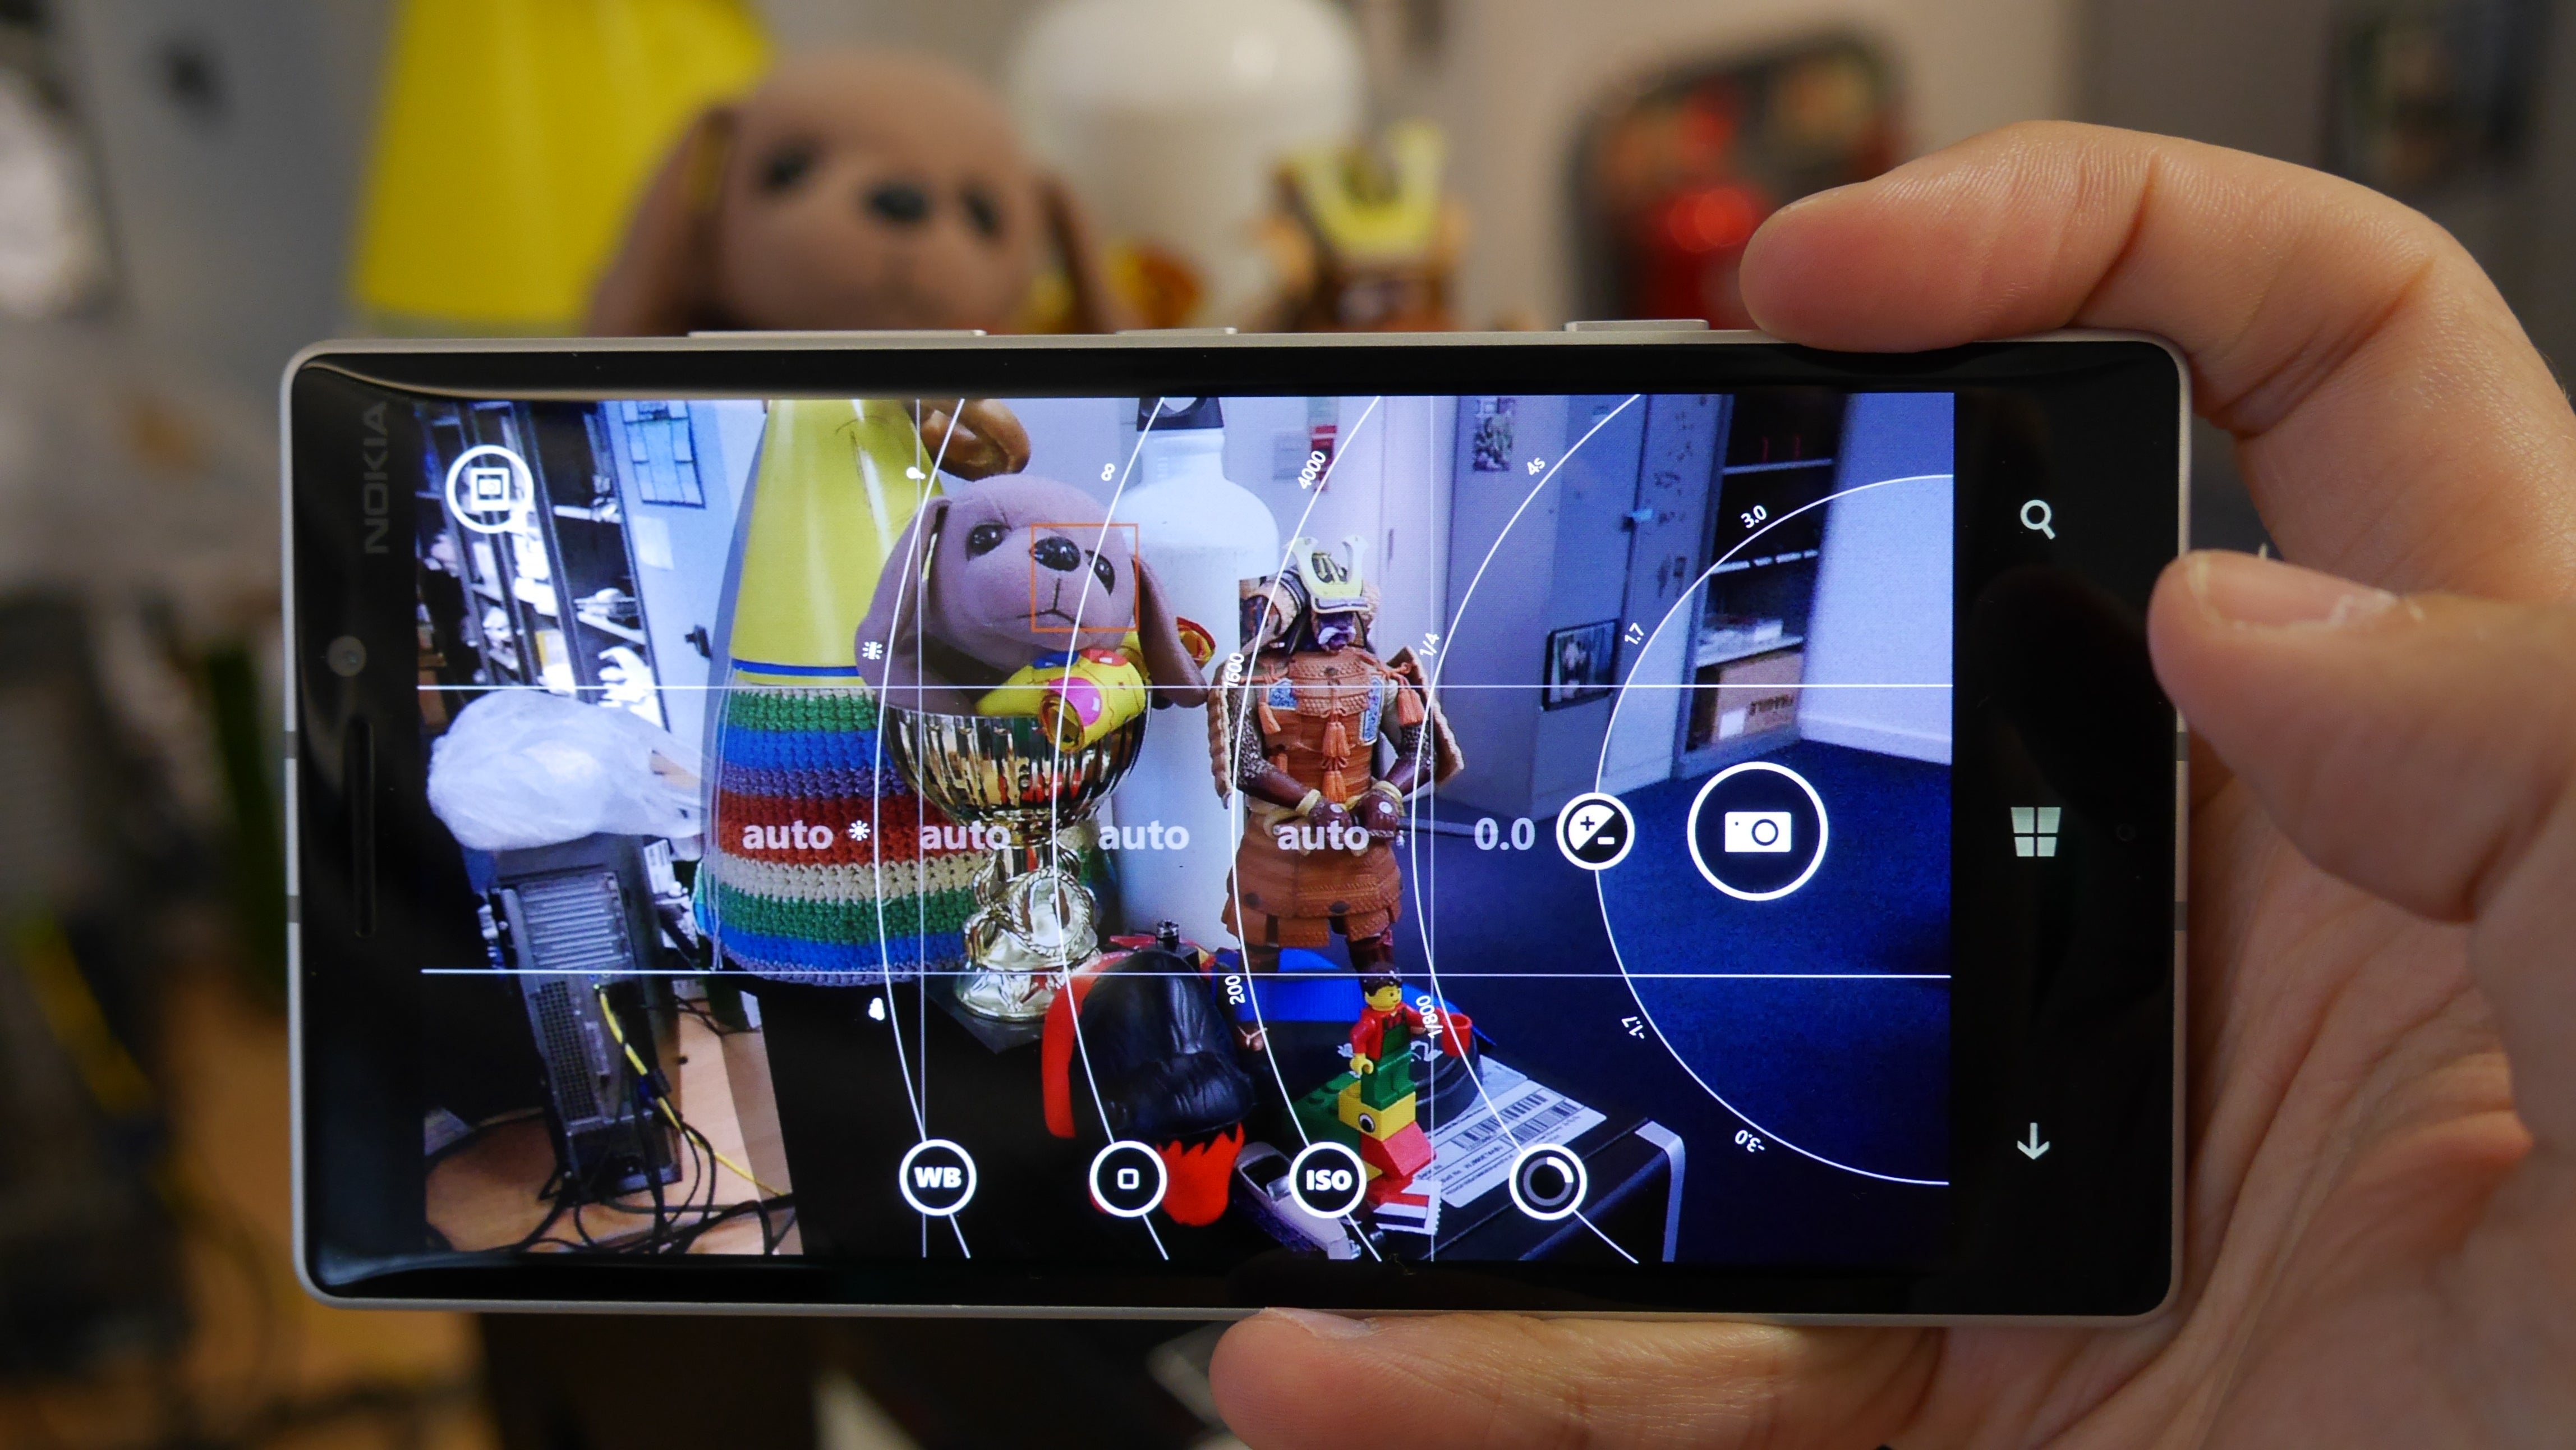
If you aren’t confident in your ability to judge ISO and exposure, you can use the two dedicated scene modes for shooting at night or for taking action shots of sports or moving subjects. Tapping the shortcut bar arrow a second time will collapse it, and from there tapping the A will cycle through the three automatic shooting modes. By default this turns all the other manual settings to automatic, letting you concentrate on taking a great photo.
Shoot in RAW DNG for editing later
Nokia is practically the only smartphone manufacturer that includes a RAW shooting mode with its camera app. This means you’ll have much greater control when it comes to editing your photos on a PC later, but at the cost of using up more storage space per image. If you prefer to tweak your images before posting them to Facebook or Twitter, shooting in RAW will let you adjust exposure values, white balance and colour tone with much greater precision than if you were shooting in JPEG.
To enable RAW, tap the menu button (those three vertical dots) and open Settings. Scroll down to capture mode and select “JPEG (5MP) + DNG (19MP)”. This will now capture two versions of every photo; a 5-megapixel JPEG that you can open and edit on the phone, and a 19-megapixel DNG RAW file that must be opened on a computer. Because RAW files are much larger than JPEGs these images won’t be automatically uploaded to SkyDrive, so you’ll have to manually sync them to a PC or Mac using Nokia’s camera transfer software.