How to organise photos in iOS and Android
We show you how to organise your photos on the move, on iOS or Android, so they're all sorted before you even get home
How to Organise photos in iOS
As is usually the case, there are some sophisticated apps available for the iOS operating system, but they’re held back by Apple’s draconian rules on how apps can access the hardware and operating system. The only app that has access to SD cards attached to the Camera Connection Kit is Apple’s own Photos app. Apps can read from and write to the Camera Roll, where photos are stored, but they can’t edit the metadata of existing photos.
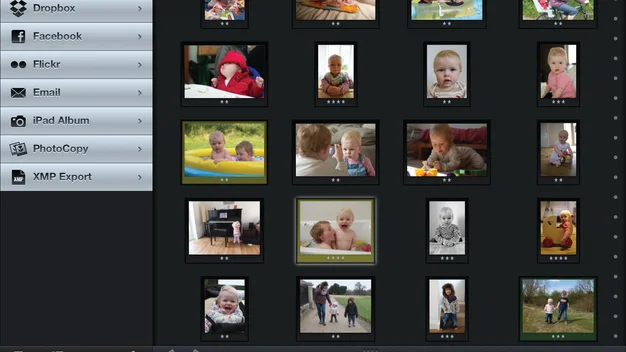
Photo Manager Pro by Linkus (www.linkusnow.com) costs £2 from the App Store and is compatible with the iPhone, iPod touch and iPad. It can organise photos into folders, crop them and add captions. It can also add five-star ratings and sort by rating, so you can whittle down a large collection to find your favourites using the technique described above.

^ Photo Manager Pro can apply star ratings to photos and is compatible with both the iPhone and iPad
Photos from your camera must first be imported into the device’s Camera Roll, and then imported into the app. Pick or create a folder inside the app first, and then select Import, From Library, Last Import. This makes additional copies of the photos, so you’ll need 2GB of storage in your iOS device for every 1GB of photos. To reduce the space needed a little, visit the Settings and enable the Reduce Photo Size option. This resizes photos to around 5 megapixels (and roughly 1MB) as they’re imported, which is still plenty big enough to share online.
Once you’ve identified the photos you want to share, select them and hit the Share button to upload them to Facebook, Twitter or to send via email. If you want to send your pictures elsewhere, such as to Flickr or Google+, you’ll need to export your chosen photos back to the Camera Roll first – making yet another copy. It’s a bit clumsy, not least because the iOS Photos app lacks the ability to delete groups of photos quickly. Instead, each one must be selected individually before hitting Delete.
Photo Manager Pro can handle photo transfers by HTTP or FTP across a local network, so photos can be uploaded and downloaded using a web browser. It’s a great way to manage a photo library without the hassle of going through the iOS Camera Roll. It’s not much use while you’re out and about, though. Ratings aren’t embedded into the JPEGs’ metadata, and the web browser interface doesn’t show star ratings, so there’s no way of knowing what ratings you applied to photos once they’ve left the app. Our best solution was to create a dedicated folder in the app for the highest-rated photos we wanted to share, copy the photos to that folder, download them to the PC via the web interface and then delete the folder in the app.
^ The Adobe Lightroom app for iPad lets you get started on colour correction before you get home. It’s a shame it’s only available to Creative Cloud subscribers
Various other iOS apps are designed to sync with Lightroom, not least Adobe’s own Lightroom app for iPad. It can pluck photos from the Camera Roll, apply star ratings and even perform various edits such as cropping and colour correction, all of which sync with the desktop version of Lightroom. It can’t sort by star rating, though, and it’s only available to people who subscribe to the Creative Cloud Photography plan (£8.78 per month) or the full Creative Cloud subscription (£46.88 per month).
For Lightroom users on the move, we prefer Photosmith (www.photosmithapp.com). It’s available for iPad only and costs a hefty £14, but its sophistication and attention to detail justify the price. It suffers the same problem of not being able to access memory cards directly, so imports are usually done via the Camera Roll. However, unlike most apps, it supports any RAW format that’s recognised by the iOS operating system. It does this by reading the embedded JPEG rather than the RAW data, but that’s usually enough to get on with cataloguing photos.

^ Photosmith for the iPad is packed with powerful cataloguing tools, and works superbly in conjunction with an Eye-Fi card and Lightroom
Photos are either copied to the app’s own storage or linked to the Camera Roll. However, we found that there isn’t a huge difference to the amount of storage used, as the Linked mode creates full-resolution cached preview files. One clever trick is the ability to use an Eye-Fi card to send photos from the camera straight to the app, bypassing the Camera Roll. If you shoot in RAW + JPEG mode and set up the Eye-Fi card to only transfer JPEGs, you can use these JPEGs to rate and tag photos. Then, when you get home, import the RAW + JPEG files into Lightroom from the card in the normal way, and then sync Photosmith with Lightroom (with the help of the Photosmith plug-in for Lightroom).
This sync process normally transfers photos from Photosmith to Lightroom, along with ratings, colour labels and keyword tags. However, if a photo already exists in the Lightroom catalogue, the synchronisation process applies the metadata to the existing photo. That way, you can effectively catalogue RAW photos on the iPad without having RAW files clogging up the iPad’s internal memory.
Using Photosmith with an Eye-Fi card also means you can rate or tag a photo within a couple of seconds of taking it – perfect for location photo shoots where you might want to check photos on a big screen. Configuring it for use with an Eye-Fi card is quite fiddly, though – you’ll need to follow the instructions on the website very carefully.
Photosmith’s cataloguing tools are as good as they get, with the ability to sort by date, name, rating or colour label, and also to filter by rating, colour label and Lightroom-style Pick and Rejected tags. Photos can be organised into Collections and tagged with keywords, and it all synchronises perfectly with Lightroom. There’s plenty here for people who don’t use Lightroom, too, with export options to Facebook, Flickr, Dropbox and a custom-named iPad Album.